Spring is marching on, and April will be over before we know it. We’re getting ready for planting season, and farmer Matt is getting antsy to get in the fields. But sadly as I write this, we have snow on the ground! Regardless of the crazy weather, we’re preparing for an upcoming catalog change with Stampin Up, and a lot of products to retire, some of which I’m highlighting today. Along with these retiring products, I’ll be sharing some fun techniques with you for making quick cards using simple techniques. Let’s take a look…
5 Techniques for Simple Cards Video
Watch along here as I highlight the All Together Collection, which is retiring very soon, and share five fun techniques to try for simple cards.
Stampin Up All Together Collection
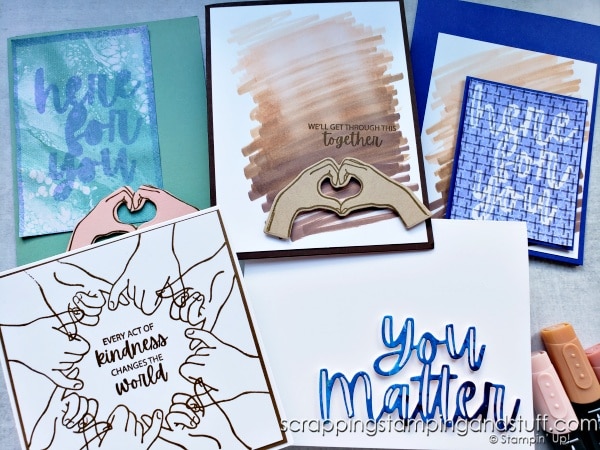
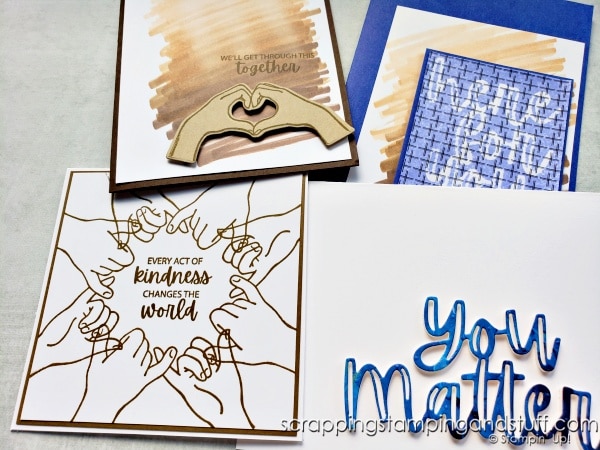
I highlighted the All Together Collection earlier this year by creating the cards you see below.
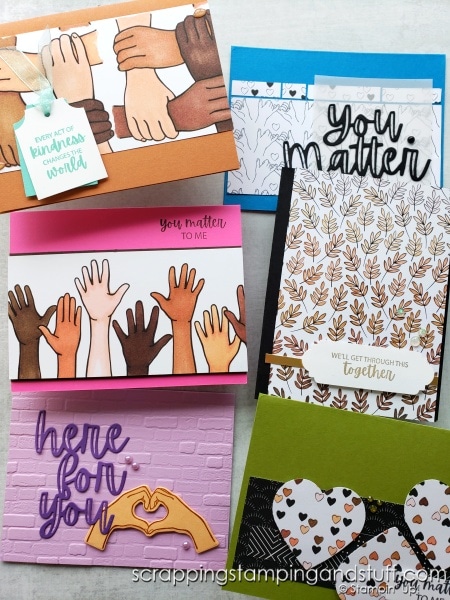
It’s a beautiful collection of unique products, including the Here Together stamp set, Here For You dies, All Together designer paper, and Natural Tones Stampin Blends Alcohol Markers.
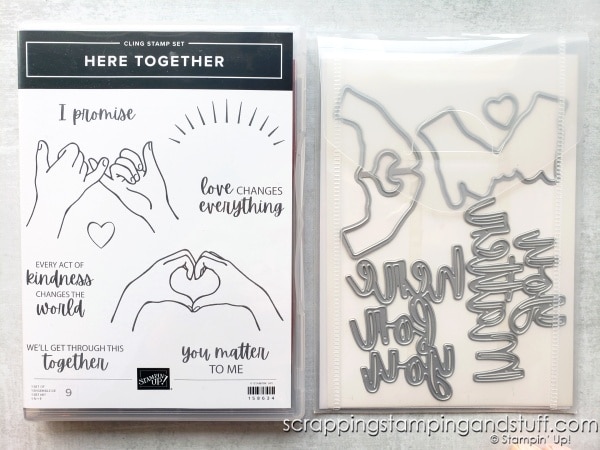
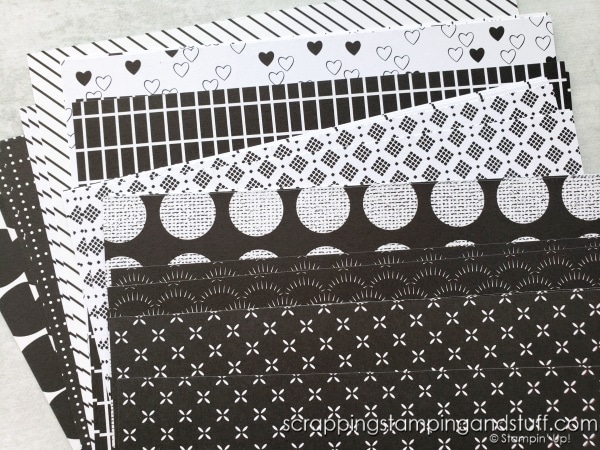
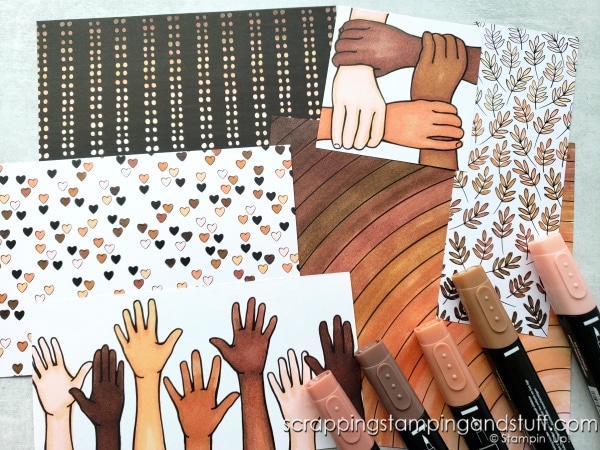
This collection of products will be retiring in just a few days, and I wanted to highlight it one more time before it’s gone.
Now let me share some techniques for making simple cards featuring these products.
5 Techniques For Simple Cards
Foam Die Cuts
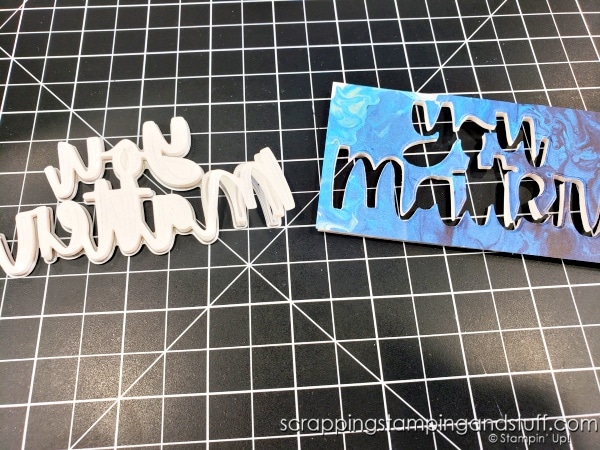
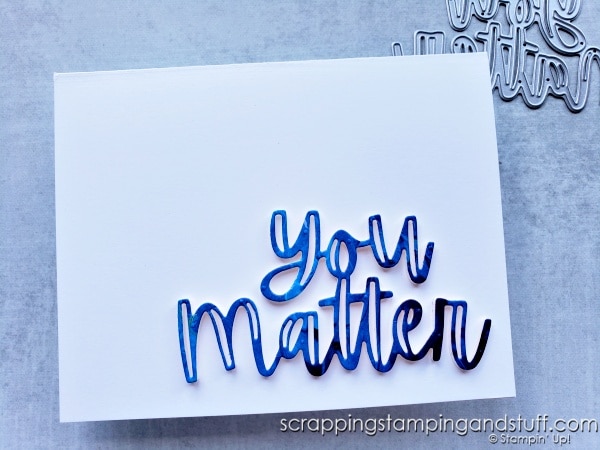
For this clean and simple card, I created a die cut using foam adhesive sheets. This is easy to do, and packs a punch in the effect it creates on card projects. The paper I used for the die cut is from our Waves Collection, which is also retiring on May 2 or whenever supply sells out.
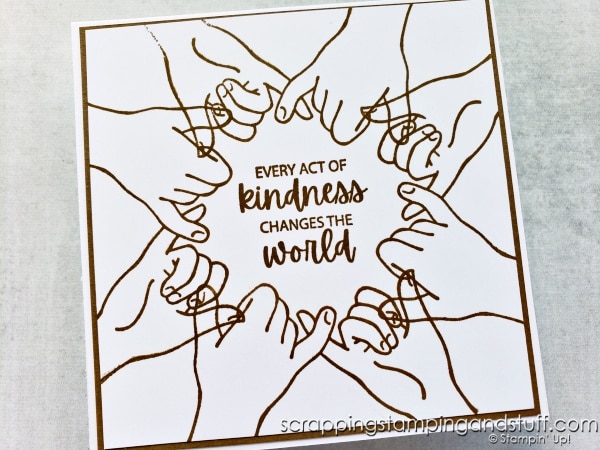
Stamp Each Side Of A Square
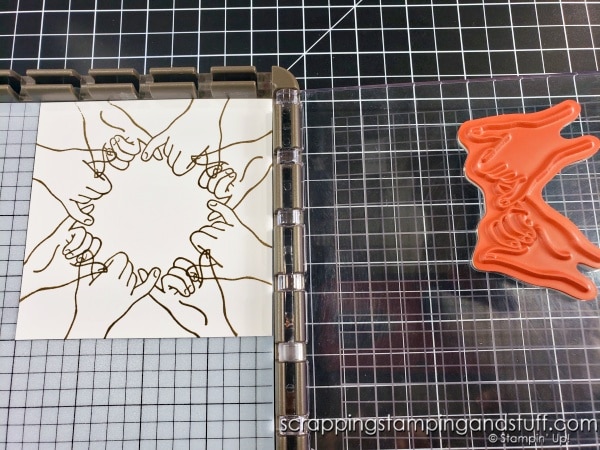
This is a fun technique using the Stamparatus. I placed my 4″ x 4″ square of cardstock in the corner and mounted the stamp. I stamped once, turned the cardstock 90 degrees, and repeated until each side was stamped. This would be an awesome technique to use with flower or leaf stamps, and it’s similar to this technique where you stamp eight times to create a circular pattern.
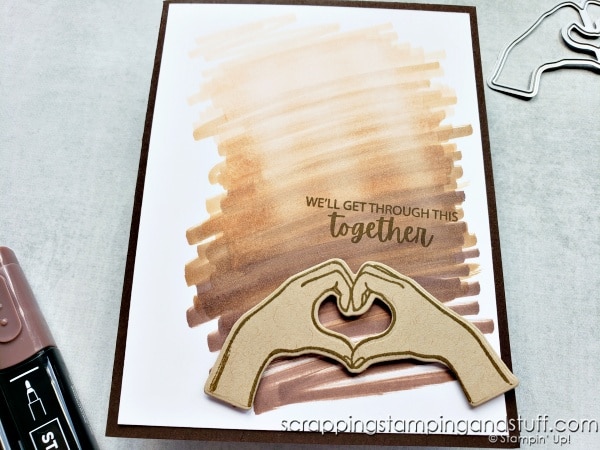
Create A Background With Blends Markers
Even toddlers can do this technique! Just scribble with Blends markers using different shades of a color, then add a greeting and focal point over top.
Spritz Over A Die Cut
Here’s another way to use die cuts. Cut them out, then use some removable adhesive like our multipurpose glue on the back. I used a few drops of multipurpose glue and let it dry. Then I placed it over top of the designer paper, and used a spritzer to spray water and ink over the top.
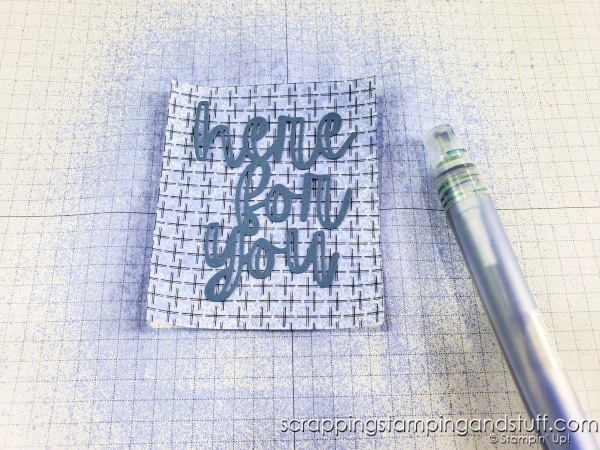
After I removed the die cut, this is the effect I got.
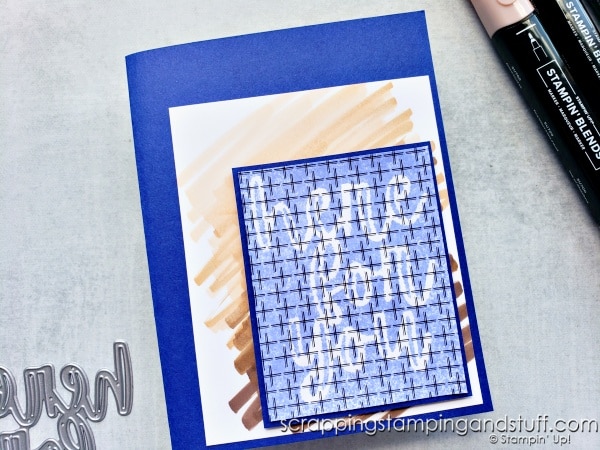
I did the same with the negative piece of the die cut for the card below.
Multiple Die Cuts Quickly
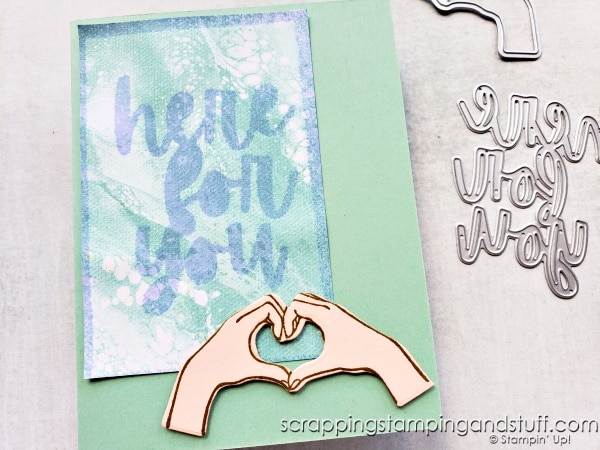
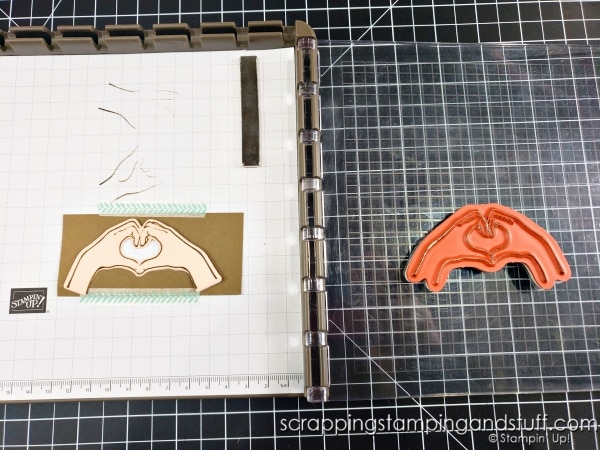
This is one of my favorite tips, and you can learn about it here. When you need to stamp and die cut several of the same shape, first do your die cutting without having stamped the papers. Layer two or three pieces of cardstock, and cut through all of them at the same time with your die and die cutting machine. Then, stamp onto scrap paper in the base of your Stamparatus. Lay a negative piece over the top and tape it in place.
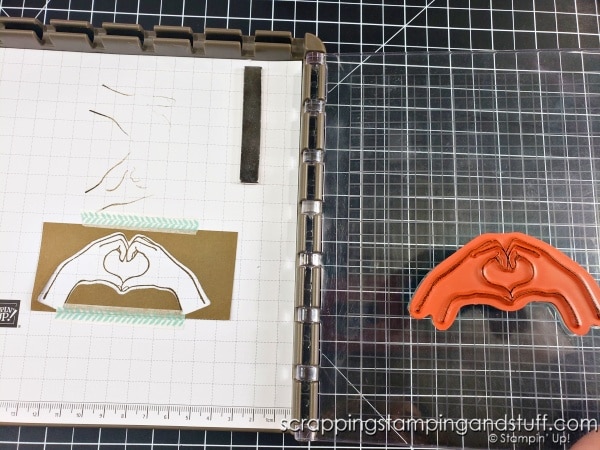
Now, just fill in the hole with your die cuts and stamp each one!
Now that you’ve seen several cards made with the All Together collection, how do you like it? Do you like the beautiful black and white papers, or the stamps or dies? You chance to order it is almost gone, so use the links below to get the ones you love!
Supply List
Product List Learn To Make Cards
Shop Supplies
Rewards Program
Join My Amazing Team
Send me a pic if you try these techniques! I love to see what you’re creating!


Leave a Reply