Hi everyone! I don’t know about you, but I’ve been a busy little elf getting ready for Christmas! I’m trying to get the cards and gifts all ready so that I can enjoy the second part of the month! Will you be giving any gift cards as presents this year? If so, make them special with a DIY gift card holder. I have some cute ones to share with you today! Before we get to that, remember that Stampin’ Up’s Year-End Closeout sale is going on. All retiring holiday products are available while supplies last so order soon before they’re gone!
Now let’s take a look at today’s DIY gift card holder!
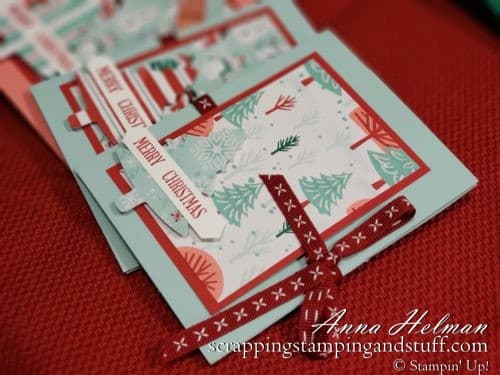
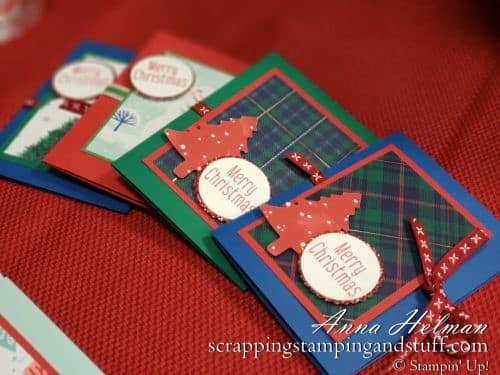
I made these up for a recent craft show, and I thought they turned out so cute!
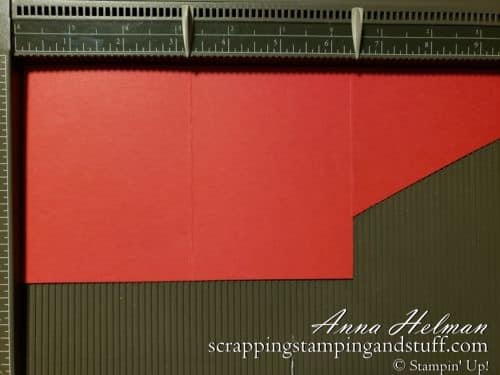
Begin with a piece of cardstock measuring 4 1/4″ by just slightly less than 9 3/4″. Score it at 3 1/4″ and 6 1/2″. Then in the last section, use scissors to cut it as shown.
Flip the cardstock over vertically so that the angled piece is at the bottom right. Fold in the angled piece and attach it around the bottom and side with adhesive. This makes the pocket for the card. Then fold the front cover over, and it will open like a book with the pocket inside for the card. Decorate the outside as desired!
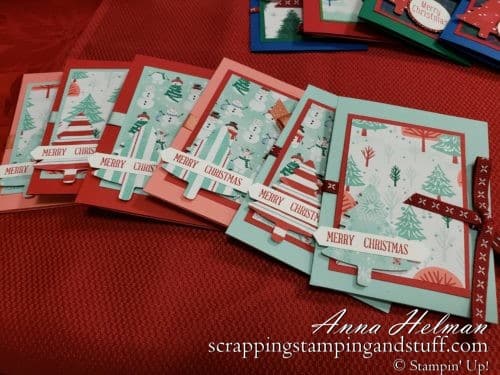
What a nice way to present a gift card! I hope you try making some of these this season!
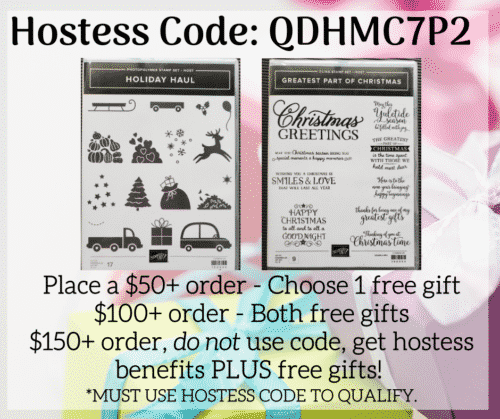
Please make me your Stampin’ Up! demonstrator and order from me using the product links at the bottom! Earn the free gifts shown below when you order using the current hostess code QDHMC7P2. December’s gifts are HOSTESS EXCLUSIVE stamp sets! PLUS, with your first order, you’ll receive free catalogs in your thank you package!
- Shop the Year End Closeout Sale here!
- Sample all of the papers, ribbons, and embellishments that Stampin Up has to offer with Product Shares.
- Check out my current Project in the Mail, Tags Tags Tags (shown below)!

Order the products I used and make this project yourself!



[…] DIY Gift Card Holder […]