Welcome to Cardmaking 101 Lesson 4: All About Ink!! Today we will talk about why Stampin Up stamp pads are the best, how to open Stampin Up ink pads, how to reink them, how to reink Stampin’ Write markers, and more! Let’s get started!
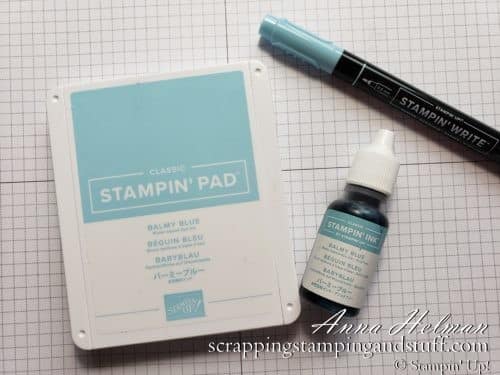
First I must mention a few of the benefits of Stampin’ Up ink pads. They are WELL worth their cost, and here are some reasons why!
- We sell re-inkers (ink refills), so you will never run out of your favorite color! You won’t have to throw out the pad when it runs out of ink – just add more! Ink refills also work for reinking our markers!
- Ink pad lids lock shut, so you won’t get ink on your carpet when you accidentally drop it! This also helps keep young children from getting into them!
- They’re designed so that the ink pad itself is always stored upside down. This means ink will always be at the surface when you’re ready to stamp instead of it being sunk down to the bottom of the pad.
- They have a large surface area, making it easier to ink large stamps.
- They have an included ‘palette’ where you can collect ink to use for other techniques. Check out my last tip for more info!
- They last FOREVER, or close to it! I have customers who have had our stamp pads for 10 or 20 years. Many say they didn’t use them for a while, and pulled them back out and they still work perfectly!!
When you’re buying craft supplies, you want to spend your money wisely. Stampin Up stamp pads will last for years and years, and are a great value.
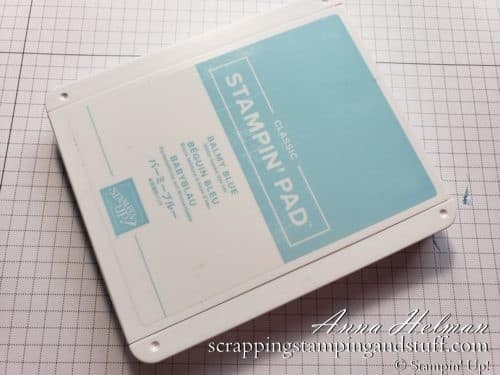
Now that we have discussed why to use Stampin Up ink pads, let’s talk about how to do so! Let’s get down to business. When you get a new Stampin Up stamp pad, you will want to apply the included labels to make it easy to find the right color of ink when you’re looking for it. Below you can see the bottom of a stamp pad. I have removed one of the five included sticker strips so that I could apply it…
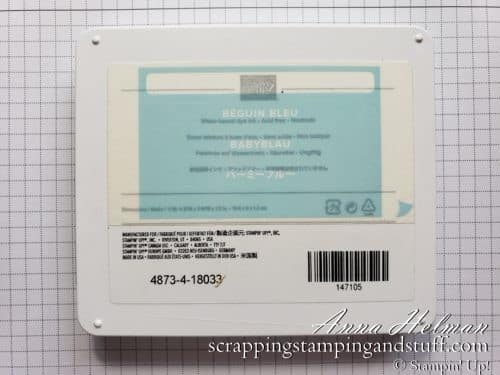
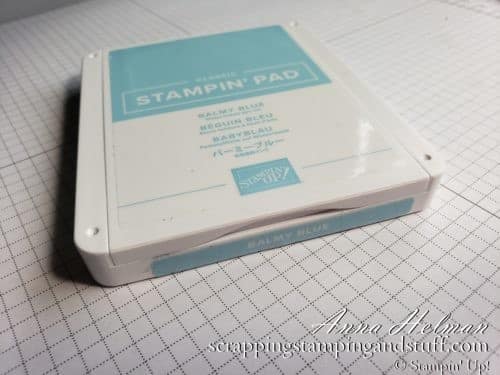
On the front edge of the pad. See where it says ‘Balmy Blue’ on the front ege? That is the sticker label I pulled off of the bottom of the pad to apply here.
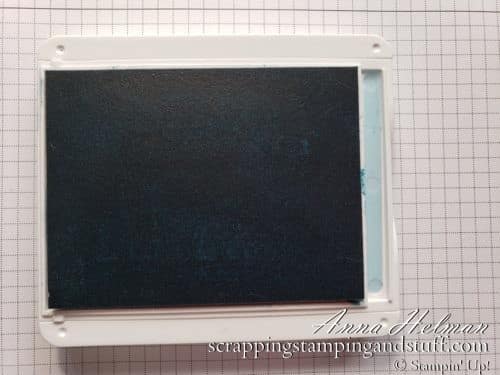
Next you can pull off the fifth (plain) sticker label from the bottom and apply it to the inside of the stamp pad in the small tray shown on the right side in the photo below. This will allow you to easily identify ink colors when you have several pads open at the same time.
How To Open Stampin Up Ink Pads
Now let’s practice how to open Stampin Up ink pads! First, place your thumb in the small groove on the front side of the pad. Lift and pull on that groove until the ink pad pops open.
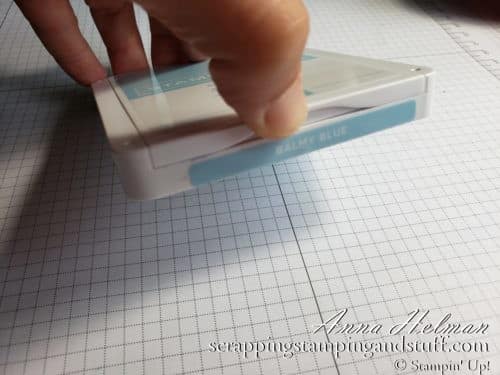
Raise the top of the pad upwards…
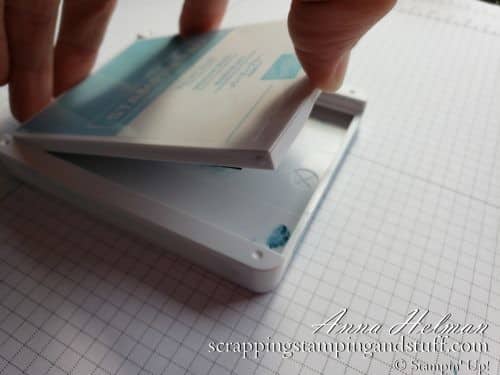
…and continue until it is completely open.
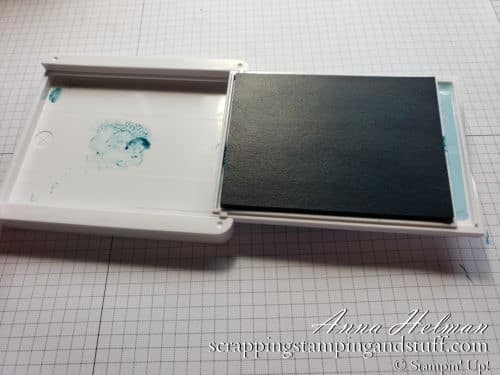
Next, push the top of the pad back into the base until it snaps together. Now you’re ready to stamp!

How To Ink A Stamp
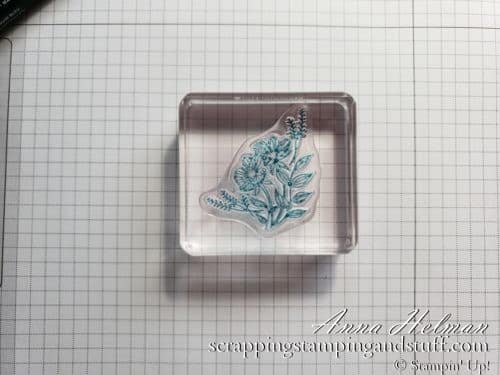
To ink a stamp, you’ll want to lay the stamp gently on top of the ink pad. Our pads are different from many other brands, and they are ‘squishier.’ This means, you do NOT want to press and grind your stamp into the pad. Simply lay it on top of the pad, then lift slightly and place it back down in another spot. Do this a few times. I always tell customers to ‘tap tap tap.’ This should allow the stamp to be inked completely and evenly.
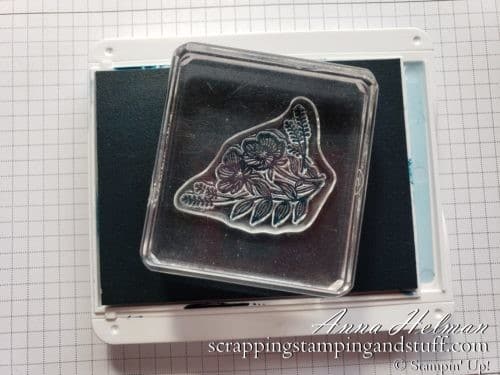
After you have inked your stamp, you can check to see if it looks inked well. Below is a picture of what your stamp should look like – fully inked without extra ink in other places.
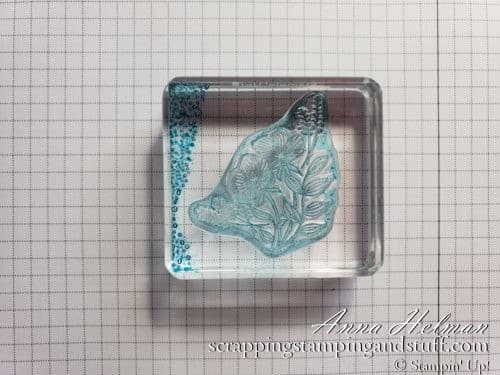
Here you can see what will happen if you press too hard when you ink the stamp. You’ll have extra ink everywhere and a big mess on your hands! I suggest cleaning this off and starting over, rather than trying to stamp and getting ink everywhere!
How To Close a Stampin Up Ink Pad
Now we need to shut the pad! Pull on the groove in the front of the pad to release it from the base.
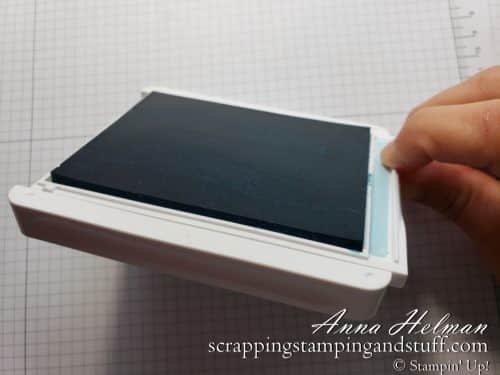
Lift and rotate the ink pad over as shown…
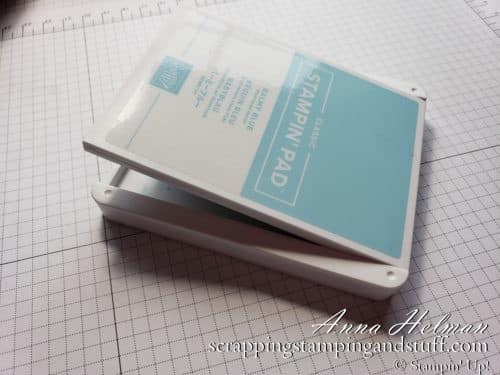
…then snap it shut. It’s ready to be stored!
How To Reink an Ink Pad
After you have done a lot of stamping, your pad will begin to dry up and may not properly ink your stamp. Now it’s time to reink it!
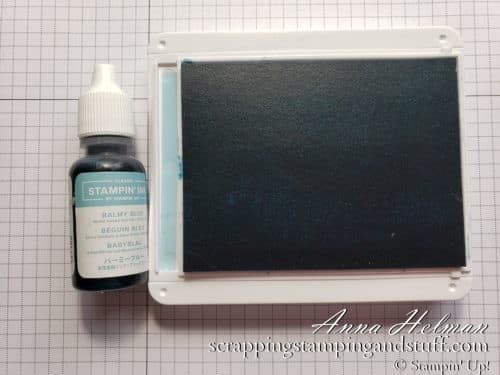
Open your ink refill, and gently squeeze the bottle while drawing lines or squiggles across the pad. Below, you can see the path I took to add ink to this pad.
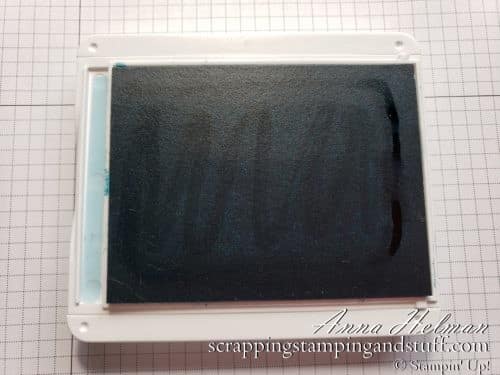
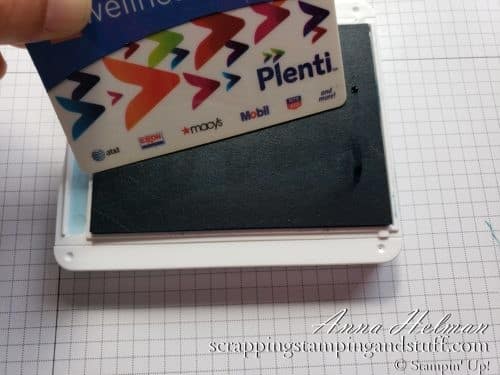
Now we need to spread that ink out across the entire pad. A plastic credit card or store rewards card is perfect for this! Run it across the surface of the pad several times in different directions, and the ink should be distributed evenly.
How To Reink a Stampin Up Marker
Now let’s use the ink refill to add ink to a Stampin Write marker.
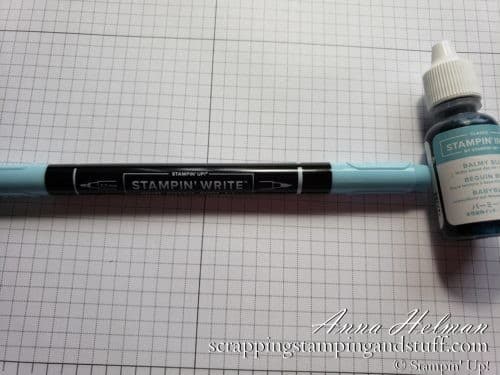
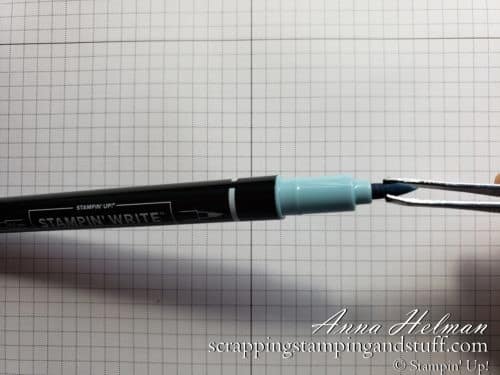
Remove the cap from the bold tip end of your Stampin Write marker, and use tweezers to gently grab and remove the tip.
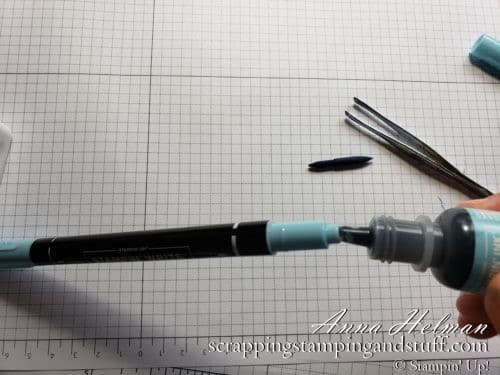
Hold the marker at an uphill angle, and SLOWLY add drops of ink to the opening. If you rush this, you may end up with air bubbles that won’t allow the ink to soak into the marker. I suggest starting with about 10 drops of ink. Adding too much at one time makes a huge mess – believe me! Then replace the marker tip and allow the marker to lay horizontally for a few minutes before using it to allow the ink to distribute itself.
Storing Ink Pads and Markers
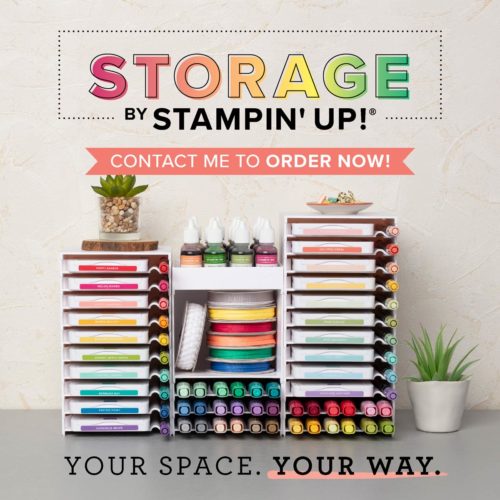
Stampin Up has wonderful storage for our ink pads and markers! We have several different storage options that all work together, so that you can create storage that works for you! Links to these items are at the bottom of this page.
Creating an Ink Palette
Let’s talk about one last tip and benefit to using Stampin Up stamp pads! I mentioned earlier that you can create an ink palette with our pads. Here’s how! With the ink pad closed, place your thumb on top of the pad and your fingers below. Squeeze the ink pad, pressing fairly hard down with your thumb. Your goal is to press the top downwards until it comes in contact with the ink pad inside.
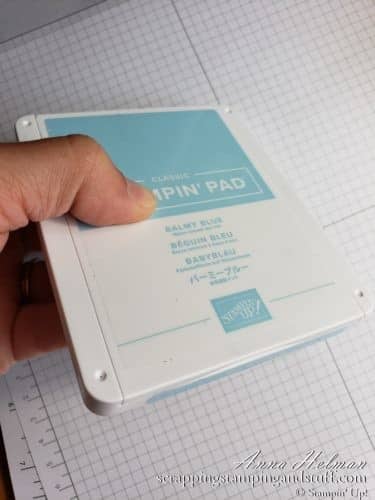
Next, open the pad. You should see a small spot of ink on the lid. If not, close the pad and try again, squeezing slightly harder than you did before.
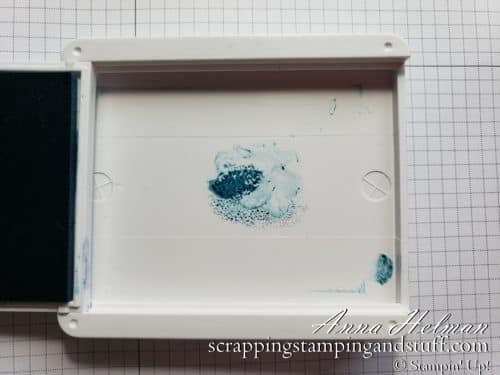
Now this ink is available to use with our Aqua Painters watercoloring pens or for other techniques!
I hope this has helped you learn all about our stamp pads, including how to open Stampin Up ink pads, how to reink them, and how to refill markers. They truly are the best, and you won’t regret investing some of your craft budget on these quality products!
Stop back in for my next Cardmaking 101 post which will be all about adhesives! Please make me your Stampin’ Up! demonstrator!
- With your first order, you’ll receive a FREE annual catalog from me! Seasonal catalogs are also mailed to regular customers.
- Please use hostess code GJNKWZVN when you order.
- Keep track of your Stampin’ Rewards and earn free stamps from me!
- When you order $150 or more, you’ll earn hostess credit through Stampin’ Up!
- Check out my current Project in the Mail, Pressed Petals (shown below)!
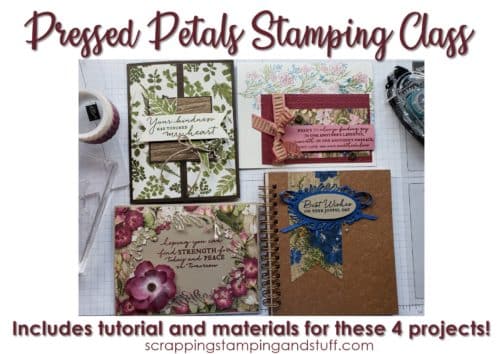
Order the products I used and make this project yourself!


Leave a Reply