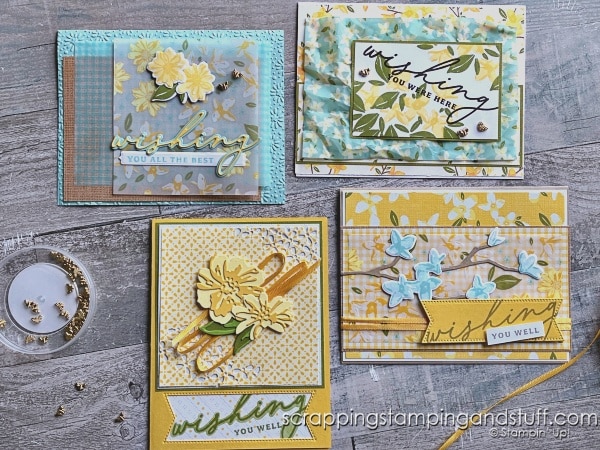
If you follow along here often, you know that I keep most of my card projects very simple. Today I’m trying something a little different, with ideas for lots of layers on your projects. I have four card layouts with measurements to share, ideas for adhering vellum and detailed die cuts and more. I’m using the Stampin Up Delightful Wishes bundle and I’m excited to get started!
Lots Of Layers Video Tutorial
Watch along here! Stick around until the end when I’m sharing about some natural home remedies we like to use in our home!
Stampin Up Delightful Wishes
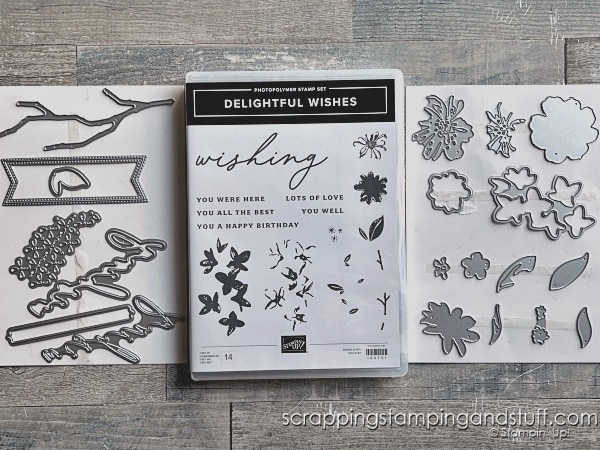
Today’s cards feature some gorgeous yellow paper prints and beautiful flowers. All of these products, including the embellishments are part of the Floral Delight product suite. Part of this product suite is the Delightful Wishes stamp and die set, which you can see below. This is such a nice set with many options for how to use the greetings, other stamps, and dies.
Delightful Wishes Card Projects
Let’s take a look at these cards, along with measurements if you want to recreate them yourself.
Card 1: Layers Galore
This card features several base layers, plus another set of layers in the center of the card. Along with some die cuts, wrapped ribbon, and greeting, it makes for a lovely card recipe you should try at home!
Measurements:
Base: 5 1/2″ x 8 1/2″
Mat: 4 1/8″ x 5 3/8″
Designer Paper: 4″ x 5 1/4″
Cardstock Strip: 3″ x 5 1/2″
Designer Paper: 2 7/8″ 5 3/8″
Vellum Strip: 2 5/8″ x 5 1/8″
Card 2: Positive & Negative Layers
Have you ever thought about creating layers by removing areas from a card? At the bottom of this card, I cut through the card base and added the greeting behind the base itself. Then by adding several layers on top of the card, this card ends up with a ton of dimension!

Measurements:
Card Base: 5 1/2″ x 8 1/2″
Mat: 4″ x 4″
Mat: 3 7/8″ x 3 7/8″
Designer Paper: 3 3/4″ x 3 3/4″
Designer Paper Behind The Cutout: 4 1/8″ x 4 1/8″
Card 3: Vellum, vellum & greeting layers
I love using vellum on cards. It’s perfect when your card needs a little something to make the focal point stand out from a busy background, or when you need a little something but you don’t want to take away from the rest of your card. On this card, I used two separate layers of vellum, plus die cuts like the layered greeting. I really love how the Delightful Wishes die set includes layers for the word “Wishing” and the stamp set includes the word “Wishing” plus lots of options for what else to add, such as “You All The Best” as shown on this card.
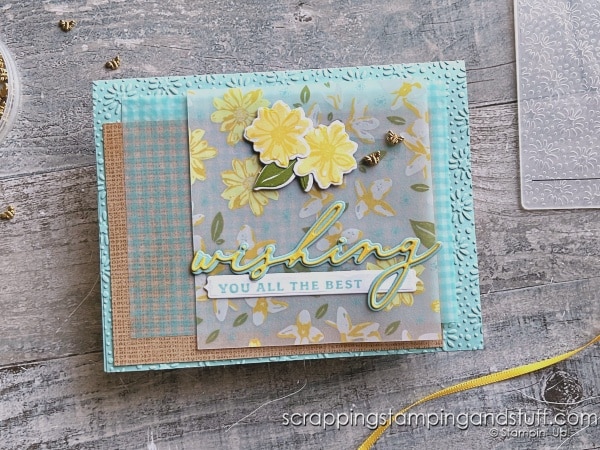
If you love the embossing on this card or if you’re interested in shopping for a few supplies, make sure to take a look at Sale-a-bration specials going on now. You can get this embossing folder, or many other items free with a purchase!
Measurements:
Card Base: 5 1/2″ x 8 1/2″
Designer Paper: 3 1/2″ x 4 3/4″
Vellum: 3 1/2″ x 4 3/4″
Vellum: 3 1/2″ x 3 3/4″
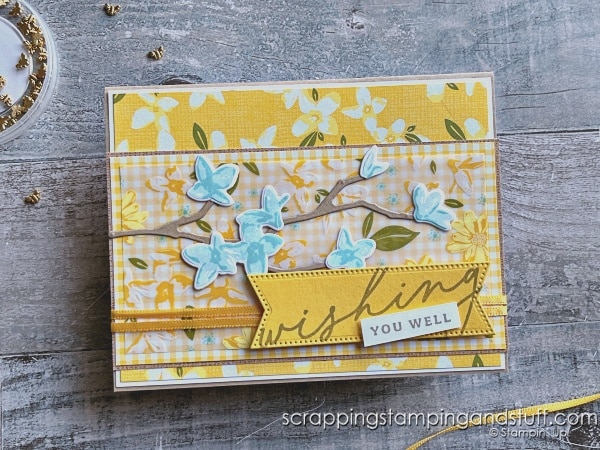
Card 4: layers & stamped layers
When thinking about layers, keep in mind you can even create the illusion of layers with stamping. By stamping darker words or images over lighter ones, you’ve created another layer! Crumpling a layer of your card also adds texture, as I did with the layer of blue floral vellum from the Floral & Gingham Vellum pack.
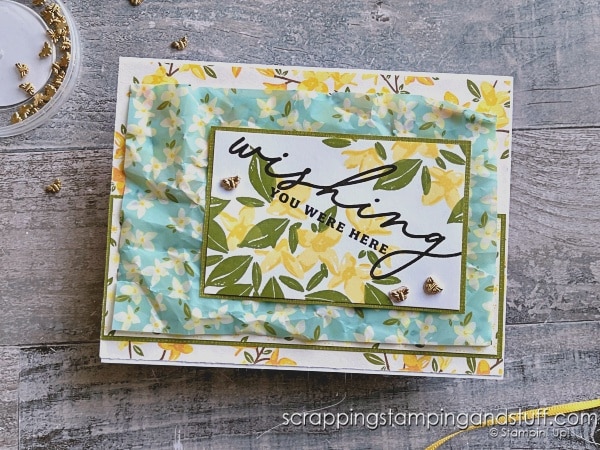
Measurements:
Card Base: 5 1/2″ x 8 1/2″
Designer Paper: 4 1/8″ x 5 1/2″
Cardstock Strip: 2″ x 5 1/2″
Designer Paper Strip: 1 7/8″ x 5 3/8″
Vellum: 3 1/2″ x 5 1/4″
Cardstock Mat: 2 3/8″ x 3 5/8″
Cardstock For Greeting: 2 1/4″ x 3 1/2″
Which card is your favorite? Comment and tell me! Don’t forget about Sale-a-bration happening now and get all the details here. Take a look at the supplies I used and shop using the links below!
Materials List
Product List")
")
")
")
 Designer Series Paper")
 Specialty Designer Series Paper")

 Satin Ribbon")


Learn To Make Cards
Shop Supplies
Rewards Program
Join My Amazing Team
I hope you can use these layouts and tips that I shared along with the Stampin Up Delightful Wishes bundle!
Leave a Reply