We all love ways to save money and make our card making supplies stretch a bit further, right? In light of that, today I want to share 5 great tips for saving paper on your card making projects. I’ll be using a really fun stamp set called Stampin Up Bird’s Eye View, and I think you’re going to love it. Let’s take a look!
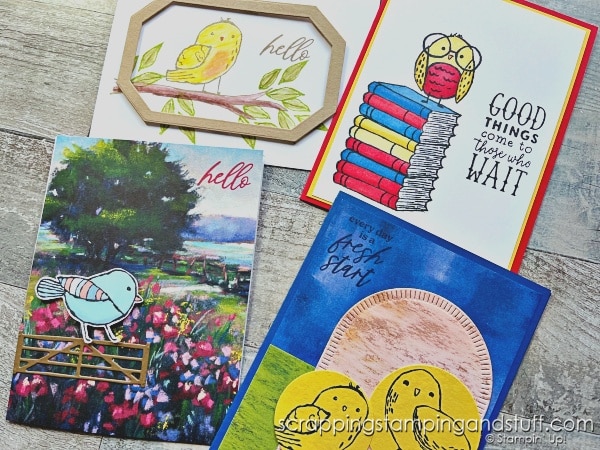
Stampin Up Bird’s Eye View
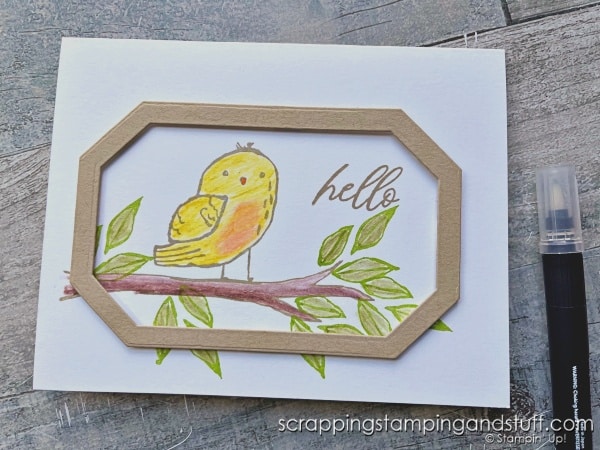
Here is the sweet stamp set I used on the projects shown above. I love how simple it is, and oh so cute!
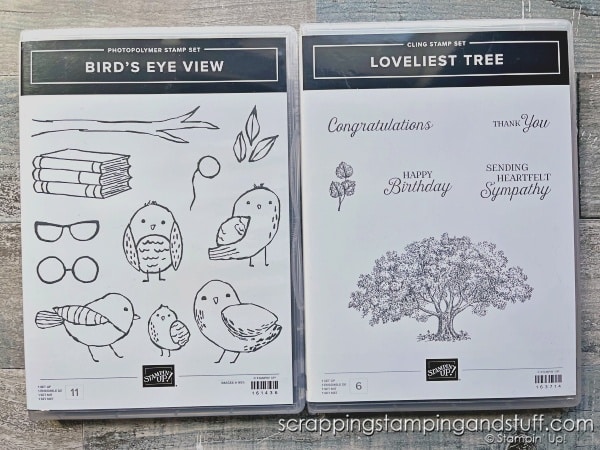
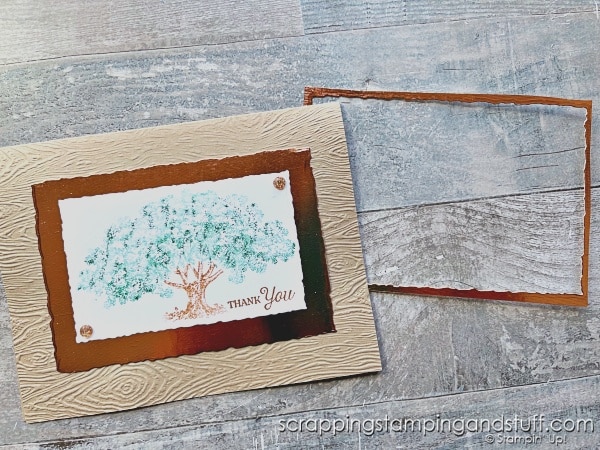
You’ll also see a card shown below using the Loveliest Tree stamp set, so I wanted to share it with you as well.
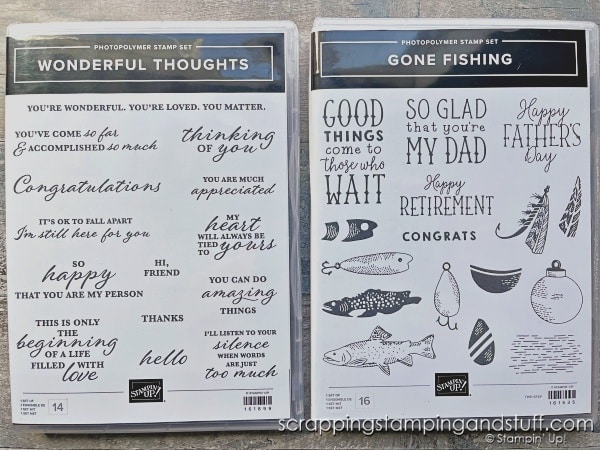
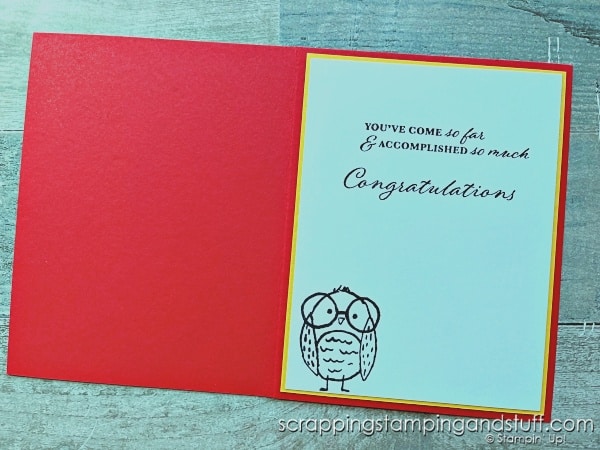
One of the cards shown below is a graduation card, and sometimes I have a hard time finding appropriate sentiment stamps for graduations. I used these two sets for the greetings on that card.
Ok, let’s look at today’s paper saving tricks!
Paper Saving Tricks
Here they are!
1. When you mess up – don’t throw it away! Flip it over!
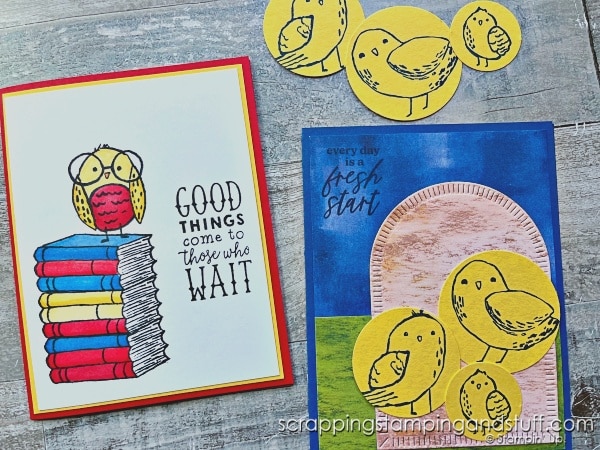
For the card shown below, I messed up my first stamped greeting (on purpose this time!) and just flipped it over and restamped.
2. Punch from the center of your card mats before attaching them to your card.
See the yellow mat below? I stamped some birds on it and punched them out with circle punches before assembling the card. You can’t even tell part of the mat is missing!
Here you can see how I used those yellow circles on another card.
3. Die cut all of the nested shapes
To do this, just lay all of the nested dies together on your cutting plate. If needed, use some tape or a post it to hold them in place, then run it through your die cutting machine. Now you have pieces for several cards…not just one!
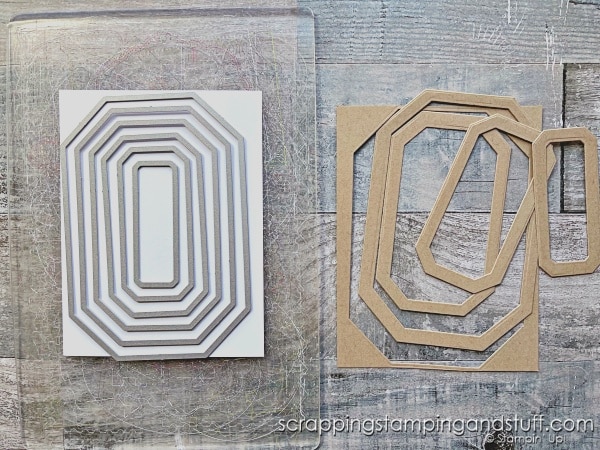
If desired, you can use less of the dies to end up with wider frames, which can help if you want them to appear as mats behind a card layer instead of using them as frames.
4. Plan your cuts for Zero waste
You’ll want to watch along with the video for more details on this tip. I shared cutting widths for both 12″ x 12″ and 8 1/2″ x 11″ paper that will give you zero waste after you make your cuts!
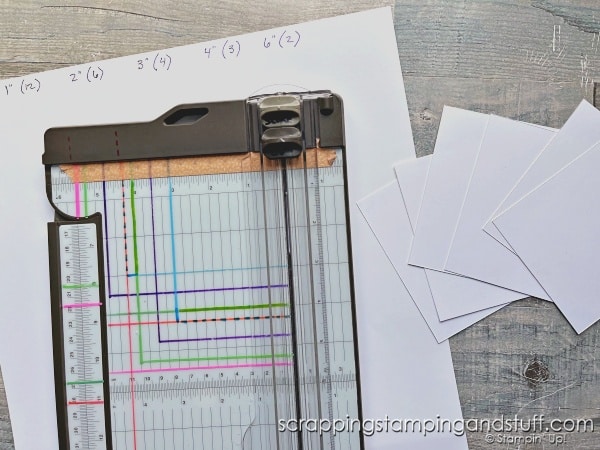
If you’re interested in details about the lines on my trimmer, take a look here.
5. Use designer paper for the front flap
Do to this, you’ll need a piece of designer paper measuring 4 1/4″ x 5 1/2″ and a piece of cardstock measuring 4 3/4″ (scored at 4 1/4″) x 5 1/2″. Just attach the designer paper to the cardstock flap. This saves paper compared to putting a designer paper mat on the front of a full card base.
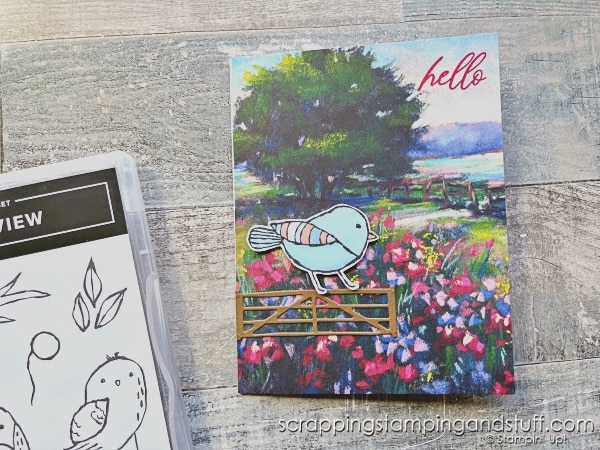
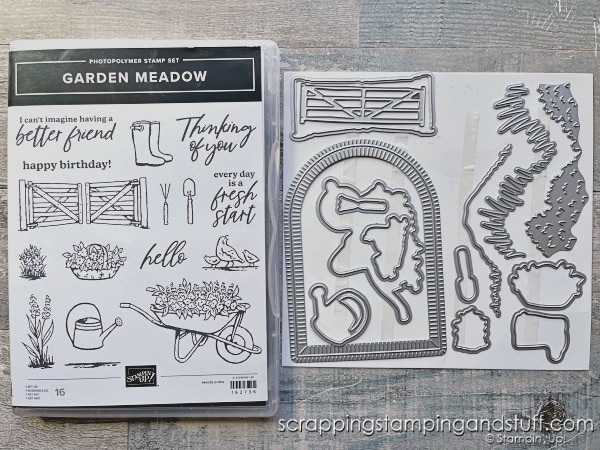
I wanted to mention quickly that I made the card above with the Garden Meadow bundle, which you can see below.
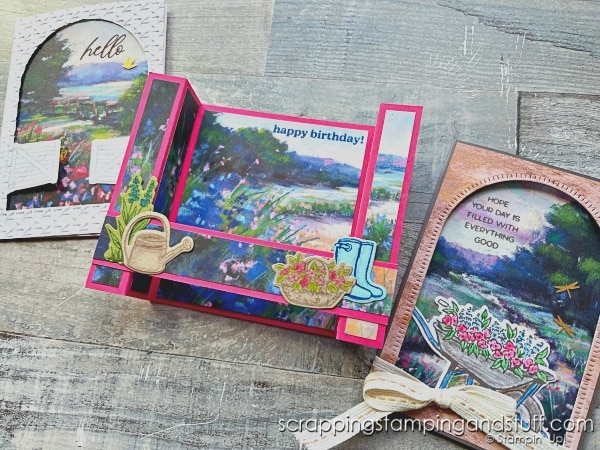
Here are some other neat cards made with that same bundle.
6. Use white or light colored card bases, so you don’t have to use a mat inside
7. Use a stamping platform to prevent making mistakes
8. Save your scraps from die cutting and trimming. They make beautiful Additions to your cards too!
I shared a lot more about these ideas in today’s video, shared below.
Paper Saving Tricks Tutorial Video
Watch along here for paper saving tricks and to hear a bit about how getting outside and walking has helped me!
Supply List
Product List Learn To Make Cards
Shop Supplies
Rewards Program
Join My Amazing Team
Thanks for visiting for these paper-saving tricks and card ideas featuring the Stampin Up Bird’s Eye View stamp set!


Anna, you are the best. I love reading all you tips and tricks. I look forward to and read all of your posts. Thank you!!! Paula Barclay
Really enjoy all of your tips and tricks; and your cards are ALWAYS beautiful ❤️
Keep on keepin’ on ❤️