How much designer paper do you have in your stamping collection? A little? A lot? Most card makers admit they have more paper than they need, and today I want to share a lot of ideas for how to use that paper! Not only that, I’m specifically sharing ideas for ways to see both sides of your designer paper. I’ve featured many of the Sale-a-bration items that you can get for free right now with a $50+ order. Take a look!
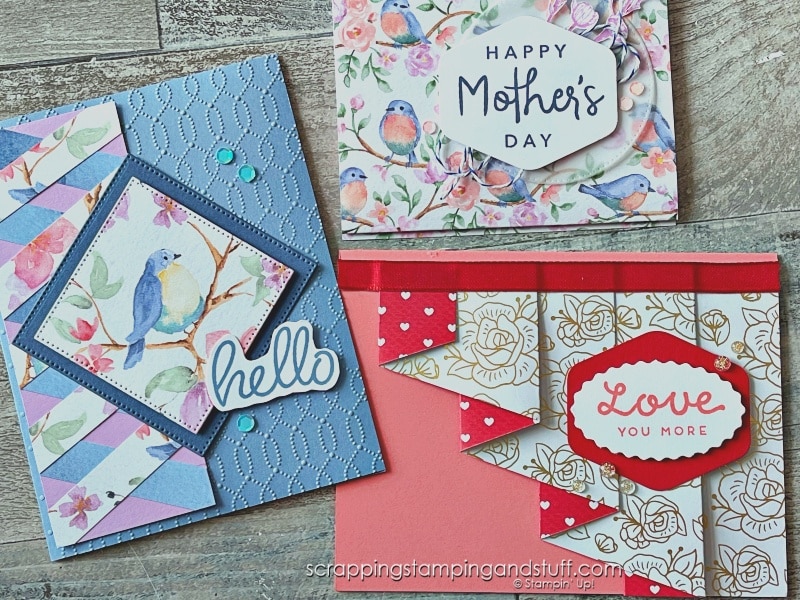
Ways To See Both Sides Of Your Designer Paper
Let’s start looking at these techniques.
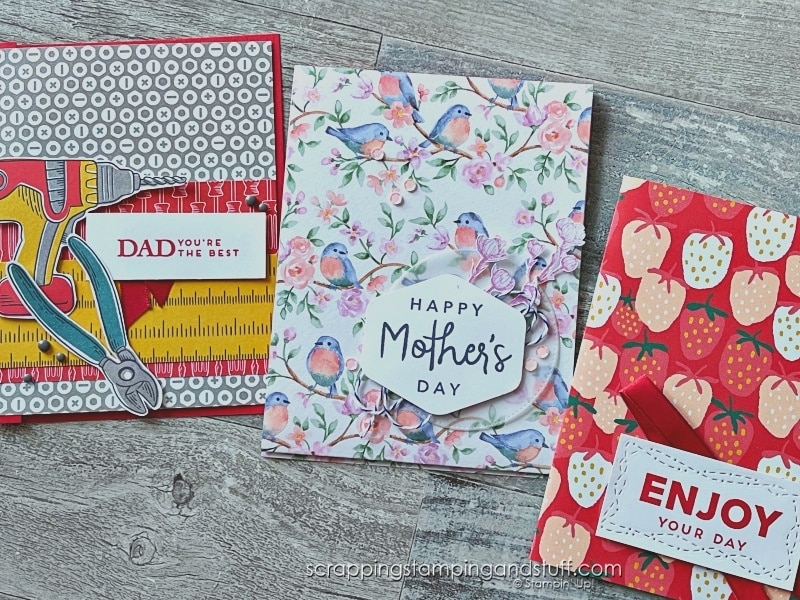
1. Regular Card Base
This technique is simple – just replace your card base with a piece of designer paper. I cut my paper to 5 1/2″ x 8 1/2″ and scored it in the center at 4 1/4″.
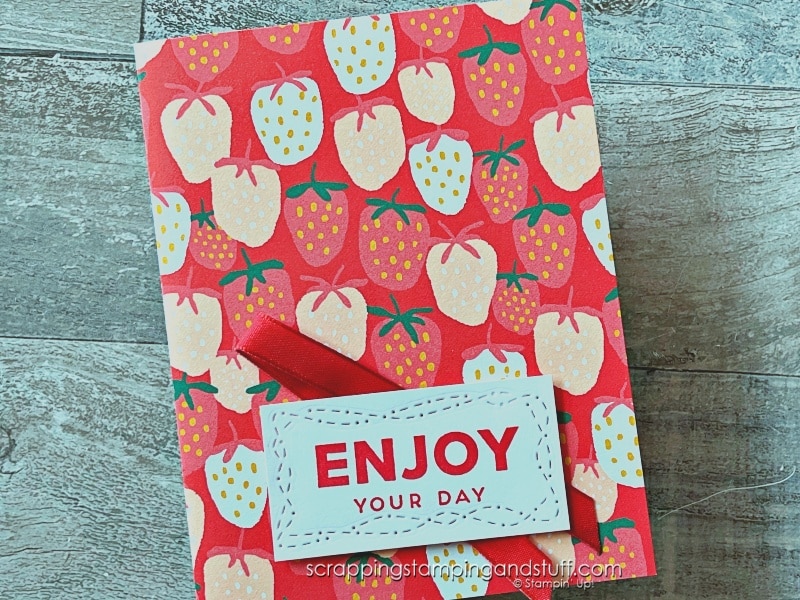
Here is the front of the card…
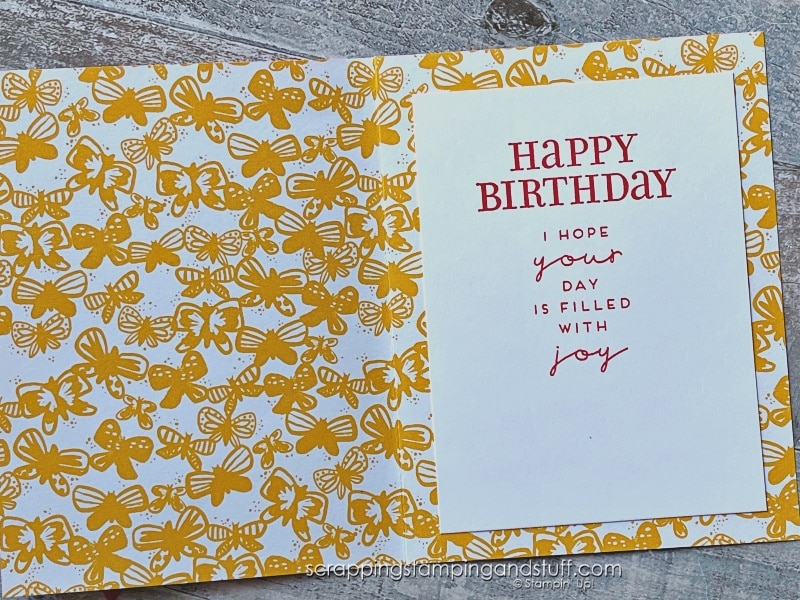
…and here is the inside. The paper used on this card is from the Sunny Days pack and you can get it free right now with a $50 order! Keep reading for more details.
2. Z-Fold Card Base
To do this, use a piece of 4 1/4″ x 11 1/2″ designer paper, and a second piece that measures 4 1/4″ x 5 1/2″. Score the longer piece at 5 1/2″ and 11″. Assemble as shown in today’s video, and decorate as desired!
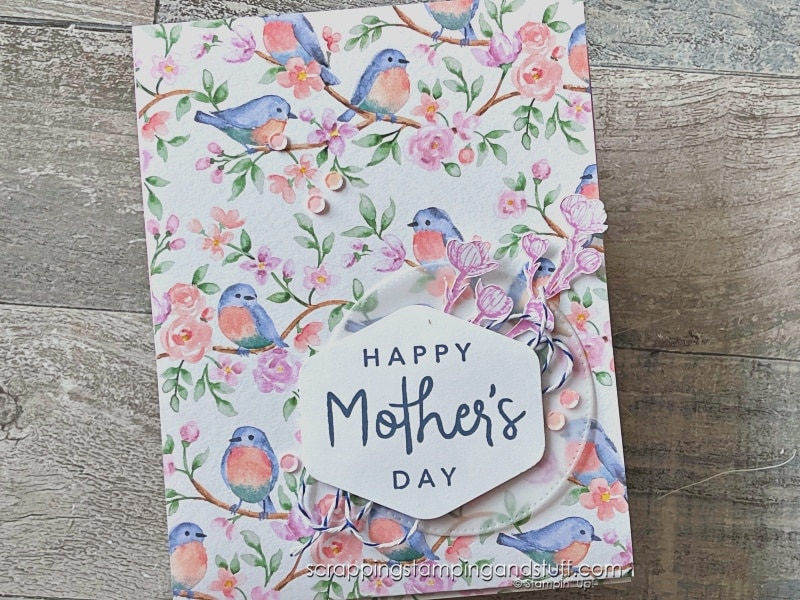
Here’s what this card looks like opened up.
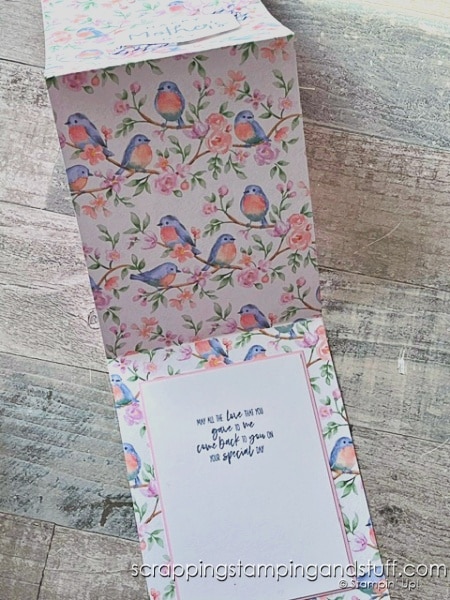
3. Front Flap Only
This card uses cardstock for the back of the card and designer paper for the front flap. Here are the dimensions: cardstock 4 3/4″ x 5 1/2″ (with the 4 3/4″ edge at the top, score at 4 1/4″) and designer paper measuring either 4″ x 5 1/4″ or 4 1/4″ x 5 1/2″ (you choose depending on if you want the designer paper to cover the entire front or leave a border around the edge).
Here is the card front…
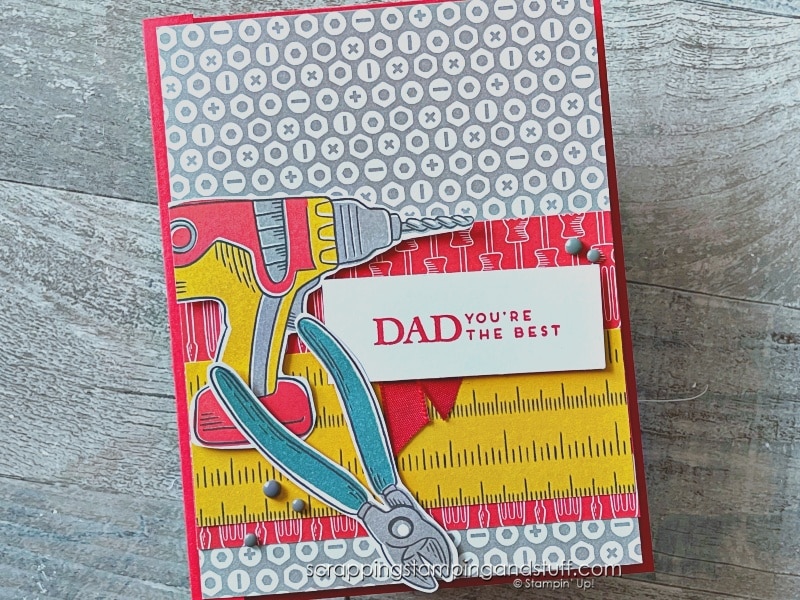
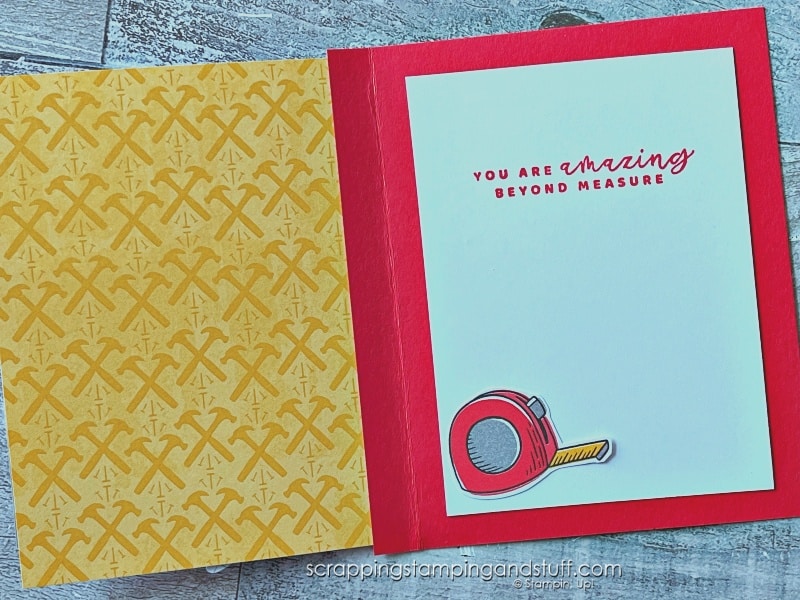
…and here is the inside. The paper on this card is from the Trusty Toolbox pack.
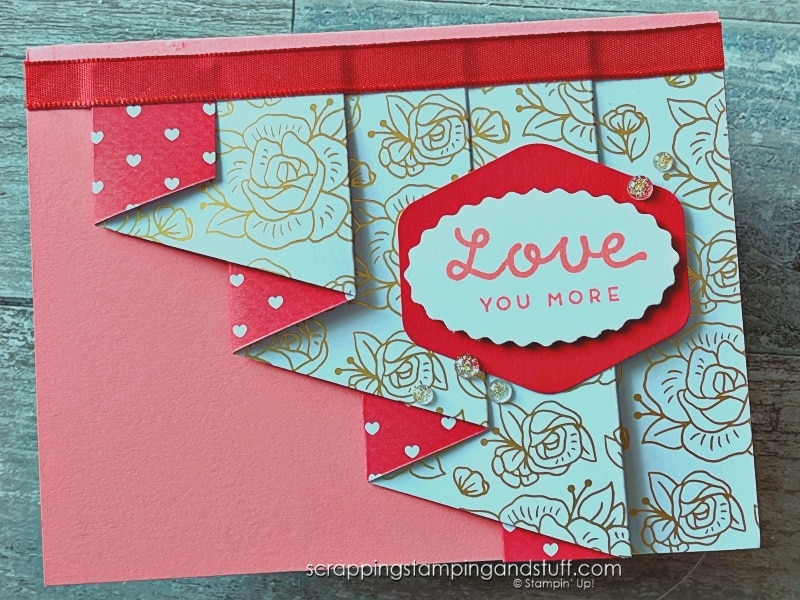
4. Drapery Fold Technique
This is a technique I shared more about here. Start with a piece of designer paper measuring 6″ x 12″ and score at 1″, 3″, 4″, 6″, 7″, 9″, and 10″. Then use your trimmer to cut at an angle as shown in the video to create two separate pieces. Fold these and attach to your card as desired. This card features Most Adored designer paper.
5. Criss Cross Technique
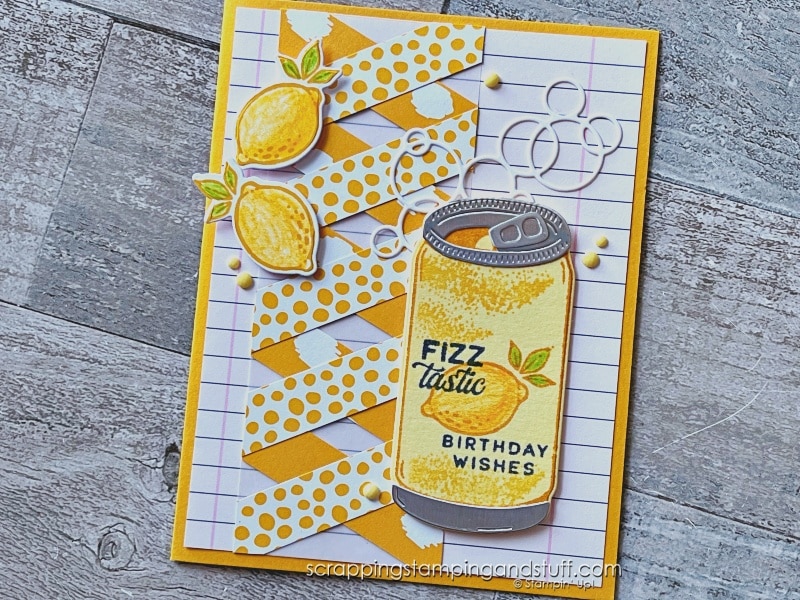
For this design, you’ll need two strips of paper measuring 1/2″ x 12″ and a piece of cardstock measuring 2″ x 5 1/2″, scored at 1/2″, 1 1/2″, 2 1/2″, 3 1/2″, and 4 1/2″. Add the strips as shown in the video.
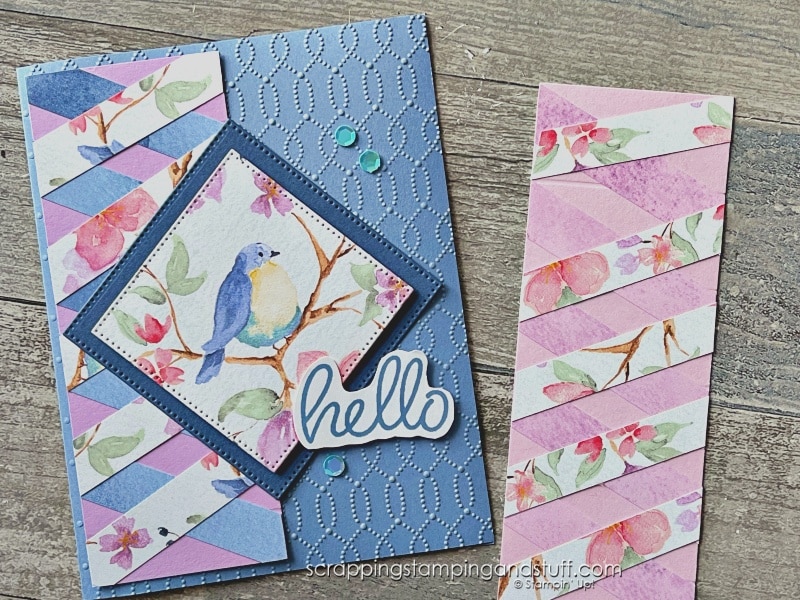
I used this same design on this card, featuring the Simply Sparkling stamp and die set. Cute, isn’t it?!
6. Punch Hack
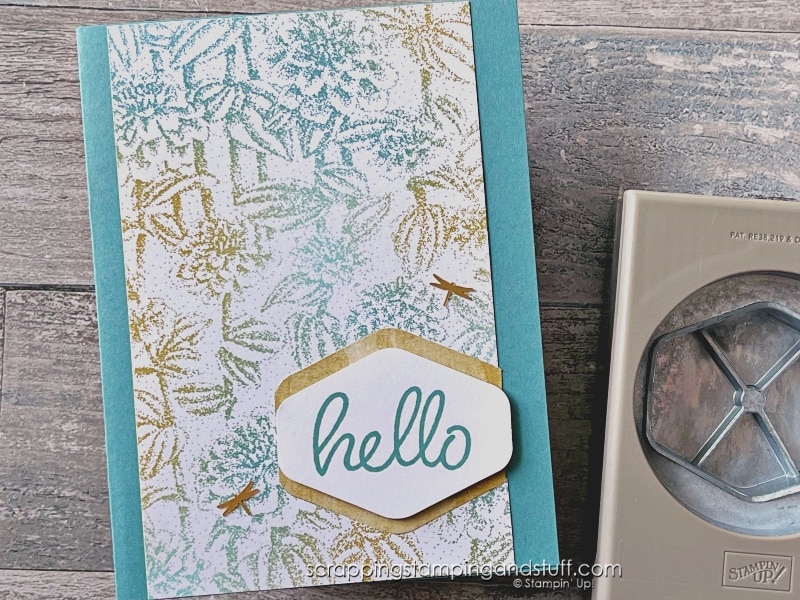
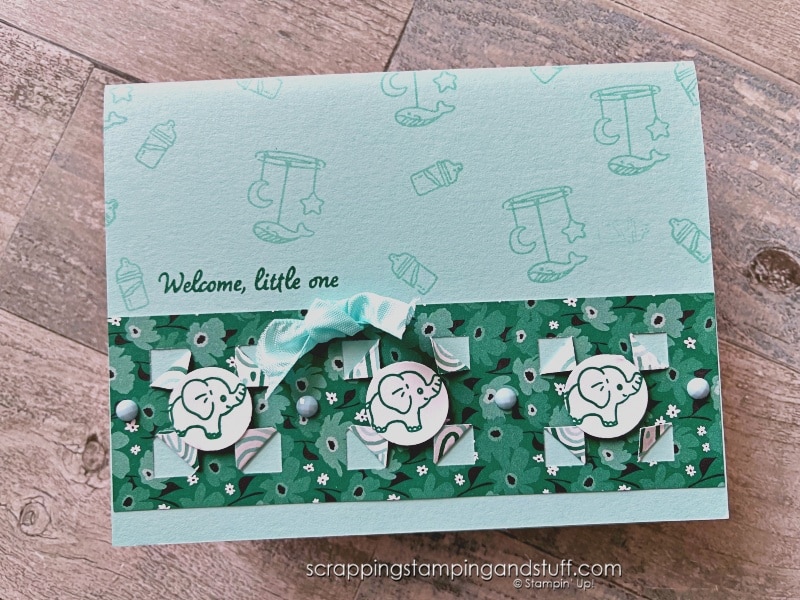
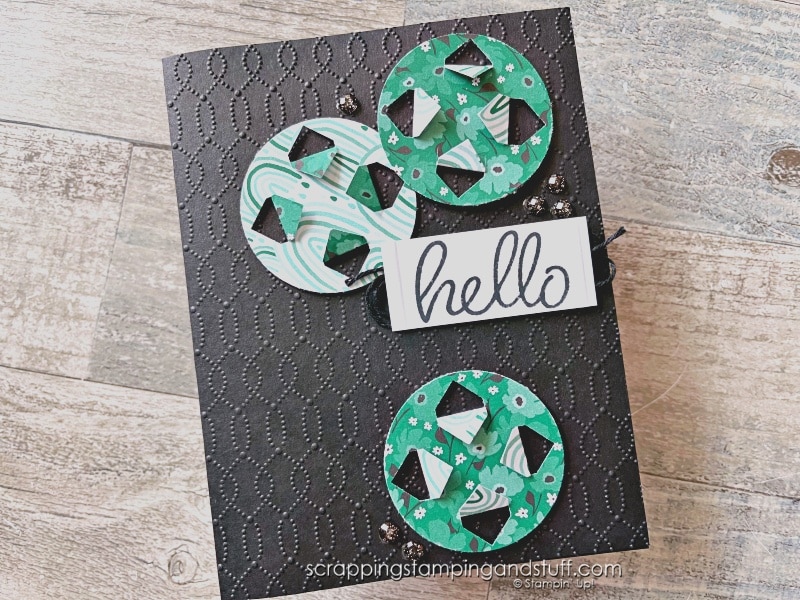
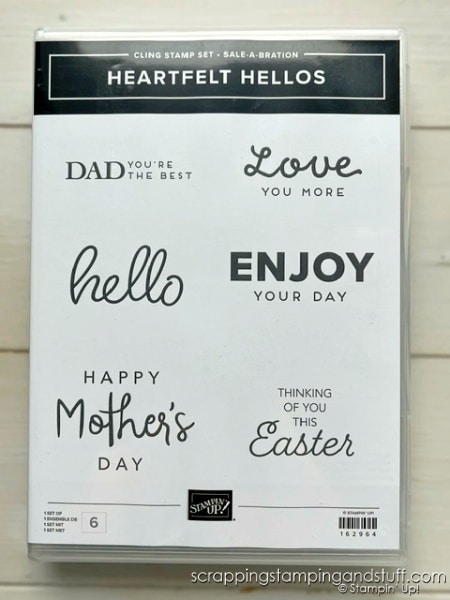
For this card, simply use the Heartfelt Hexagon punch to punch a piece out of the Softly Stippled designer paper, then flip it over to show the contrast from the back side. Then add the greeting on top. This greeting is from the Heartfelt Hellos stamp set which is free right now with a $50 order.
I discovered another punch trick as well. This was a fun surprise as I started playing with my punches. I punched partway through the paper with the Inked & Tiled punches, then folded in the corners. What a fun technique! This one uses the Cradled In Love stamps, a Sale-a-bration reward item.
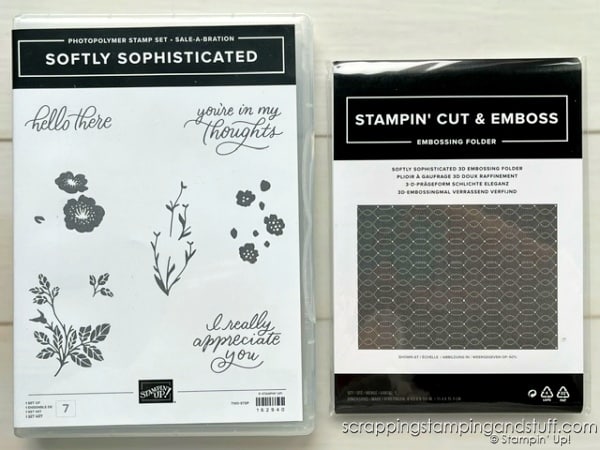
This card uses the same punch technique along with the Softly Sophisticated embossing folder, another reward item option.
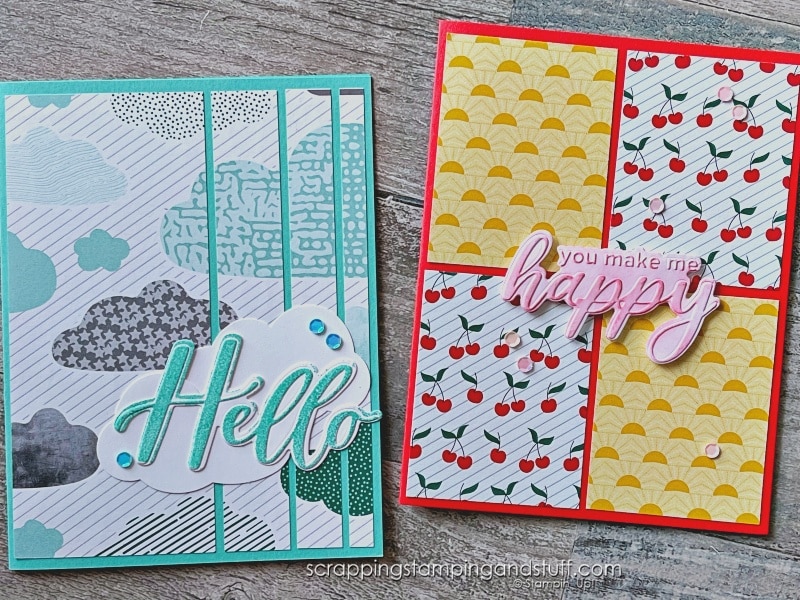
7. Panel Cards
I love to create panel cards with designer paper. Just trim your paper into sections, and then flip some of them over to see both sides! Get more panel card ideas here.
Features Products
The products I used on most of the cards above are available free right now during Sale-a-bration with any $50+ order. Let’s take a look at them.
Softly Stippled Designer Paper
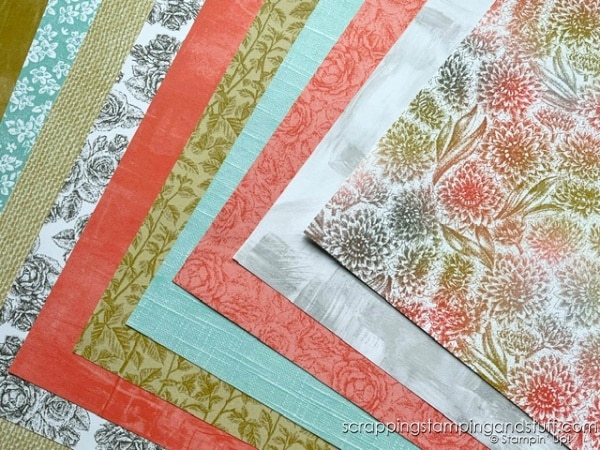
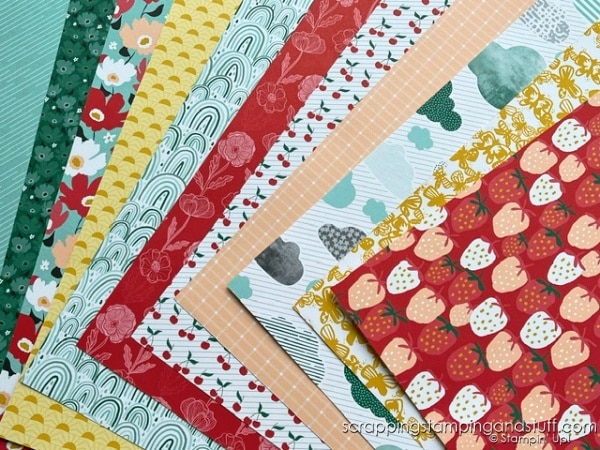
Sunny Days Paper
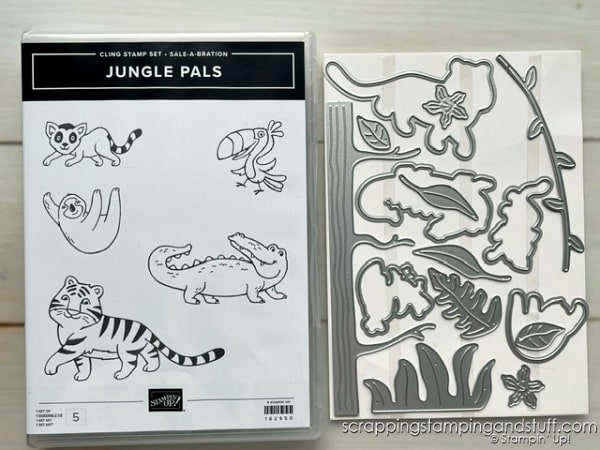
Jungle Pals Stamps And/Or Dies
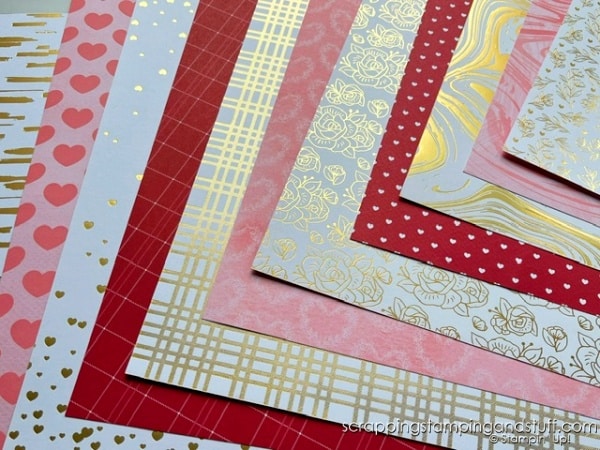
Adoring Hearts Paper
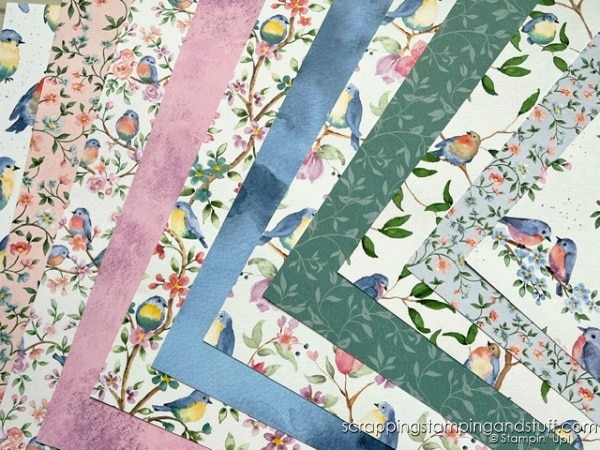
Flight & Airy Paper
Trusty Toolbox Paper
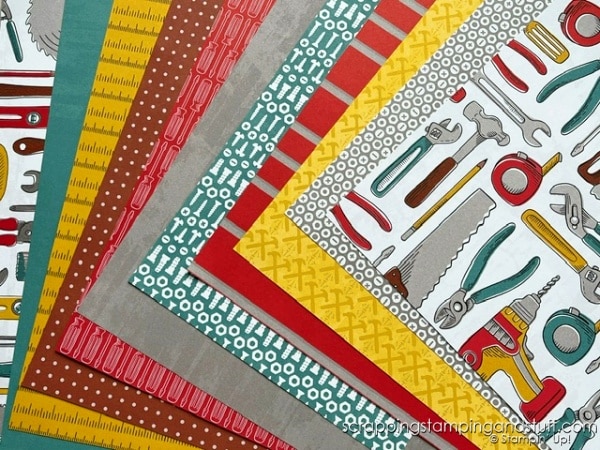
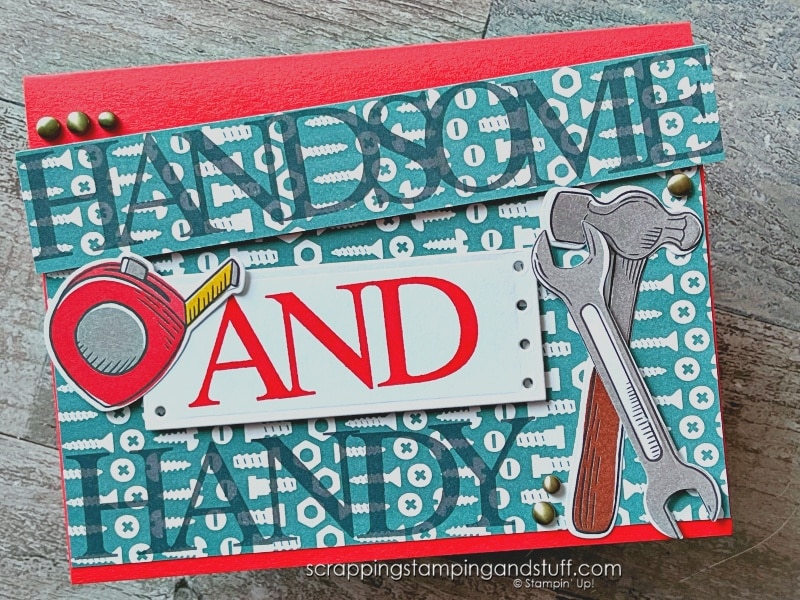
Heartfelt Hellos Stamps
Softly Sophisticated Bundle
Cradled In Love Stamp Set
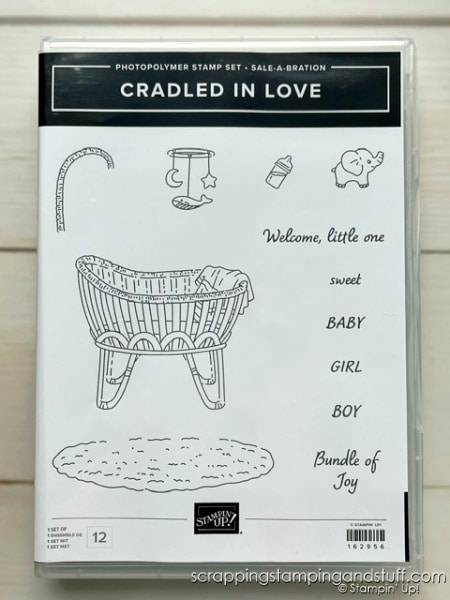
It’s a great time to shop, since you can choose from these amazing reward items!
Recommended Greeting Stamps
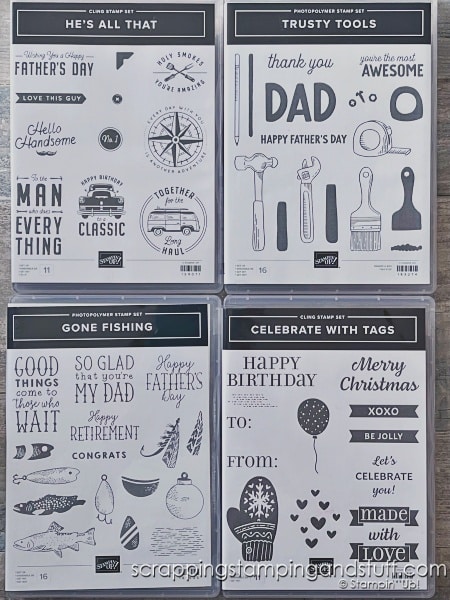
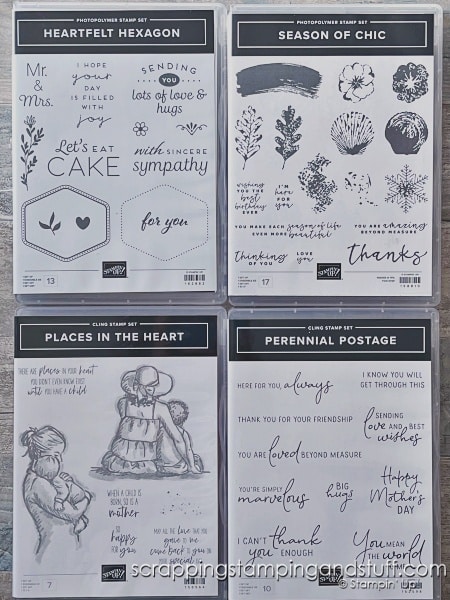
In today’s video, I shared a few greeting stamps that I really like to use on the insides of cards. Do you ever find it hard to find greetings for card insides? These are a few of my favorites.
Designer Paper Techniques Video
Watch along here for more details on the card ideas and paper techniques shared above! Stick around until the end to hear more about the special diet I’ve been on for over a year now. It has been life changing for people with SO many physical and mental problems!
Materials List
If you want to get some of the free items during Sale-a-bration, don’t wait to shop! Use the links below.
Product ListThanks for visiting to see these ways to see both sides of your designer paper!
Learn To Make Cards
Shop Supplies
Rewards Program
Join My Amazing Team


Loved your video–wish it could have been longer. Demo a little more. I enjoy your “health talks”! They are very Good. I appreciate you taking the time to do them.
Forgot to ask, what alphabet did you use to make the “Handsome tool card”?
Thanks