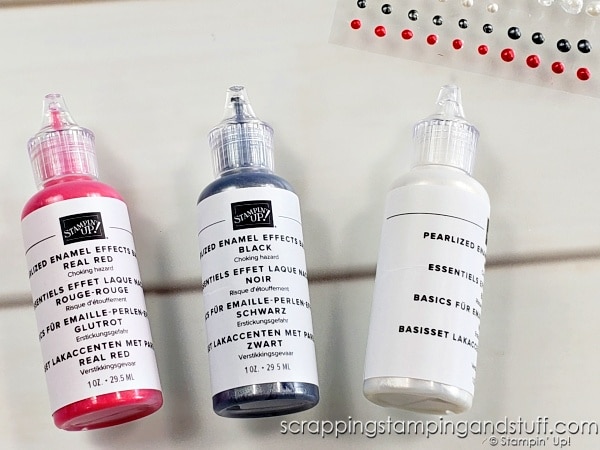
Do you like to use embellishments on your projects or keep them clean and simple? It seems like most crafters love a little bling or sparkle on their projects. Today I want to look at a new product in our holiday catalog and talk about many ways to use it to embellish projects, and also save money in the process! Let’s talk about how to make some DIY embellishments with our new Pearlized Enamel Effects Basics.
DIY Embellishments Video
Watch along here to learn about creating some DIY embellishments. I had several snaffus in this video, so you might get a good laugh (or 10)!
Pearlized Enamel Effects Basics
What is Pearlized Enamel Effects? It is a thick liquid that you can apply to projects, which will dry to create raised glossy accents. In my video, I started calling it ‘goo in a bottle’ because I couldn’t remember the real name! I really like this product because it gives a lot more flexibility compared to purchasing pre-made embellishments, and it can save a lot of money as well!
How To Use
There are a few ways to use these little bottles to embellish your papercrafts.
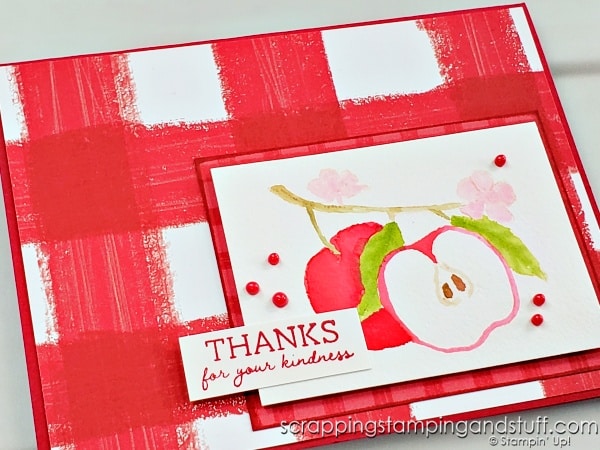
1. Apply directly to a project and let dry.
You can create small dots, highlight a particular area, outline a shape, you name it.
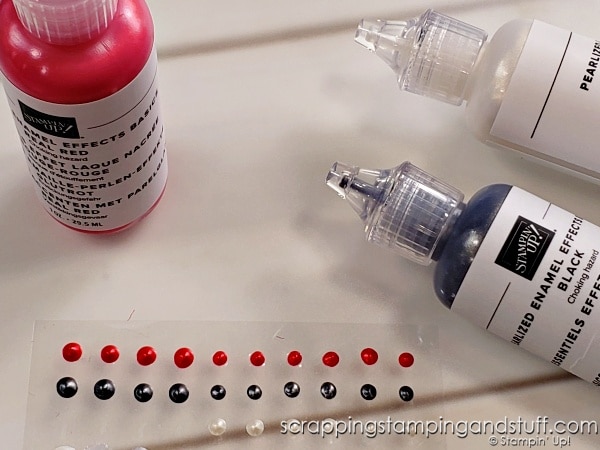
2. Create pre-made embellishments by applying to plastic sheets.
I used plastic sheets from old embellishments, and created dots on them to let them dry.
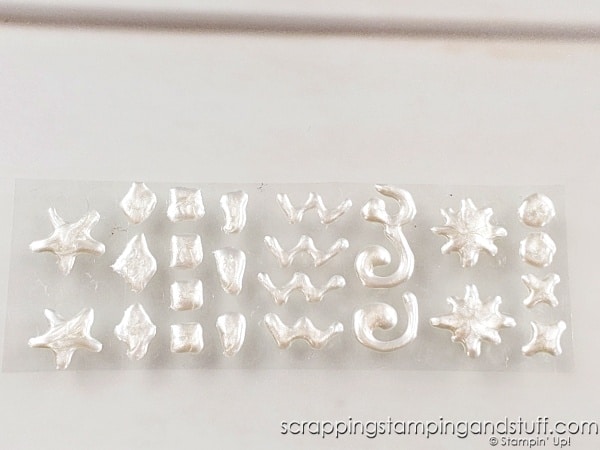
I also created a sheet with assorted shapes.
3. Use your creativity – cover punches or die cuts, use Pearlized Enamel Effects to create a background for a card, etc.
Pre-Made Embellishments
My favorite way to use this product is to create pre-made embellishments, because this can save so much money! You could create thousands of them with these three little bottles. If you do this, here’s a great tip to apply them to your projects.
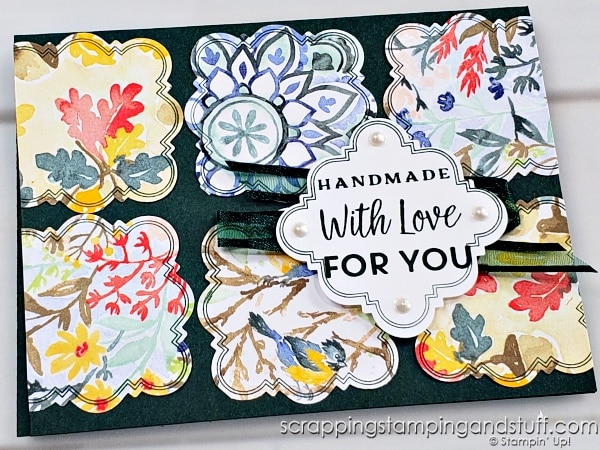
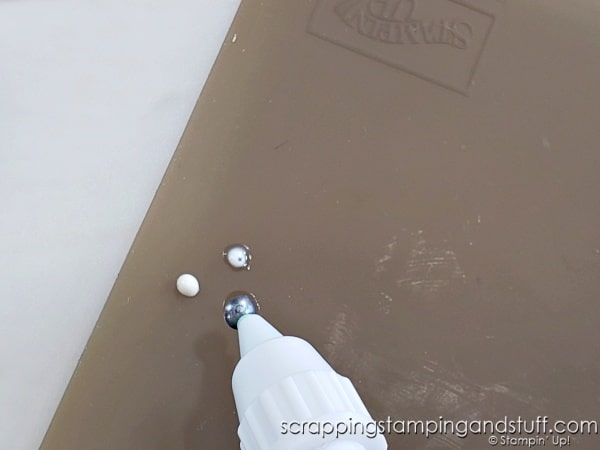
1. Place a dot or a few dots of glue onto a slicone craft sheet.
2. Pick up an embellishment using the putty tip of a Take Your Pick tool.
2. Lower the dot into glue.
3. Apply the dot to your project. You may need to use your finger or the tip of a pair of snips to hold the dot in place while you lift the Take Your Pick tool off.
What do you think? Do you like the idea of creating DIY embellishments for your projects?
Order Pearlized Effects Here
Product List Learn To Make Cards
Shop Supplies
Rewards Program
Join My Amazing Team
Thanks for visiting!


Leave a Reply