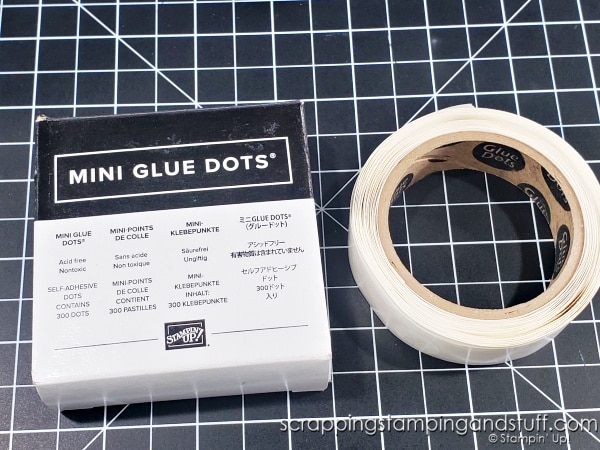
Raise your hand if you love Glue Dots! I’m raising both of my hands! If you don’t know what Glue Dots are, then I’m really excited to share with you today. If you do know what they are, I’m excited to share my best tips for using them!
10 Tips For Using Glue Dots Video
Watch along here to see my best tips, or keep reading for more info!
What Are Glue Dots?
Glue dots are pre-dried sticky dots that make an awesome adhesive for card making and other craft projects. They’re acid free, so they’re perfect for memory keeping, and they come attached to paper backing, which has been rolled up for ease of use. They’re one of my favorite adhesives, and I want to share my favorite tips for using them below.
Best Tips
As I’m sharing my best tips, I’ll link you to some neat card projects if you’re interested in taking a look at them. Let’s get started with tips!
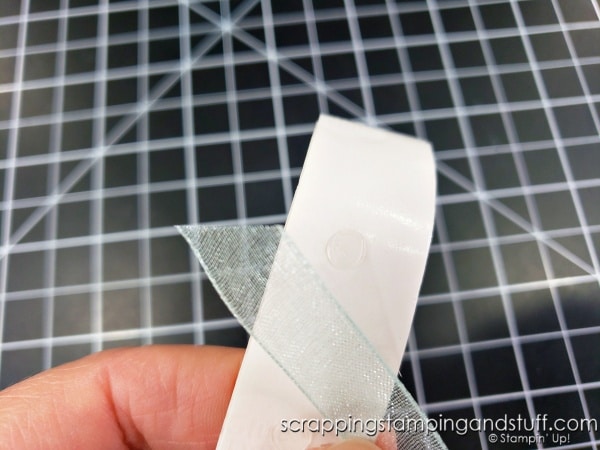
1. Put your paper/ribbon to the dot, not the dot to the paper/ribbon.
Avoid picking up the dots if possible. It’s so much easier to put your paper or ribbon against the dot (while still on the roll), give it a squeeze to adhere, and lift it off.
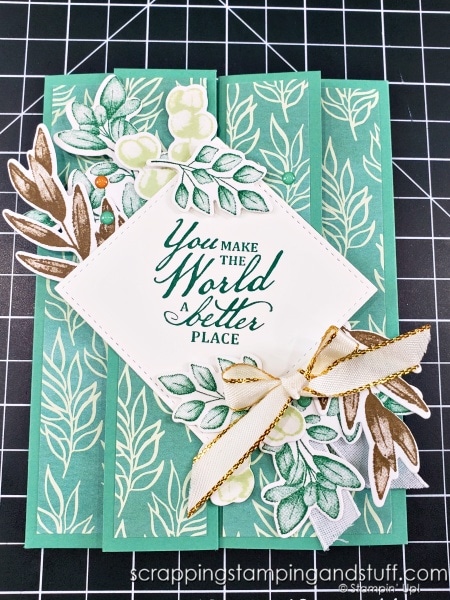
In my video, I showed doing this to attach the bow to the card shown below.
2. Glue Dot too big? Cut it in half.
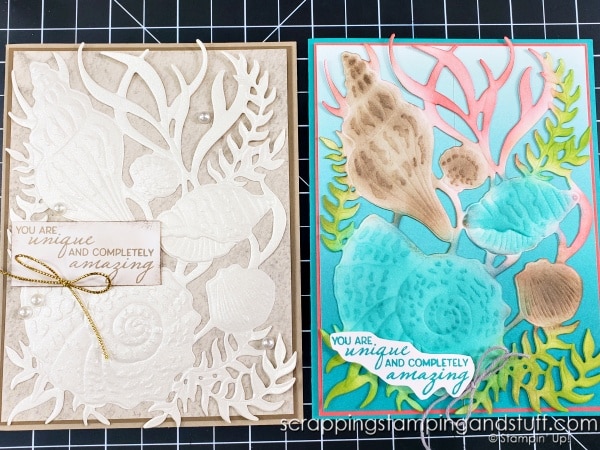
This is perfect for small bows made with twine, like those shown below.
3. Or try rolling it up.
This is another way to make the dot smaller for twine bows, and it avoids having to cut the dots with scissors. Just roll it up like a little tiny Fruit Rollup. Just don’t eat it!
4. Use dot for ends of ribbons
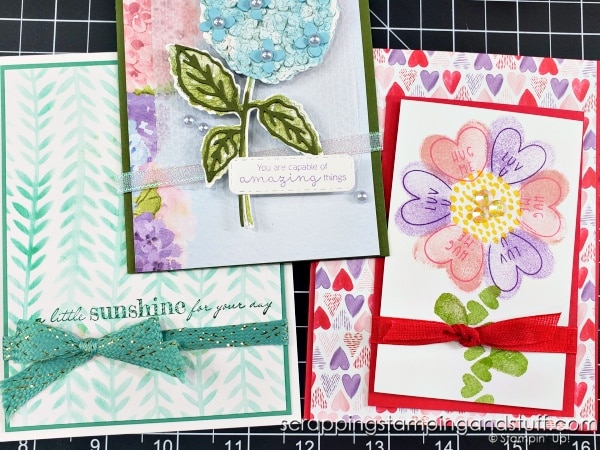
Glue Dots are the only way I attach the ends of ribbon when it wraps around to the back of a card layer. Do you like to create cards with bows or knots like those shown below? Learn how to save ribbon with this fun tip.
Heart Flower Card Hydrangea Card Blending with Masks Card
5. How to lift them
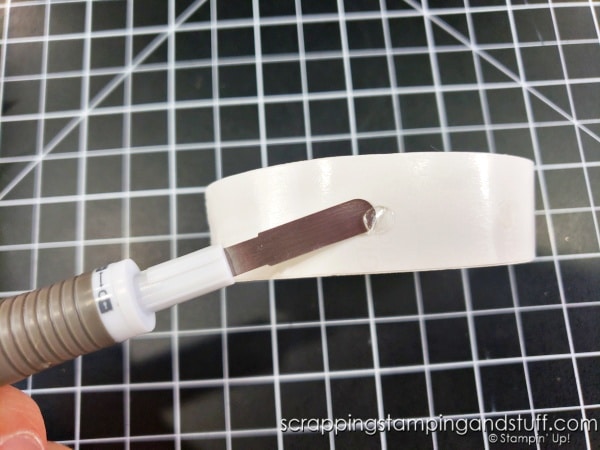
When you actually need to pick up a dot, don’t do it with your fingers! The Take Your Pick tool is perfect for this.
6. Ribbon isn’t staying?
Use a dot! Use the Take Your Pick tool to slide a dot underneath the ribbon, press down, and the ribbon will stay where you want it. This works perfectly for unruly tails of bows!
7. Use for exposed areas
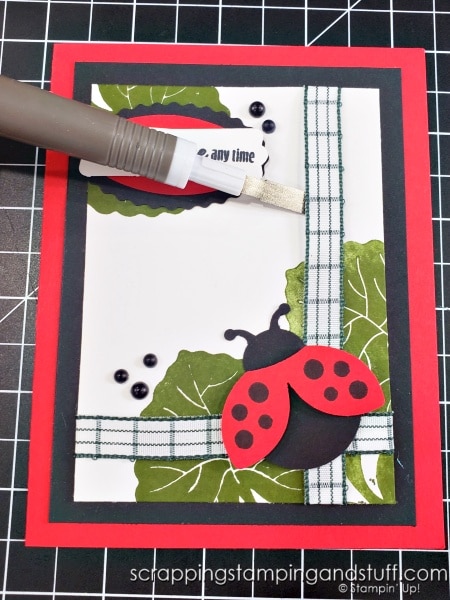
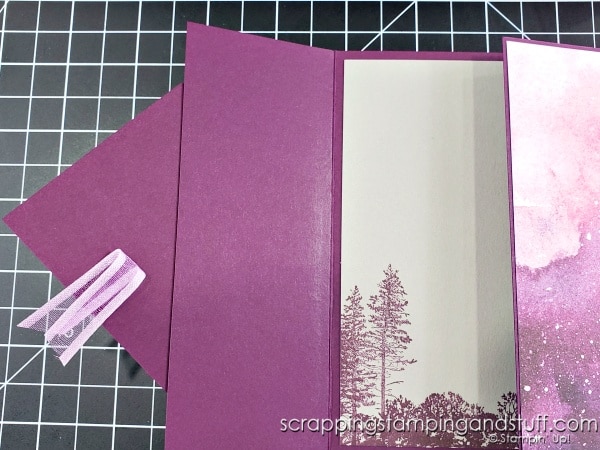
See the ribbon on the card below? It is exposed and I didn’t want glue oozing through to the other flap, which would glue the card shut. A Glue Dot was perfect for this.
8. Card layer bowing up?
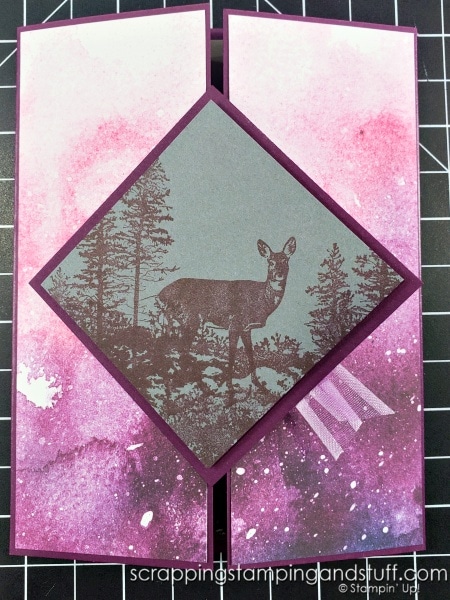
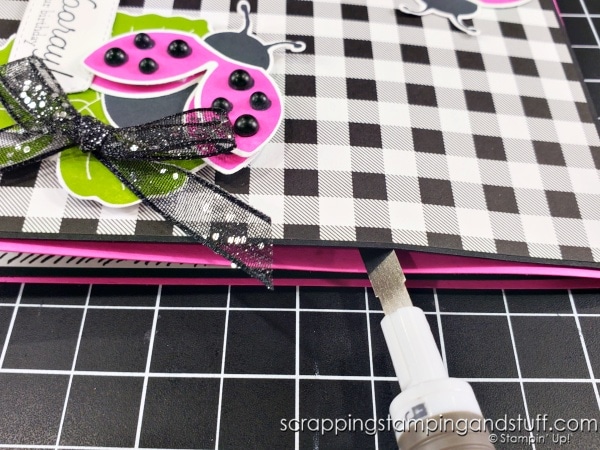
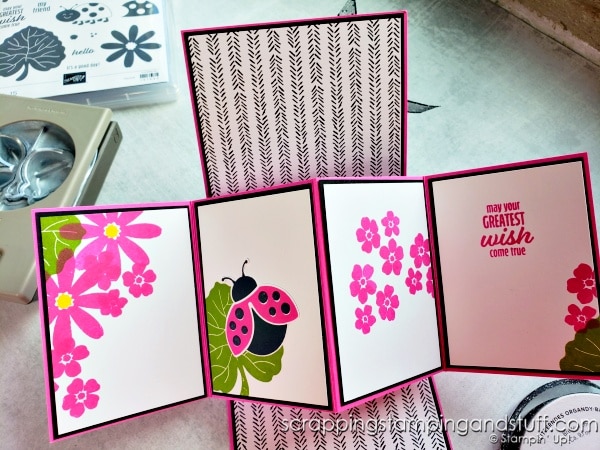
Use a dot! Slide it underneath using the Take Your Pick tool, and give it a push to hold in place. This works wonderfully for watercolor paper, or any other paper that won’t lay flat.
9. Use with Gilded Leafing!
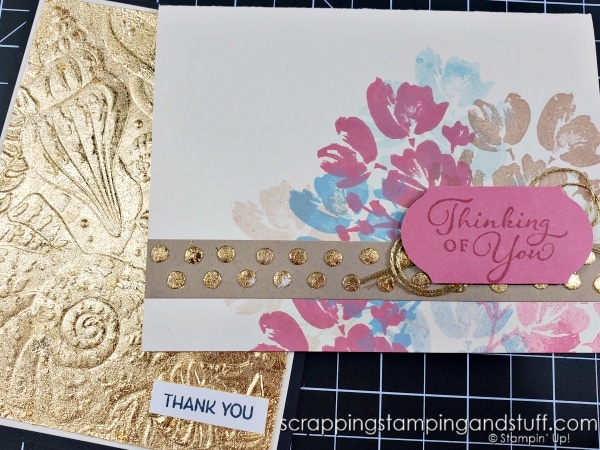
What a fun technique with a beautiful result. Learn about gilded leafing here.
10. Those random pieces that just won’t stay.
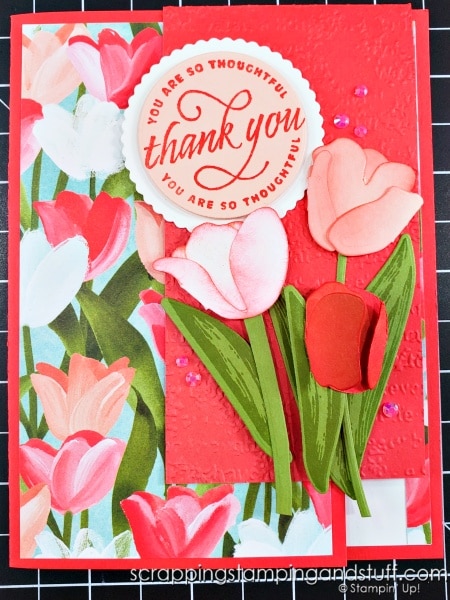
Use a dot! See the small tulip in the photo below? It didn’t want to stay in place, but two dots solved the problem.
As you can probably tell by now, I love Glue Dots! I just have to have them, for those times when I have to have them!
Need To Stock Up?
Order your dots here!
Product List Learn To Make Cards
Shop Supplies
Rewards Program
Join My Amazing Team
What other tips do you have for using Glue Dots? Comment and let me know!

Love all your tips using glue dots. I do most of them and it is a game changer.
I do not like the new glue dots, they are not user friendly. I see you used the old ones.
Did they start rolling the paper the opposite way? So the dots are stuck to the loose end, not the roll?
Yes, and it is so hard to get at them now and put them on the paper. The old ones just rolled right off.
I wonder why, I thought maybe some of mine were wrapped wrong by accident.