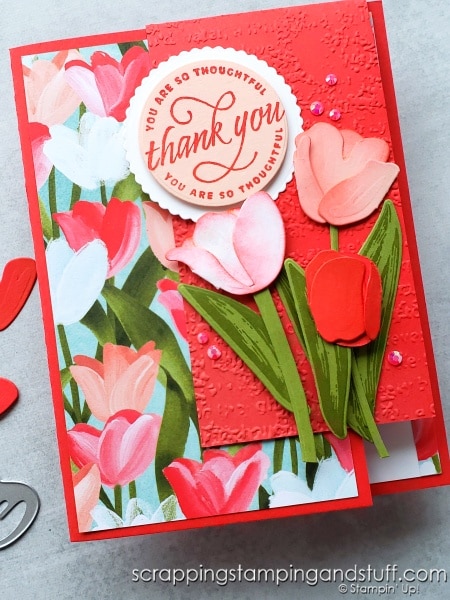
Last week while we were snowed in, I spent a day preparing for this week’s craft projects, and the one I’m sharing today is my favorite! I love creating fun fold cards, and I also love flowers. This card made with the Stampin Up Flowering Tulips bundle is just so pretty. Let’s take a look at it!
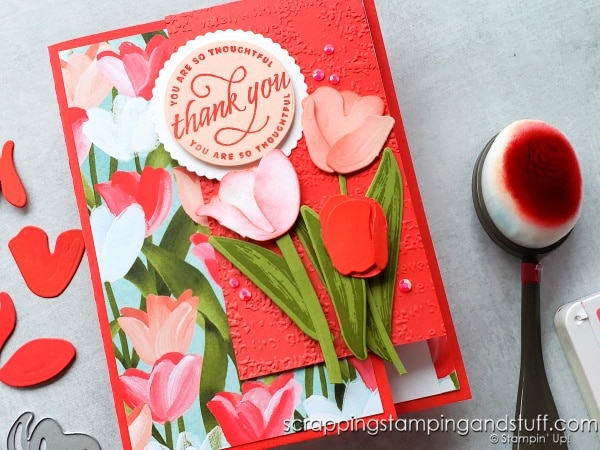
Stampin Up Flowering Tulips Fun Fold Video Tutorial
Get all the details on today’s card, and see how to create it here, or keep reading for more information!
Stampin Up Flowering Tulips Bundle
This is such a prettty bundle, but I’ll be honest, when I first looked at it I wasn’t sure how to use it. It took me a little time to figure out how to use both the stamps and dies, so I want to share that with you today!
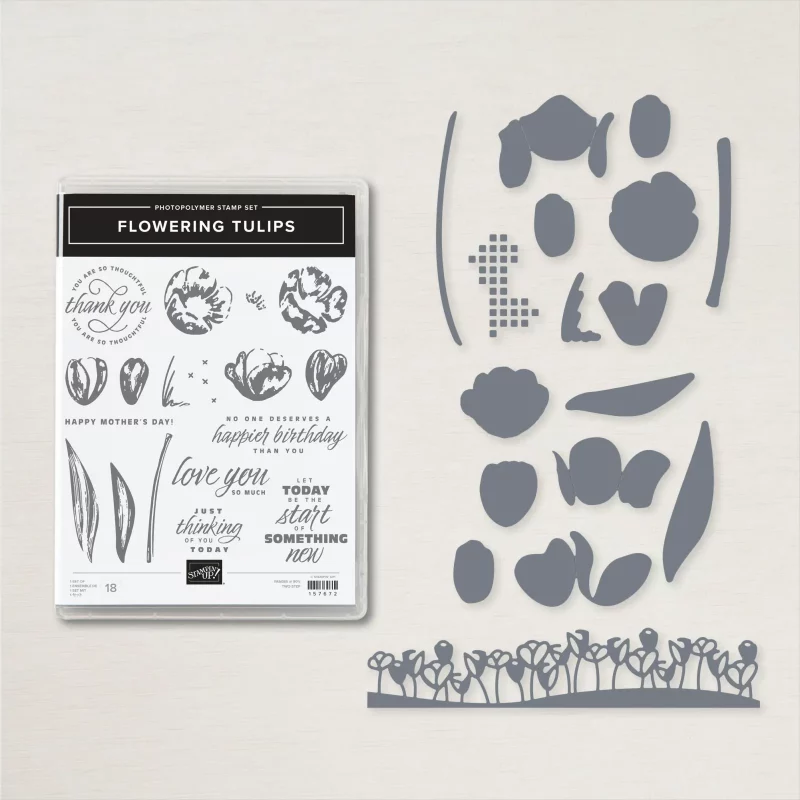
Each tulip stamp has a coordinating one to layer with it. If you look at the front of the stamp set, you’ll see them shown in pairs. For each set of tulip stamps, the one on the left should be stamped with darker ink, and the one on the right should be layered with lighter ink. This creates a really beautiful result, with realistic shading.
How To Assemble The Stampin Up Tulips Dies
Next I’ll share a bit about assembling the tulips die cuts. There are probably a lot of ways to use these dies, but the simple way is to fold and layer them as they’re designed. It’s not necessarily common sense when you first see them, so I want to share how it works.
For each of the flowers on my card, I used two of the die cuts. You can see them shown below in pairs.
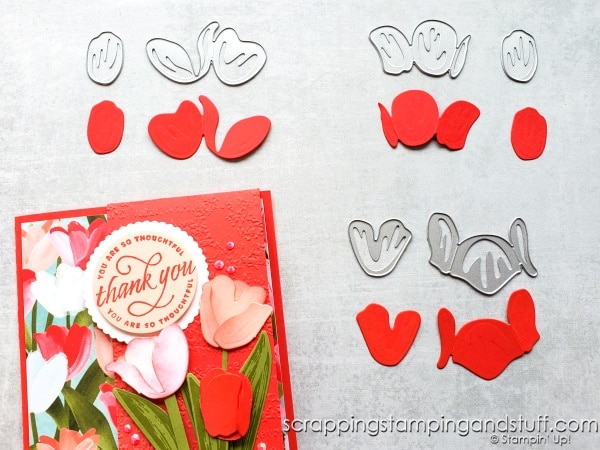
The larger die cuts are designed to be folded in half or thirds. See the score lines on the left and right sides of the die cut below? That’s where it is meant to be folded.
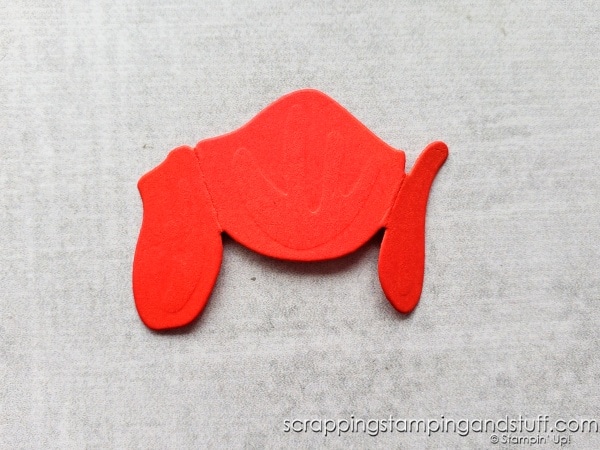
Once the large piece is folded, it needs flipped over.
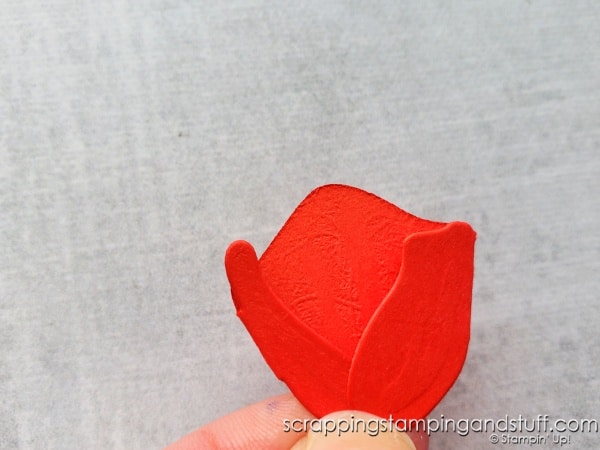
*Note – See the funny lines on the middle portion of the flower above? The back side of my die cuts looked that way because my die cutting plates have been extremely well used. Since both sides of these die cuts will show, you may want to use a newer set of plates when cutting with them, but as you can see here, once the flowers are layered, you don’t notice the lines too much.
After the large part of the flower is folded, the smaller die cut can be inserted inside. Use some glue dots or other quick-holding adhesive to hold them together, and you’re ready to finish your project!
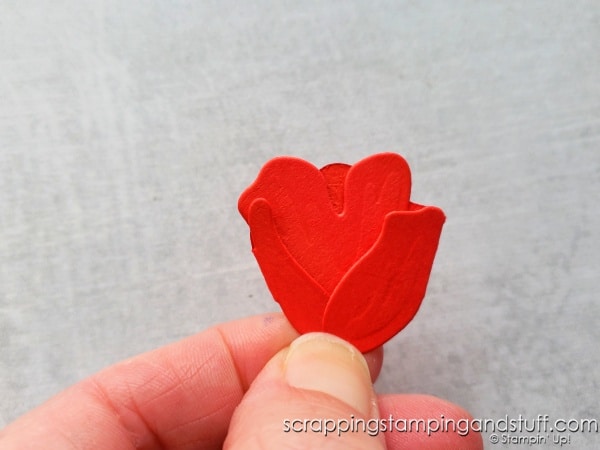
You can use these dies with cardstock or designer paper. For some realistic shading, I decided to add ink around the edges using my blending brushes. You can see this in the video.
This is pretty easy, right? And they’re just beautiful!
Card Materials
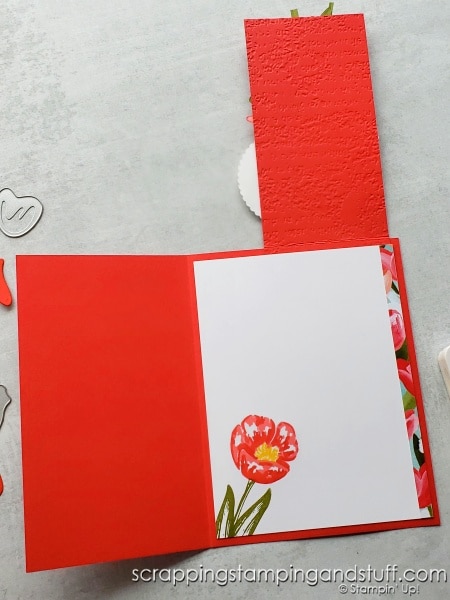
To make this card, you’ll need the following:
- 5 1/2″ x 7 1/2″ card base, scored at 4 1/4″ on the long edge
- 2 1/2″ x 5 1/4″ flap, scored at 1/2″ on the long edge
- 1/4″ x 5 1/4″ designer paper
- 3″ x 5 1/4″ designer paper
- 4″ x 5 1/4″ white
- Die cuts and sentiment
Supplies List
Here are the supplies I used to make this card…
Product List Learn To Make Cards
Shop Supplies
Rewards Program
Join My Amazing Team
Thank you for following along with today’s fun fold featuring the Stampin Up Flowering Tulips bundle!


Stunning card Anna! Love the layout and how you did the shading on your tulips.
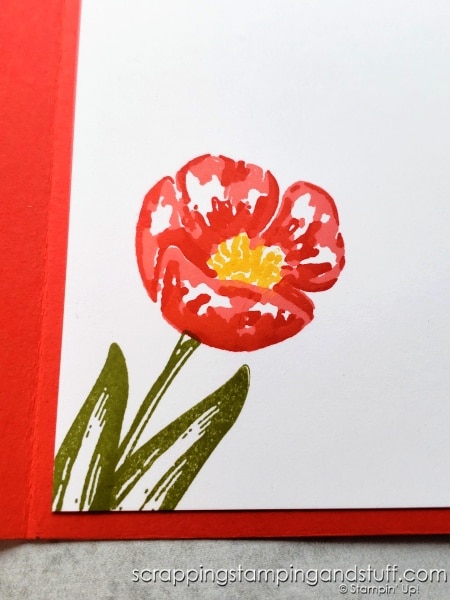
The stamped tulip inside is gorgeous too!
Thanks so much Kylie!