Do you struggle with tying bows? Would you like a tip for tying bows and saving ribbon at the same time? Today I have a simple bow tying hack to share with you that can save lots of ribbon and help stretch your crafting dollars farther. This trick works anytime you are attaching a bow to a project in the way shown below, where it wraps around to the back side of one of your card layers.
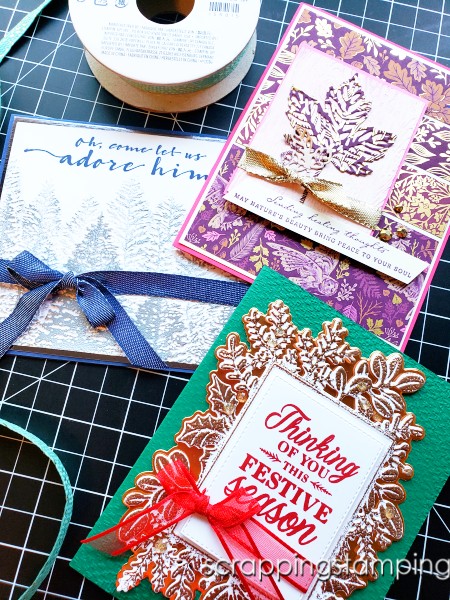
Let me share it with you!
Bow Tying Hack Video
Watching along is the easiest way to learn this trick. Take a look at this video I created..
…or you can keep reading for a photo explanation.
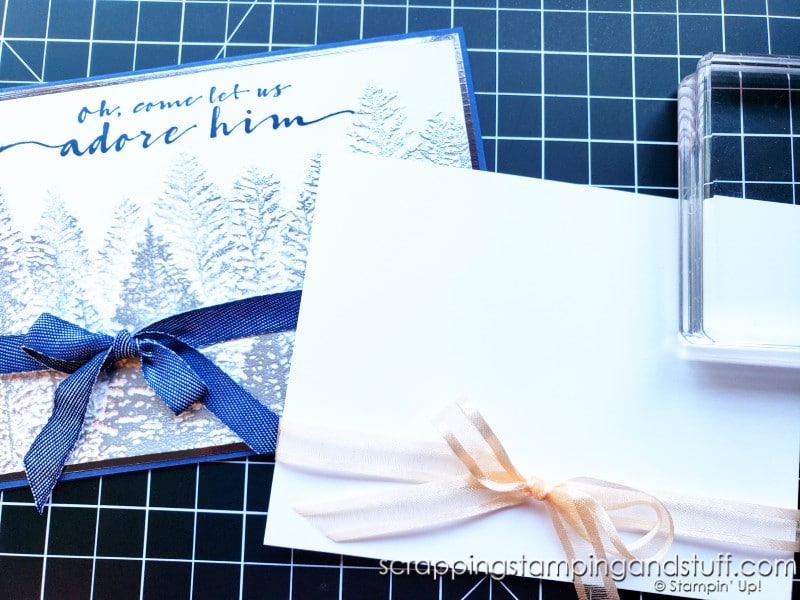
Bow Tying Hack Step-By-Step
I’m sharing this trick using a piece of 19″ ribbon and a D size acrylic block. You could use a larger or smaller block and more or less ribbon if you desire.
Lay the ribbon on your work surface and lay the block on top in the center.
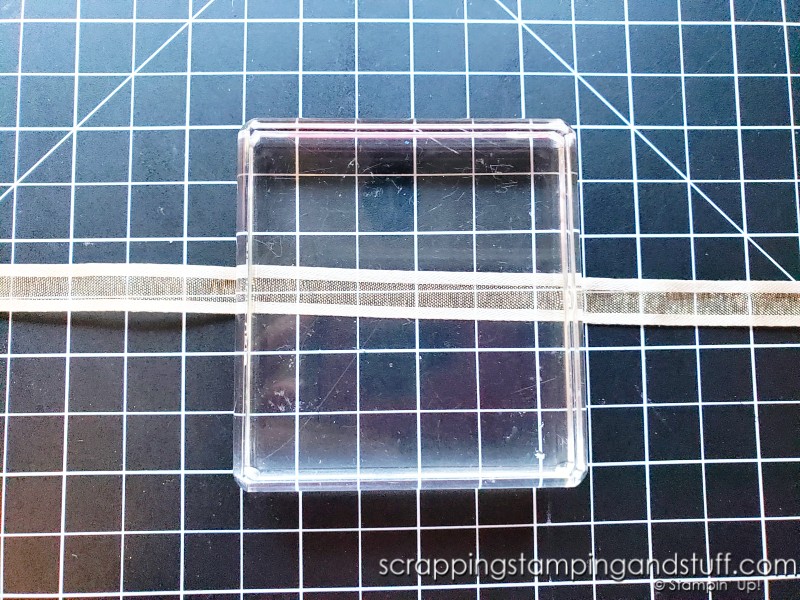
Bring the ends of the ribbon to the front, criss cross them, and pull tight.
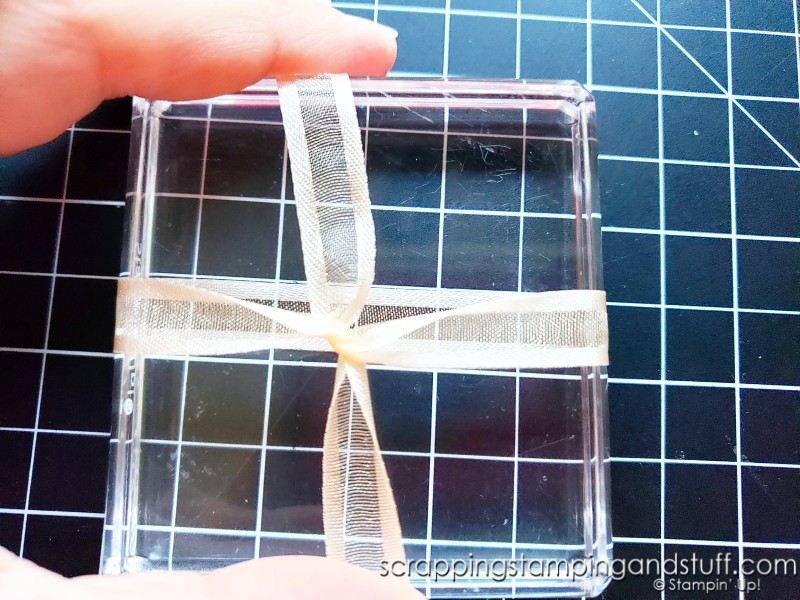
Tie your bow. Adjust as needed.
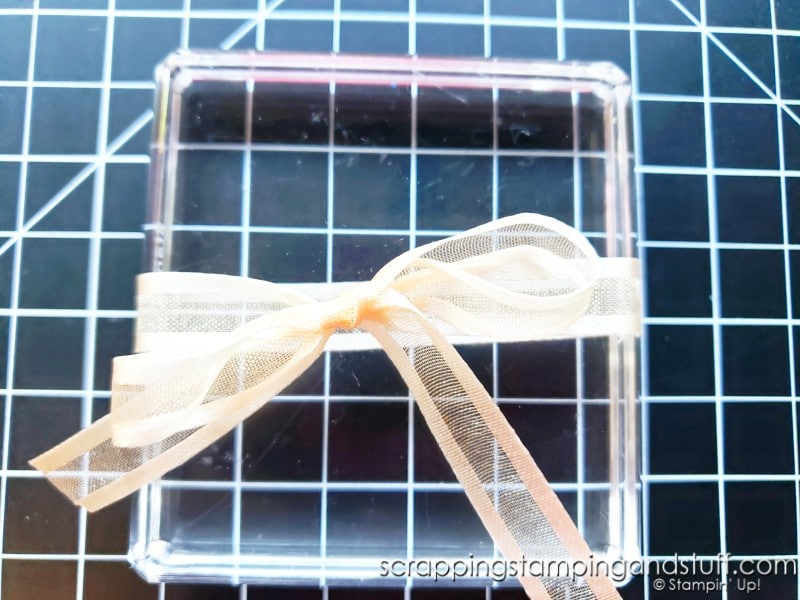
Snip the ribbon on the back side of the block, which will give you a bow attached to two ribbon ends.
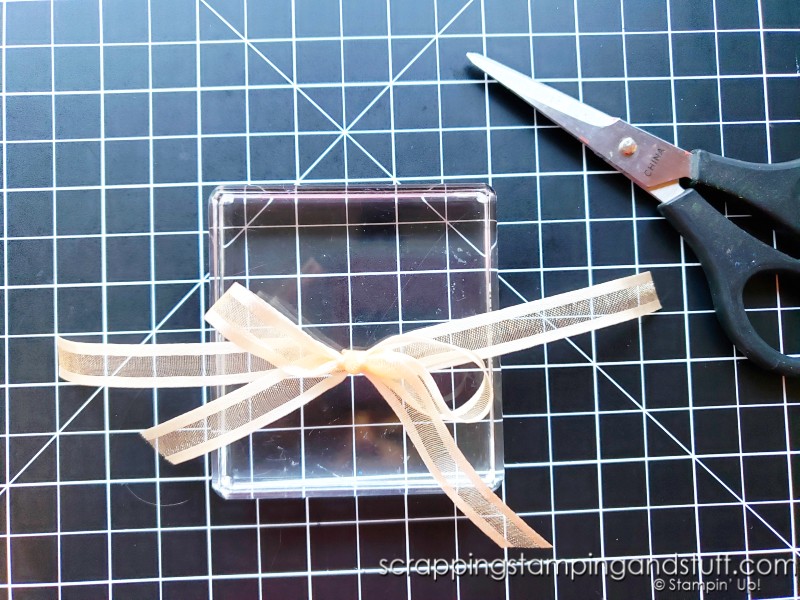
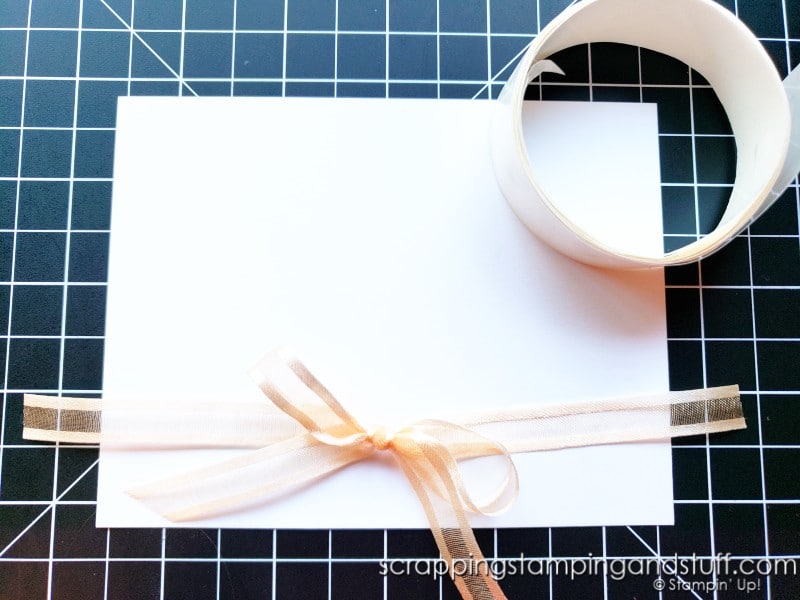
Lay on top of your project. Place a glue dot on each end, wrap around your card and attach.
Have you ever tried this before? Will you try it next time you’re crafting?
Other Card Making Tips & Tricks
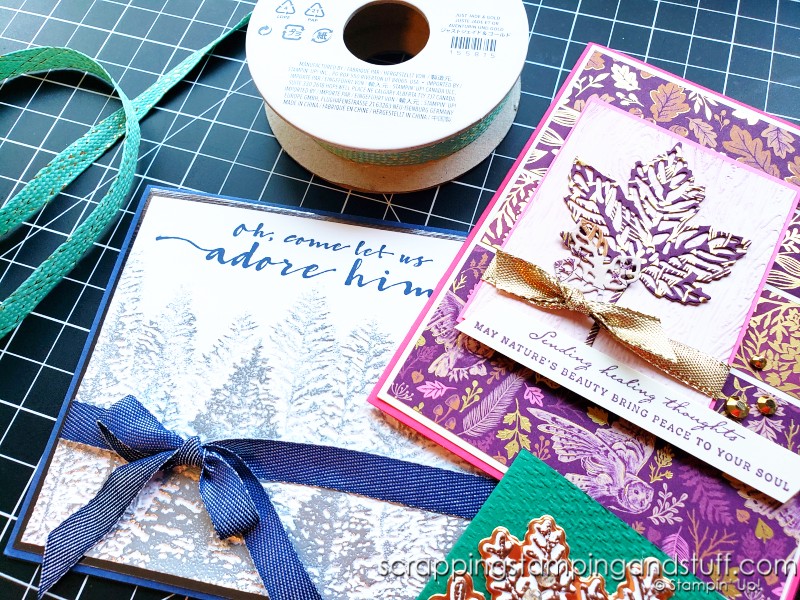
Would you love more bow tying tips and tricks? Click here for 10 tips for tying a perfect bow.
Learn To Make Cards
Shop Supplies
Rewards Program
Join My Amazing Team
Thanks for visiting. Hopefully today’s bow tying hack is helpful for you!
WOW that is a great bow tying trick!! looking forward to trying it!
Wonderful!