Water painters by Stampin Up are an incredible coloring tool that can add a professional, yet soft, look to your paper projects. They’re easy to use, inexpensive, and carefree, which is a definite plus. I love to use this water brush, also known as an aqua painter, on my projects often and today I want to share more about these helpful tools to inspire you to use water painters yourself!
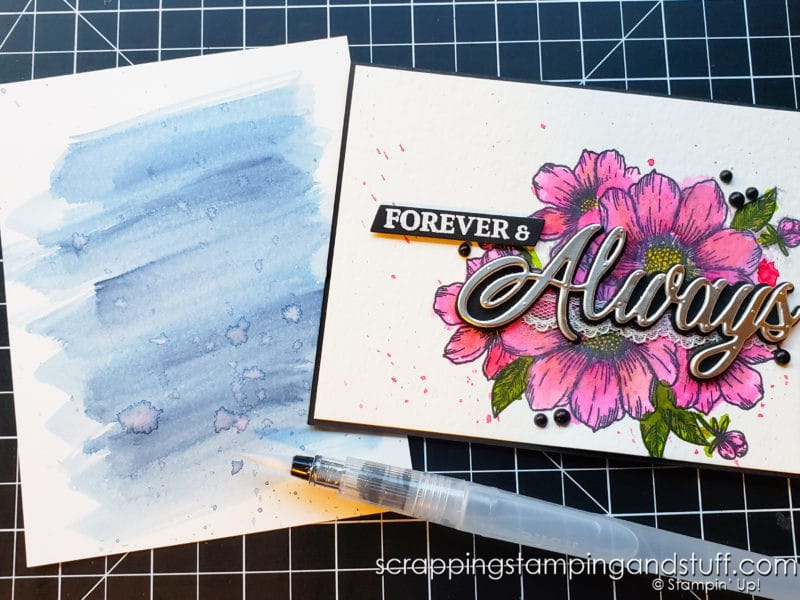
Let’s begin by talking about what exactly a Water Painter is.
What Is A Water Brush & Water Painter?
First I’ll mention that I’ll be using the words ‘water brush’ ‘water painter’ and ‘aqua painter’ interchangeably, because all of these can be used to describe this tool.
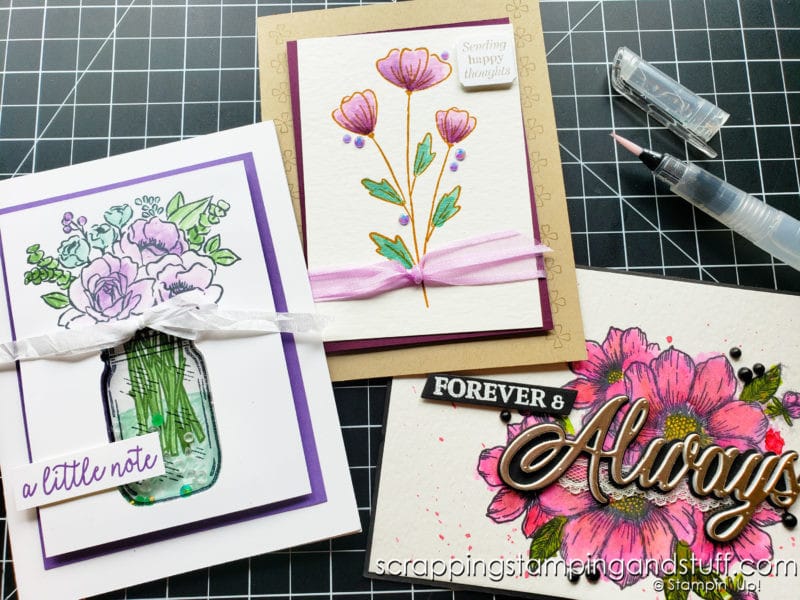
A water painter is basically a modified paintbrush that holds water in the handle, to allow easy mixing of ink (or paint) and water. Water painters are likely the easiest way to create watercolor effects on painting, cardmaking, or other paper projects. By picking up a small amount of ink onto the bristles, then coloring onto a project, water is automatically dispensed from the handle, creating a soft and one-of-a-kind watercolor effect.
What are some specific ways to use Stampin Up Aqua Painters? Let’s talk about that below.
Main Uses For Water Painters
The primary ways to use Stampin Up Water Painters include:
- Adding color to stamped images
- Creating backgrounds
- Adding splatters to a project
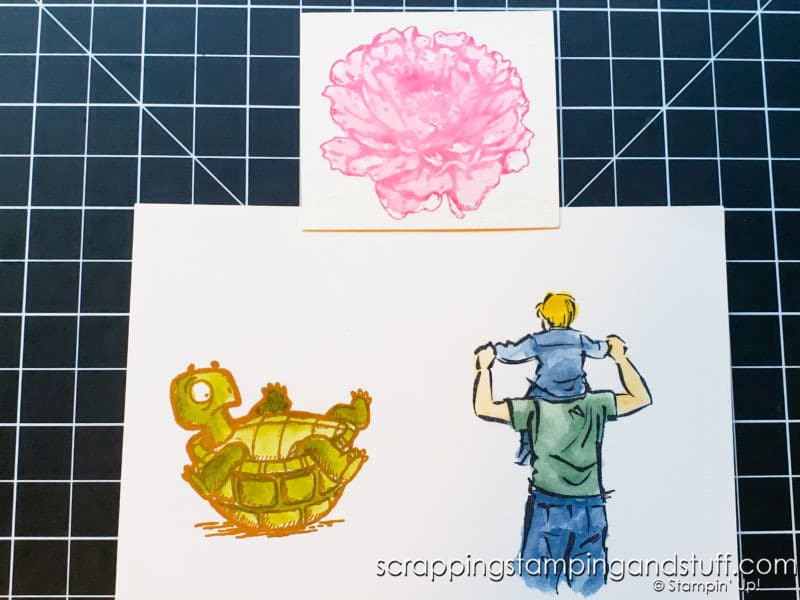
There are many other ways to use them in addition to these, such as adding color to designer papers, but we will focus on the most common uses today.
Next let’s talk about how to use them!
How To Use A Water Brush
- Place an acrylic block on the surface of an ink pad to pick up ink onto the surface of the block.
- Set the block, ink side up, on your work surface.
- Pick up some ink from the block with the bristles of the Aqua Painter.
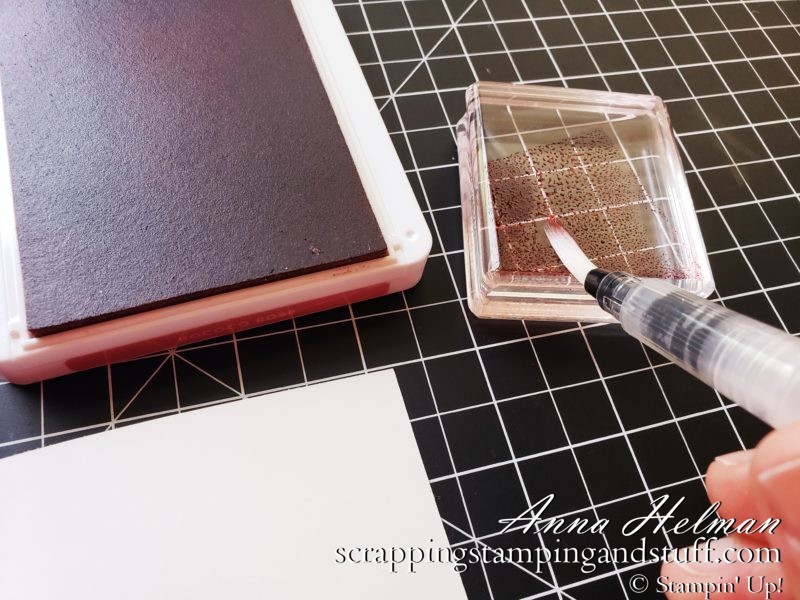
- Put the bristles to your project, and begin ‘painting’.
- As you paint, the color of the ink will fade, which can create a neat effect. When the color has dwindled, pick up more ink and continue.
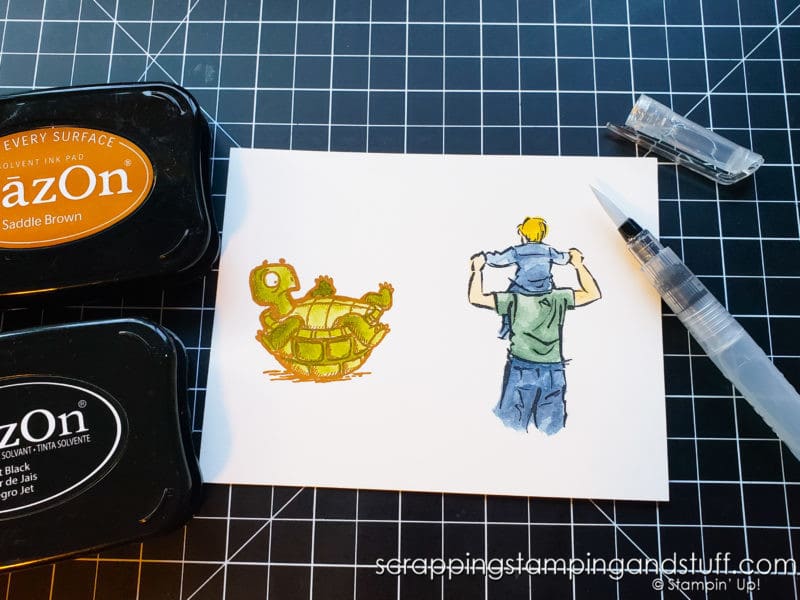
Before we talk about these brushes in more detail, I’ll share the video I created.
All About Water Painters Video Tutorial
To learn all about Water Painters, how to use them and my best tips and tricks, watch along with this video!
Next I want to share which brushes come included with the Stampin Up Water Painters set, and then we’ll look more closely at how to use them and sample projects.
3 Brushes Included – Stampin Up Water Painters
The Stampin Up Aqua Painters, which came to be known as Water Painters recently, come with a set of three brushes included. You can see them below. The set includes one fine tip brush, one medium tip brush, and one large flat brush tip. The small brush is great for adding color to detailed images, the mid-size brush is good for adding color to larger areas, and the flat brush is perfect for creating backgrounds.
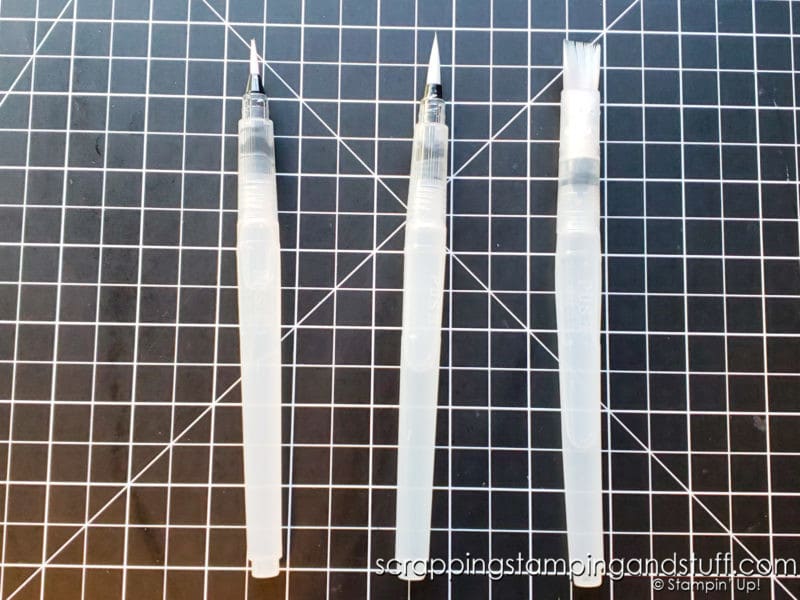
When using these brushes, I find that I definitely have a preference on the type of paper to use. Let’s talk about that for a minute.
Which Kind Of Paper To Use
You can use any kind of paper with Stampin Up Aqua Painters, but the end effect will depend on the type of paper used. I find that I prefer to use Shimmery White Cardstock for most projects, because it allows the ink to move and flow easier, rather than immediately soaking into the paper. I also like to use watercolor paper for certain projects.
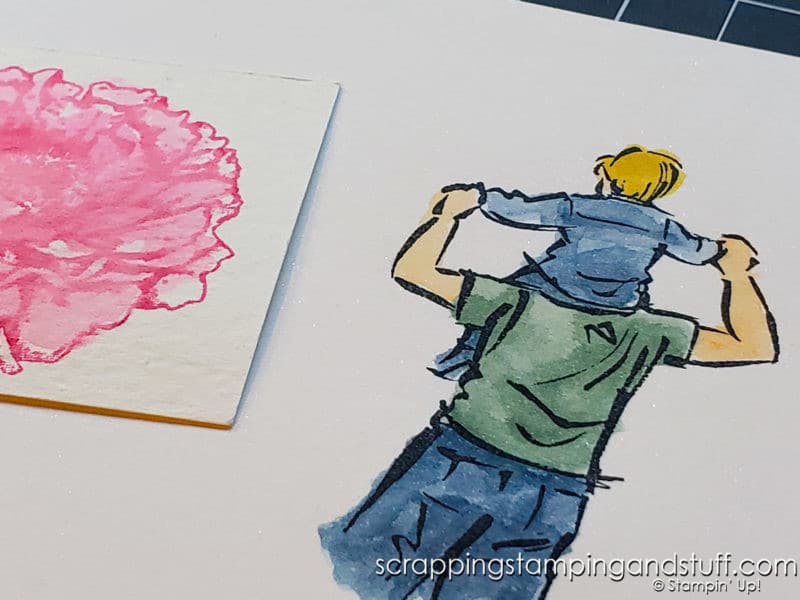
The large sample in the photo above uses Shimmery White cardstock, while the one below uses watercolor paper.
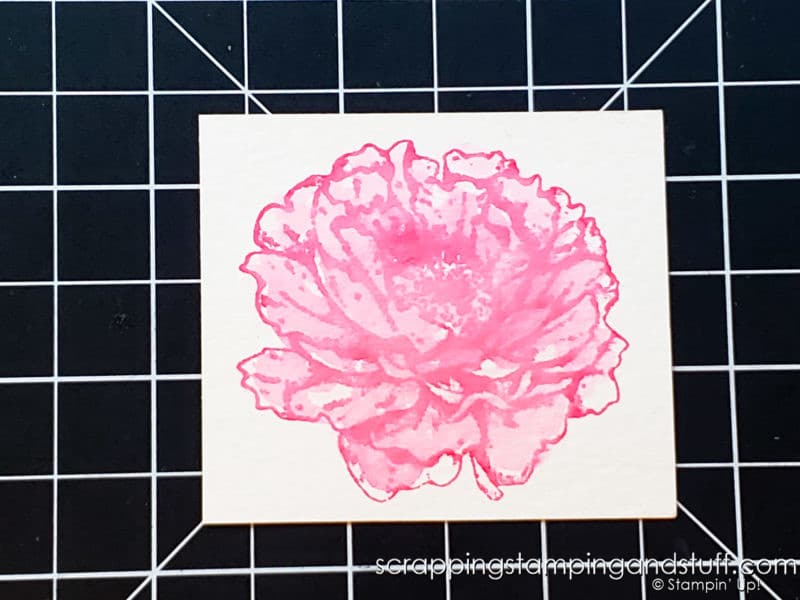
Next I want to share a few tips for using these brushes.
Best Tips For Using Water Brushes
Here are a few tips to keep in mind when using Water Painters.
- If you plan to stamp an image then add color with Water Painters, make sure to stamp with StazOn ink to prevent the image from bleeding. If a bleeding effect fits in with your project (such as the flower pictured above), feel free to stamp with our regular inks then color with Water Painters.
- As mentioned above, select your paper according to the type of look you want to achieve. I prefer using Shimmery White Cardstock when using Aqua Painters.
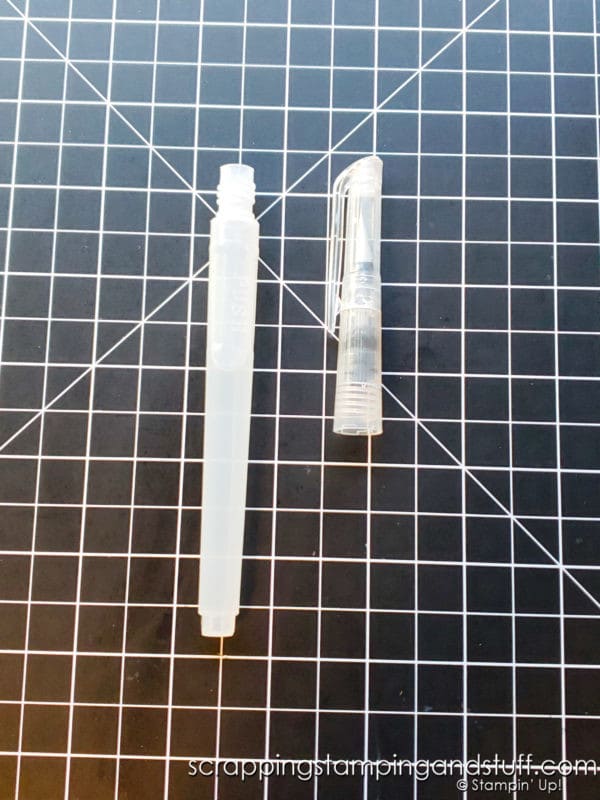
- Fill the water compartment in the handle by unscrewing the tip (screw clockwise, which seems very unnatural), filling it, and replacing the tip.
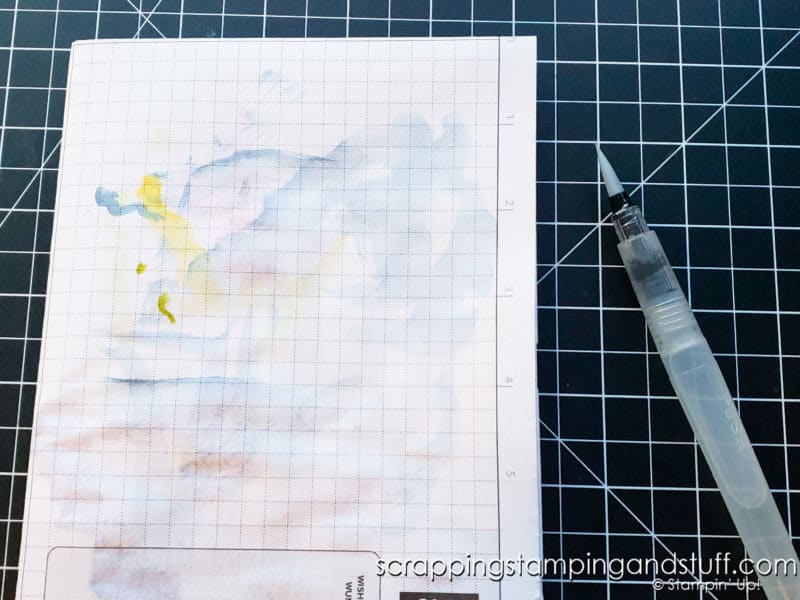
- When you finish using a particular color, clean the remaining ink from the brush tip by coloring onto scrap paper until the water coming out is clear. The bristles might be slightly discolored temporarily, but that isn’t a problem.
Now let’s look at some ways to use them and project samples!
Coloring Images With Water Painters
Adding color to images is the most common way to use these water brushes. This is pretty simple – just pick up some ink with the brush tip, and begin ‘painting!’
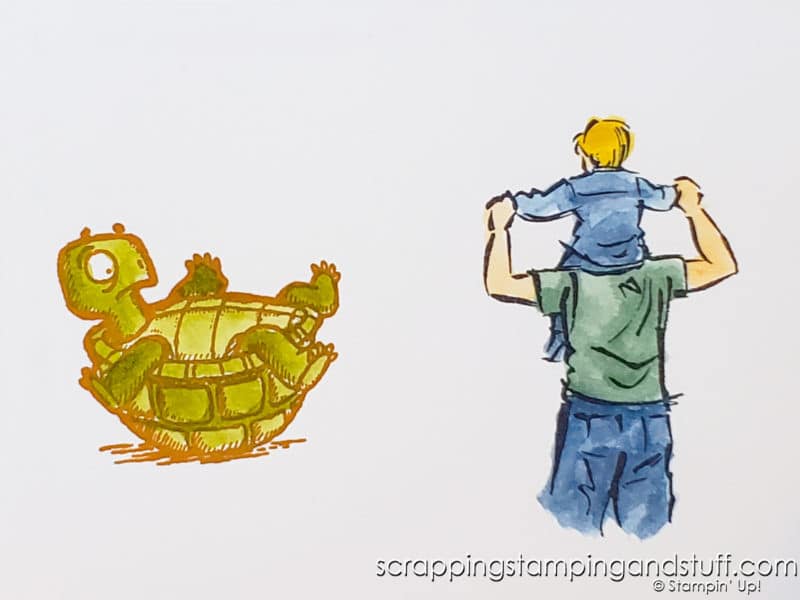
I love the carefree aspect of coloring with a water brush. Look closely at the image on the right in the photo above. I did not stay inside the lines, but it still looks nice. That’s my kind of coloring!!
In addition to coloring images, I also love to make unique backgrounds with my Water Painters. I’ll share about that next.
Creating Backgrounds With Aqua Painters
Using Water Painters to create backgrounds is so fun and relaxing, and they turn out simply beautifully! Here are three ways to create backgrounds.
- Use one of the larger brushes to messily paint all over the background
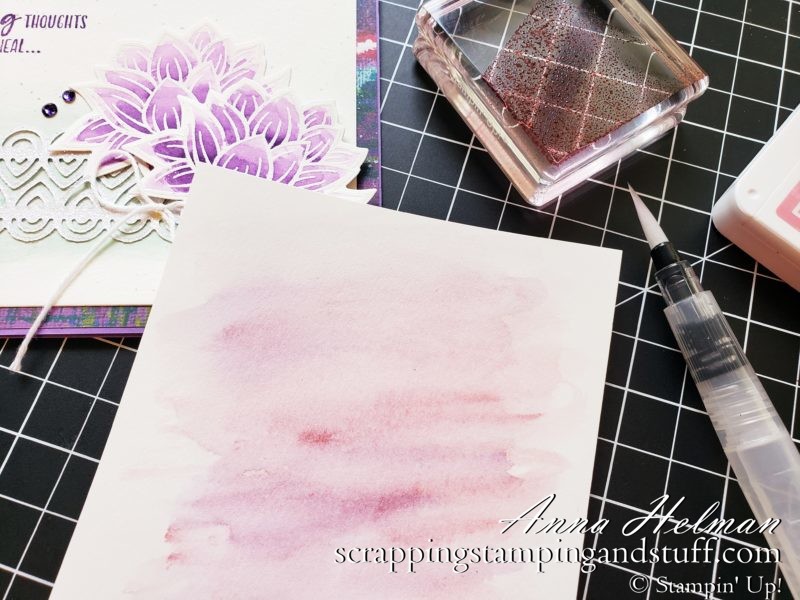
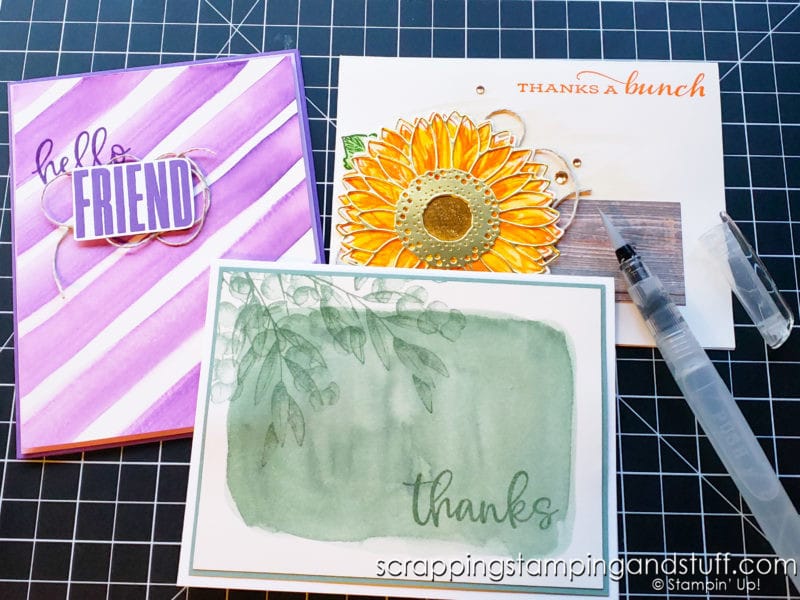
- Create stripes or another pattern across the background (purple card below)
- Create a block of color, let dry, then stamp over the top (green card below)
Beautiful images and lovely backgrounds sometimes are not complete without a few messy splatters! We’ll cover that in the next section.
Splattering Technique With A Water Brush
Splattering is one of those techniques that really steps your project up and makes it truly unique – literally. If you use splatters – no two projects will ever be alike!
Here’s how to create splatters with Water Painters.
- Cover your surface well with scrap paper – splatters may end up everywhere!
- Pick up some ink onto the Water Brush tip.
- Squeeze the handle/barrel over top of scrap paper until water is almost ready to drip from the bristles.
- Rest your left hand on your work surface between you and your project.
- Tap the brush against your left hand. When it hits your hand, splatters should be released from the brush tip and end up on your project.
Learning to ‘aim’ the splatters so they end up in the right place can take some practice. I’m still learning!
Watercoloring With Rubbing Alcohol?
Up to this point, we’ve been talking about using water inside of your Water Painters, but did you know you can replace the water with rubbing alcohol? You will achieve a similar end result, but the liquid dries faster which definitely has its benefits. In addition to drying quickly, this can help prevent your paper from warping. Try it and see what you think!
Sample Cards Created Using Water Painters Water Brushes
I’ve already shown quite a few sample projects, but let’s look at a few more that I’ve created with these Stampin Up Aqua Painters.
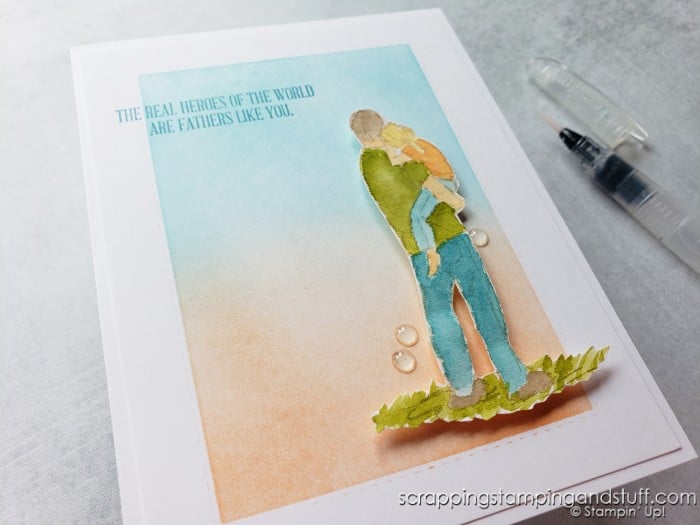
I created this card using blending brushes for the background, and water painters to color the man and child.
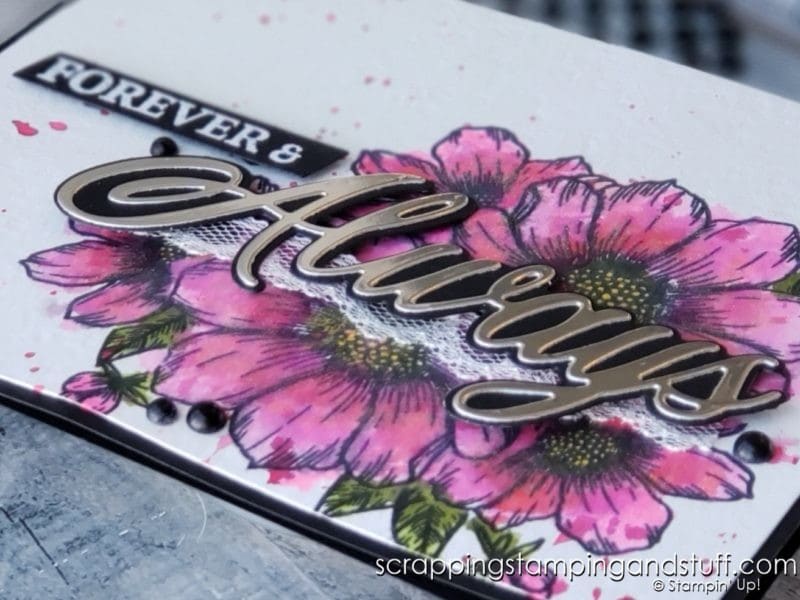
I colored the flowers on this card with a water brush and also created splatters.
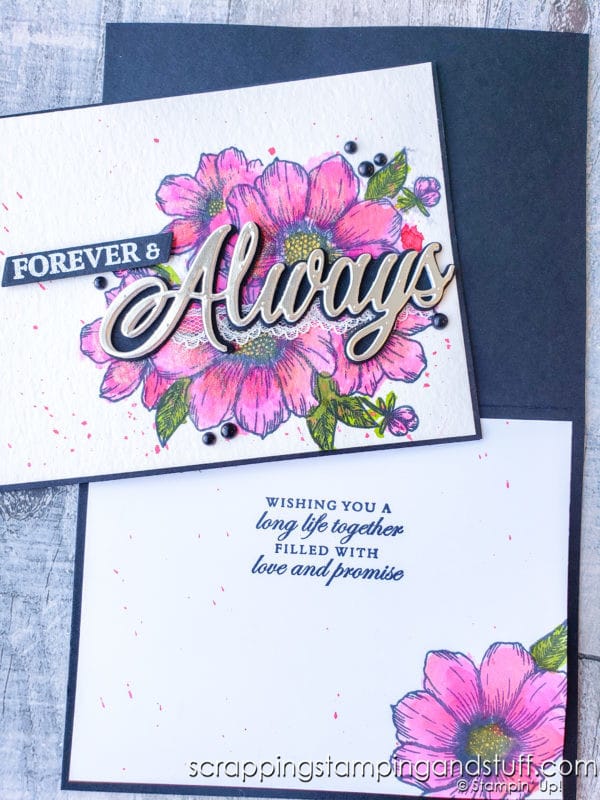
This was a fun card to create. I used Water Painters to add color to the beautiful sunflowers.
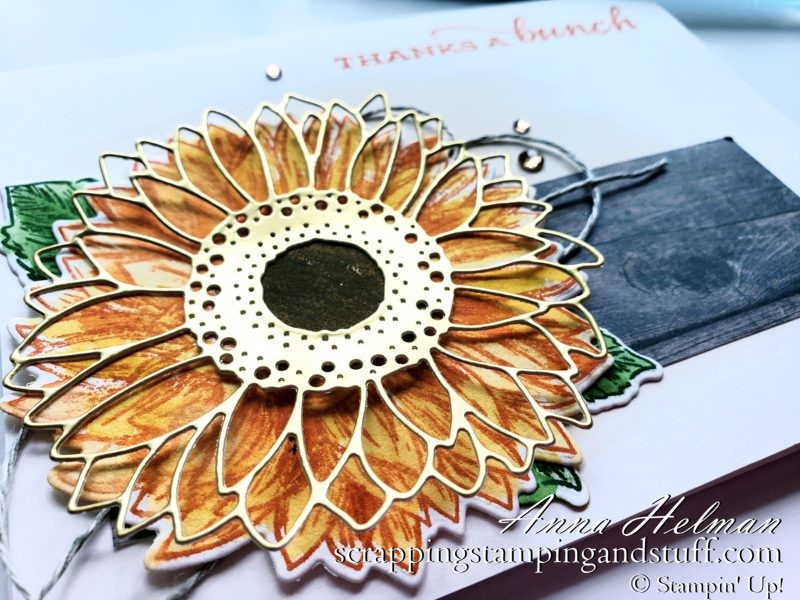
I made this card years ago using all three basic techniques – coloring images, backgrounds, and splatters.
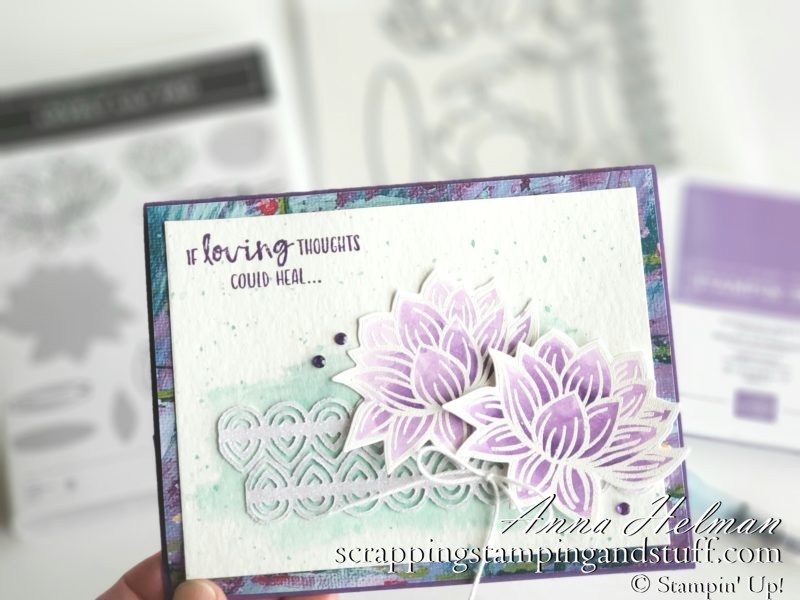
This is a brand new card design that I will be sharing in my very next post (scroll to the bottom and click ‘next’ to find it in a few days). Isn’t it beautiful? This line coloring technique is especially quick and easy.
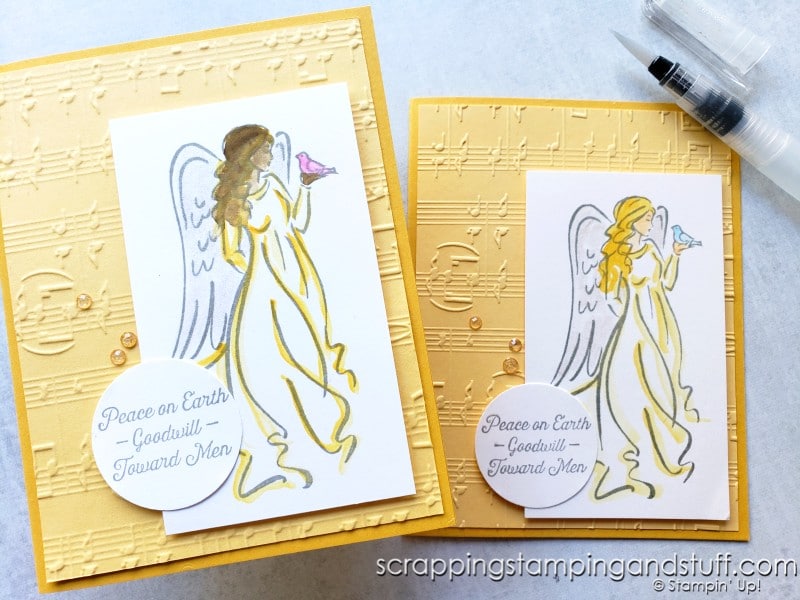
Ok last but not least, I want to share one more tip before we wrap this up.
One More Tip – Stop Licking Those Envelopes!
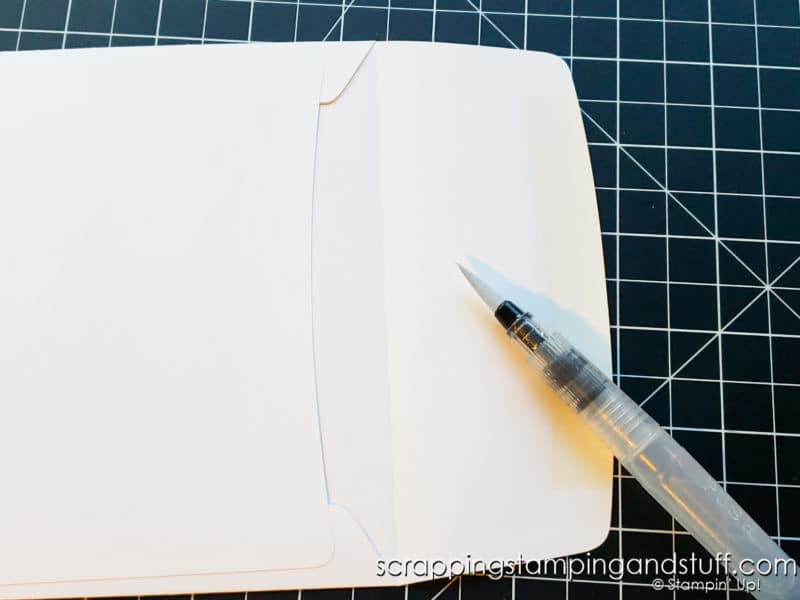
In case you haven’t learned enough about Stampin Up Water Painters yet, here’s one more handy tip. You can use them to seal envelopes! Just run the brush tip over the adhesive on your envelopes, then seal them shut – no licking involved!
Ordering Links
Here are the products I used today along with links to order if you’re interested!
Product List Learn To Make Cards
Shop Supplies
Rewards Program
Join My Amazing Team
Thanks so much for visiting today to learn all about Stampin Up Water Painters, an amazing water brush for your stamping collection.


[…] technique I used for this card is creating a watercolor wash background using Water Painters. I used the new Sending Smiles bundle to stamp the flowers and to create the word […]