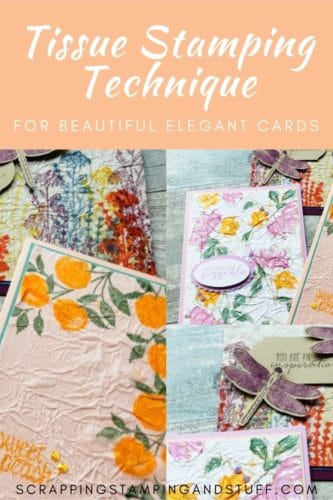
Welcome back! Are you looking to add a little extra texture to your handmade cards and paper craft projects? I have a really fun technique to share that includes adding subtle texture and detail while not overwhelming your already beautiful cards. I’ll also be sharing information about Stampin Up’s Sweet as a Peach stamp set. This beautiful stamp set is the perfect set to introduce today’s technique of tissue stamping. Let’s get started!
Stampin Up Sweet As a Peach Stamp Set
This beautiful stamp set is perfect for all those soft colors in your collection. Have you see the new Stampin Up In Colors, Pale Papaya? Or Soft Succulent? There couldn’t be a better combination of colors to use with this stamp set. Okay now, let’s take a look at this set!
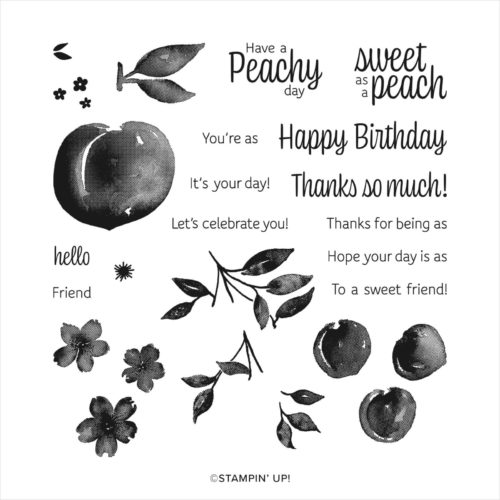
The Sweet as a Peach stamp set is perfect for thank you, birthday, friendship and everyday “hello” cards. You can build you’re own peach scene with the individual foliage, leaves, flowers and peaches. It also has a coordinating die set, but I wanted to keep today’s card simple so I didn’t use it.
Sweet as a Peach Video
For a full video tutorial of this Sweet as a Peach tissue card, click on the video link below.
Next, let’s check out this fun tissue technique.
How to Use the Tissue Technique
Below are measurements and materials you’ll need to create this Sweet as a Peach tissue card.
Measurements:
- 5 1/2″ x 8 1/2″ Card Base
- 4″ x 5 1/4″ Mat
- 4 1/2″ x 6″ Tissue Paper
- 3 7/8″ x 5 1/8″ Cardstock
Additional Materials:
- Embellishments
- Pale Papaya Ink
- Soft Succulent Ink
Begin by stamping the leaves and peaches onto the tissue paper in any type of arrangement you choose and add a greeting. If the ink needs a little help drying, the heat tool is a perfect solution to dry the ink more quickly. Next, crumple the tissue paper into a ball. Get lots of nice little folds – this add texture and definition to the project! Open the tissue paper back up, but not all the way! Using a glue stick or the large end of your multipurpose glue, spread the adhesive all around the 3 7/8″ x 5 1/8″ cardstock, making sure to get the edges.
*Note* – The selection of the paper behind the tissue is important since the color shows through. Be sure to do a little experimenting before actually picking the cardstock.
Once adhesive is applied, press down tissue paper onto the cardstock and trim off excess tissue. Assemble the rest of the layers of the card and add embellishments. Ta-da!
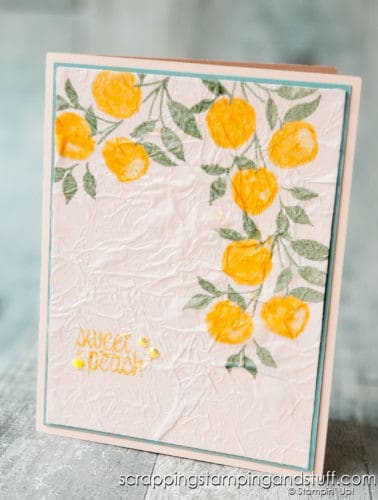
Check out my other cards I created using this same technique.
Tissue Technique Card Samples
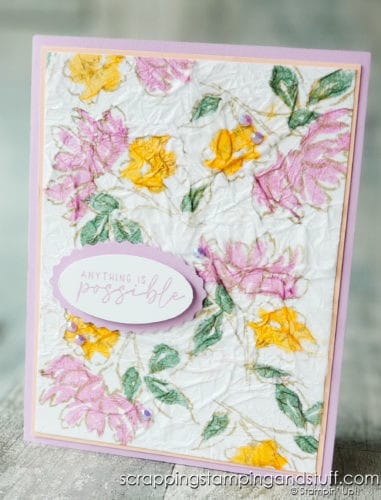
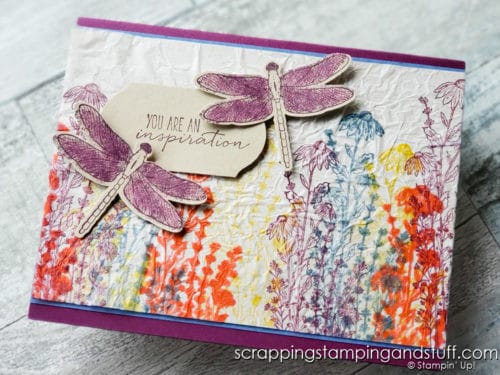
Here are a few other samples of tissue cards I’ve created. This first one is made with the Hand-Penned Petals stamp set. I think it turned out just beautifully.
For this card, I used the Dragonfly Garden stamp set. I’ve used this set several times. If you’d like to see other samples of handmade cards with this stamp set, click here.
Thanks for visiting to see this fun technique! Order the products I used on today’s card using the links below!
Don’t Miss Out!
Please make me your Stampin’ Up! demonstrator! Earn rewards points towards free stamps PLUS a gift when you order using host code: ZGRQXUTW PLUS, with your first order, you’ll receive free catalogs in your thank you package!

Order These Products and Make These Stampin Up Sweet as a Peach Tissue Cards Yourself!
You Might Also Like:
Thanks for joining me today. I hope you’ve enjoyed my Stampin Up Sweet as a Peach tissue card!


Dear Anna,
I learned this technique at a stamp camp about 13 years ago, using a turtle stamp. I tried to recreate the card, but I couldn’t remember how, and I couldn’t find instructions. Thank you for your instructions! Your cards are beautiful and I can’t wait to start creating with tissue paper!