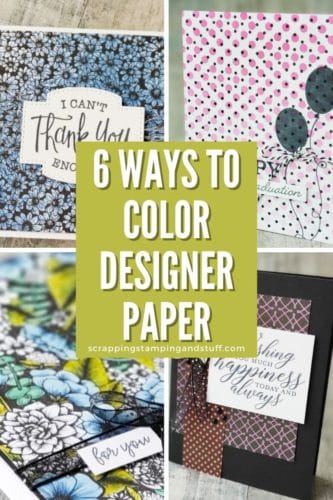
Hello 🙂 Have you ever looked at your black and white designer paper and wondered what it would look like with a little color added to it? I love a classic black and white pattern, but sometimes I want it to be more personalized with added color. That’s why I created six different techniques to add color to designer paper that will have you looking at your black and white papers differently! Let me show you what I mean.
Video
If you prefer to watch along, below is a video I created explaining all six techniques I used to add color to designer paper. Otherwise, keep reading for photos and info!
6 Ways to Add Color To Designer Paper
I love taking something, such as designer paper, and changing it up. Below are details about the six ways I’ve come up with for adding a little color to black and white paper.
1. Watercolor Pencils
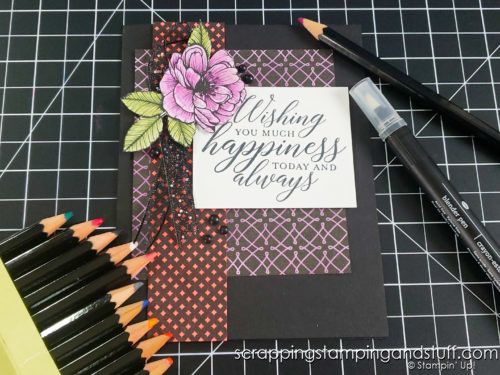
The first technique I used is with Watercolor Pencils. Using Watercolor Pencils adds a really soft touch of color like shown on the flower in the picture below. When I use Watercolor Pencils, sometimes I also use a Blender Pen to give it an even softer and hand-painted look. Take a look at the video shared above for details on how I used this technique, or any of the other techniques discussed below!
2. Stampin Write Markers
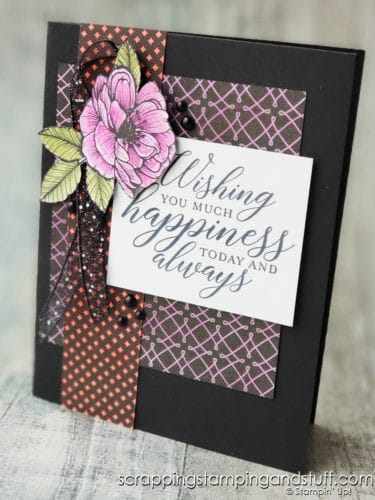
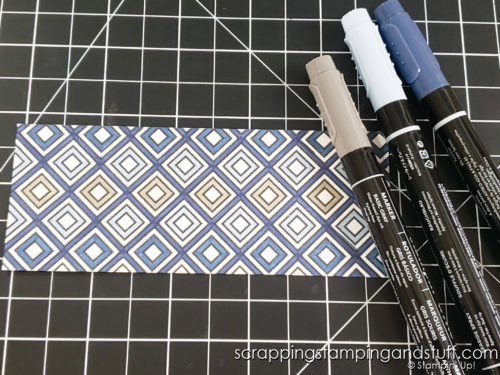
Stampin Write Markers make it easy to add color to designer papers. If you’re looking to add solid colors without blending, Stampin Write Markers are a great fit.
3. Stampin Blends Alcohol Markers
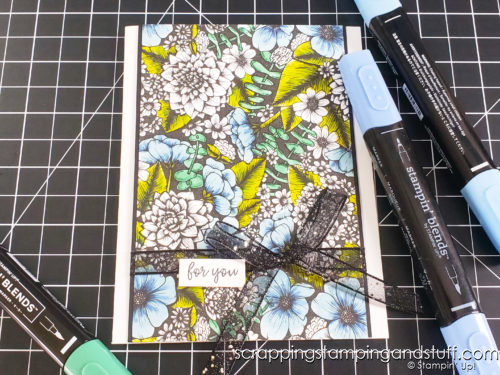
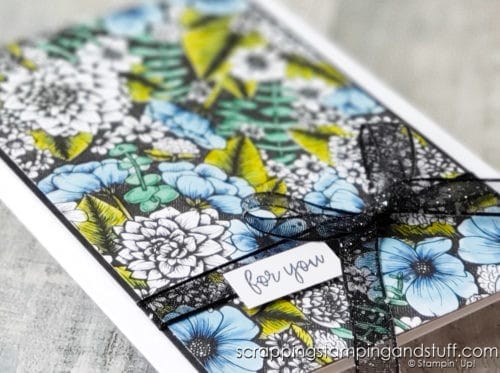
The Blends alcohol markers are quite possibly my favorite coloring tool, and it’s safe to say my favorite method that I used for coloring designer papers. When using the Blends Markers, first use your lightest color across the entire area, then come in with the darker colors. To finish, use the lightest color again across the entire area. I created a very detailed tutorial on using these markers, so use the link above for more info!
4. Blending Brushes/Sponges
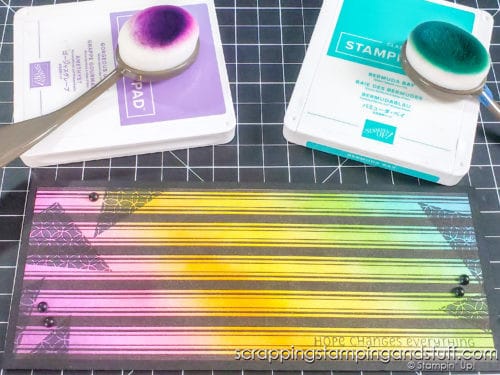
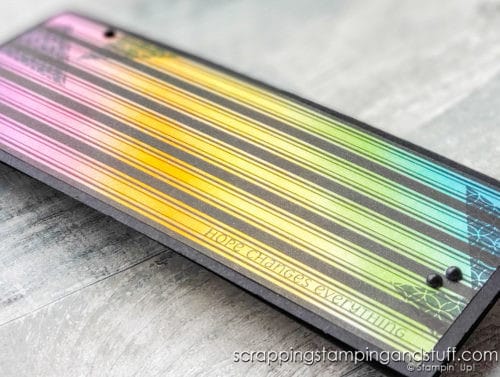
The next technique I used is adding color with Blending Brushes. Blending Brushes or sponges can be used to create different effects depending on the colors chosen and how they are applied. With blending brushes you can add a solid color, blend more than one color together, or create an ombre or rainbow effect.
On this card, I used blending brushes to add solid color to the two background pieces.

Here you can see a beautiful rainbow effect that I created.
5. Stencils and Masks
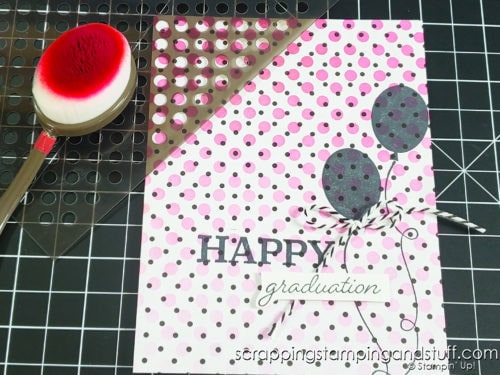
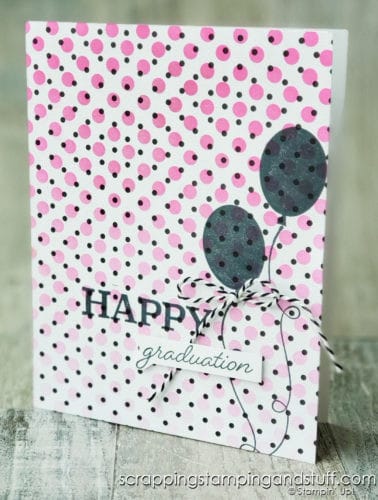
Stencils and masks are a great way to add patterned detail to cards. In this sample, I used a polka dot mask over top of the designer paper and applied the pink ink with Blending Brushes. I created an ombre effect by applying more ink at the top edge and less at the bottom. How do you like this effect?
6. Stampin Spritzers
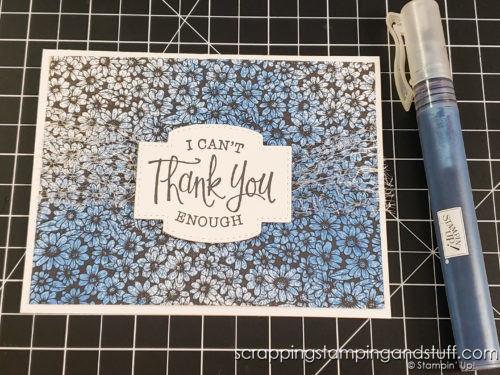
Stampin Spritzers are a fun way to add color to designer paper. To try this, you’ll want to add water or rubbing alcohol to the spritzer bottle, followed by a drop or a few drops of ink from an ink refill bottle. Alcohol dries faster, so I always use it with this technique. Make sure to protect your work surface from overspray, raise the spritzer bottle about 10 or 15 inches above your project, and spritz away! Below you can see the effect created when using this technique.
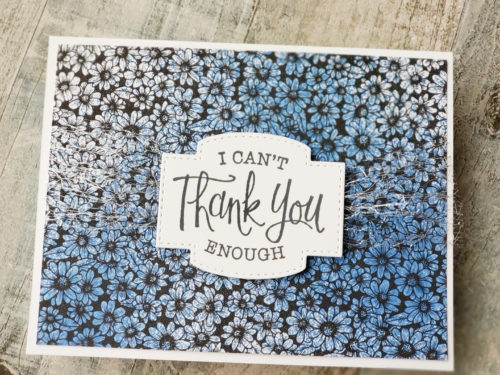
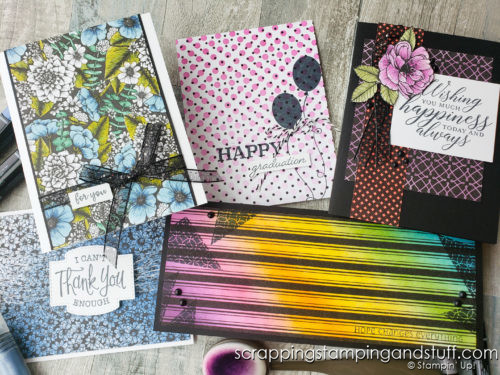
Here’s another look at the cards I created. Aren’t they pretty? I love the touches of color created with these different techniques.
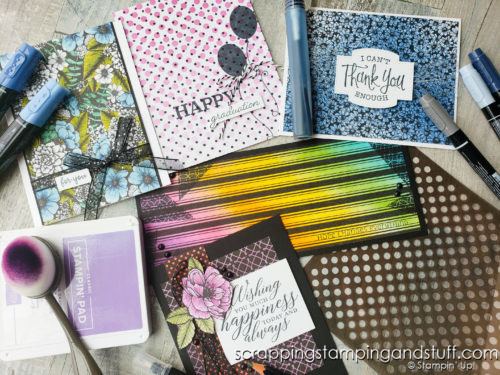
Links for the supplies I used are included at the bottom of this post 🙂 Thanks for visiting!
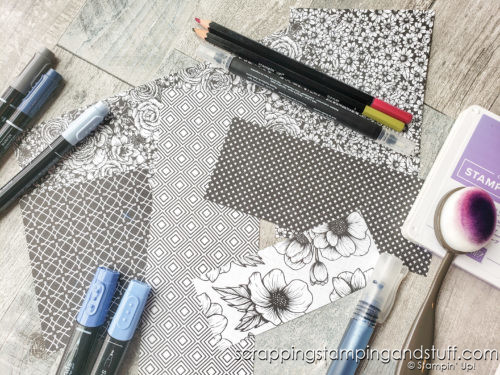
Don’t Miss Out!
Please make me your Stampin’ Up! demonstrator! Earn rewards points towards free stamps PLUS a gift when you order. Use host code: EUPGXHR6 PLUS, with your first order, you’ll receive free catalogs in your thank you package!

Order These Supplies to Add Color to Designer Paper:
You Might Also Like:
Thanks for stopping by today, I hope you enjoyed my six ways to add color to designer paper!


[…] Add Color To Designer Papers? Try These 6 Different Techniques […]