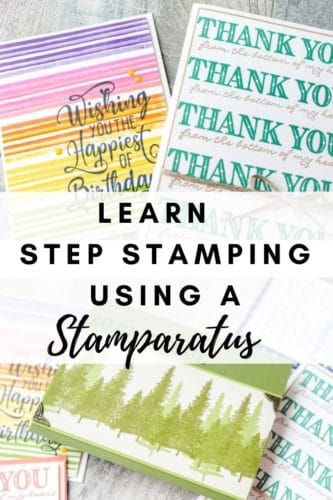
Howdy! Thanks for being here with me today. I have a question for you… have you heard of Step Stamping? If you have, you know it is a really neat technique you can do using a Stamparatus, and if not, you’ll soon be an expert. As you might already know, I love my Stamparatus and think it’s the best tool ever. It’s so versatile and useful, and I really think you’re going to love the Step Stamping technique I’m about to show you. To my knowledge, this technique cannot be done simply with any other tool out there besides the Stamparatus. Let’s talk about it!
First let’s talk about the Stamparatus for a moment, and why it is so amazing.
What is the Stamparatus?
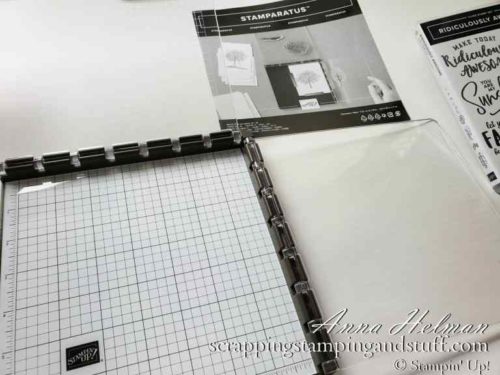
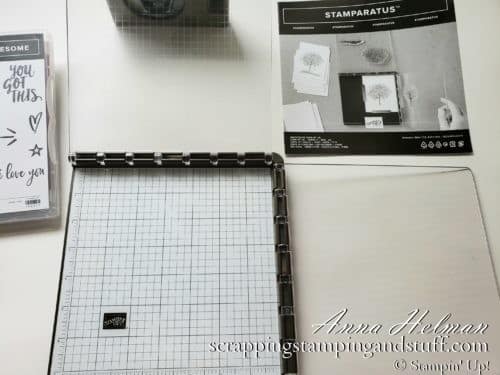
The Stamparatus (#146276) is a stamping platform, also known as a stamp alignment tool, positioner, positioning tool, or hinged stamping tool. Regardless of what it’s called, it allows precision stamping to get perfect placement of your stamps every single time!
For more information on the many benefits and uses of Stampin Up’s Stamparatus, click here or keep reading!
Benefits of a Stamping Platform
The benefits of using the Stamparatus include:
- Precision stamping every time.
- Perfect alignment of your stamps. Greeting stamps will be straight! Two-step stamps will be perfectly lined up.
- The ability to re-stamp anything in the exactly same place.
- Ability to make multiples of your project quickly and easily.
- Trying out many, many techniques that are not possible without the use of this tool
Stamparatus vs. MISTI
Do you have a MISTI? Maybe the Tim Holtz stamping platform or another one on the market? There are several available and each has it’s own benefits. I plan to do a full review of them at some point, but for now I’ll mention two advantages the Stamparatus has over the others.
- It includes two plates that can each be reversed in order to mount stamps to both sides. That’s FOUR sides to mount stamps to and have on hand for various projects, or you can use them to line up two-, three-, or four-step stamps.
- The ability to do today’s Step Stamping technique!
What is Step Stamping?
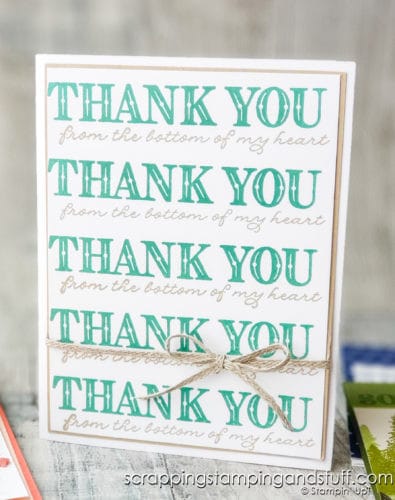
Step stamping involves using the same stamp at equal intervals to achieve multiples of the same image on your project, at equal spacing, and with perfect alignment
This is a very cool technique, and has so many possibilities with both images and greeting stamps. Now, let me show you how to do it!
Step Stamping Video Tutorial
If you’re a visual learner, please watch along with this video as I explain Step Stamping and show you exactly how to do it. You can also keep reading and I’ll share photos and an explanation below.
How To Do Step Stamping With The Stamparatus
To start, first choose your stamp. You’ll want to choose one that will look nice when repeated at 1″, 2″ or 3″ increments.
Align the stamp along one edge of your paper and mount it to the Stamparatus. Apply ink, and stamp it.
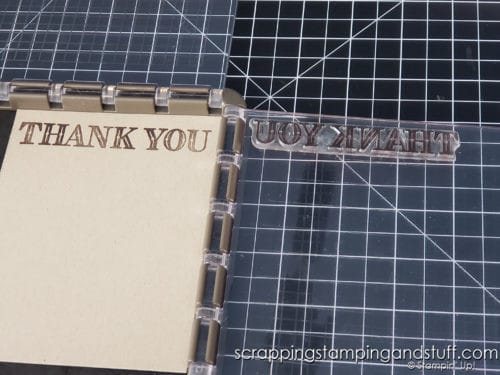
Raise the clear plate so it is vertical, lift it up and out of the platform, then move it down one ‘hinge step.’
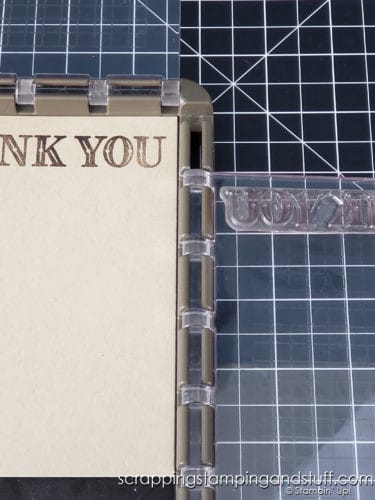
Ink the stamp and stamp it. See? Now there are two of them!
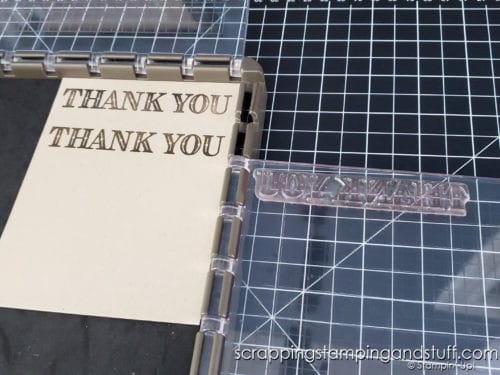
Repeat the same process until you have covered your piece of paper with the image. In the example shown here, I used several colors of ink to achieve the faded effect. I’ll talk more about this below.
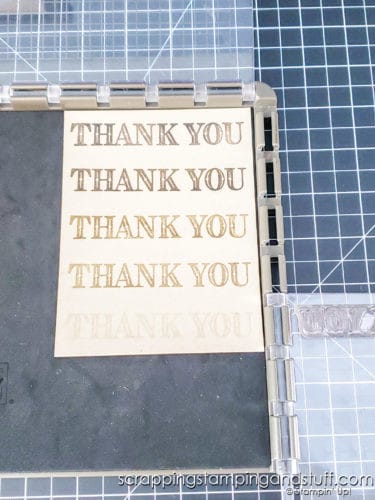
Let’s talk about some fun ways to change up this neat technique.
Step Stamping Variations
When it comes to Step Stamping, there are variations to the technique you can use to achieve different looks. Let’s first start with the basics.
The Standard
The card below was created with the same ink color for the “Thank You” portion. If I had left it as is with just the words ‘Thank You’ stamped in green, I would consider this a ‘traditional’ Step Stamping project, but I added in the variation described below.

Using Multiple Stamps
To step it up and fill in some of the empty space if you have any, you can add a second stamp. Simply place the stamp where you want it to be in the open space, mount it to the plate of your Stamparatus, then stamp as described above.
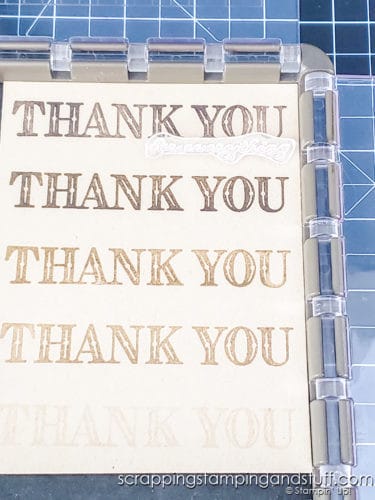
Here is the finished sample using two stamps.
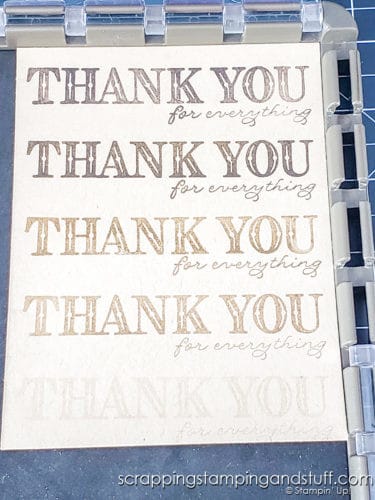
You could even add a third or a fourth stamp in!
Stamping Off Or Ombre Effect
Now, let me show you another variation of this same style of card. I use the Stamping Off technique to achieve the faded ombre effect as seen below on the top left card. All I did to achieve this effect was to ink the stamp only once, then stamp repeatedly. It fades as the ink is used up from the stamp. It’s easy and so pretty!
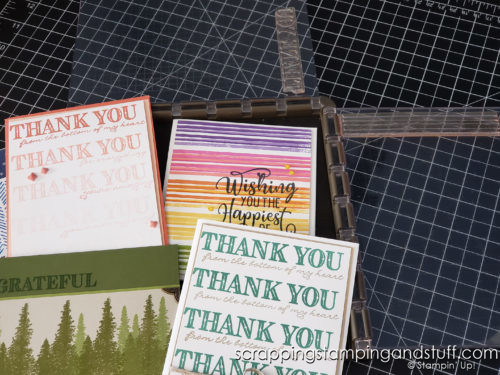
Alternative Ombre Effect
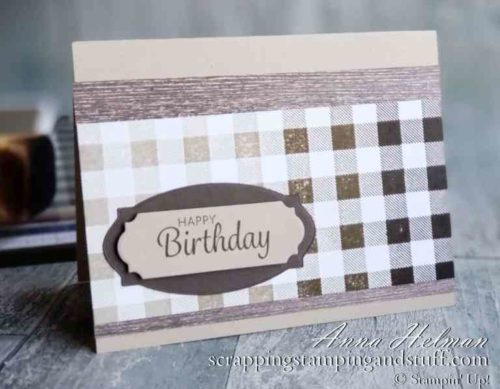
You can also create an ombre effect by using different colors of ink each time you stamp. The colors I used here are Early Espresso, Soft Suede, Crumb Cake, Sahara Sand, and Sahara Sand stamped off.

Rainbow Effect
Speaking of using different colors of ink, here I created a rainbow effect. I used brighter, bolder colors first, then I re-aligned the stamp and stamped a second time over each using lighter colors. This helps to fill in some of the white space and it also adds a nice softness to the color.
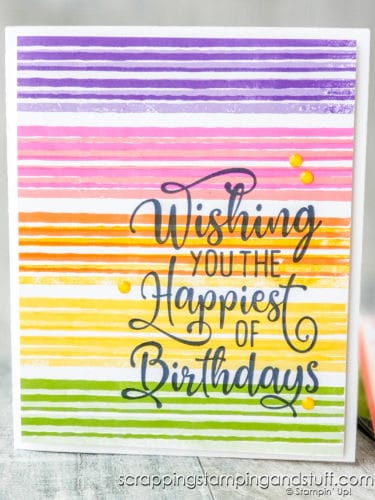
And here’s one last variation…
Adding Hand Stamping
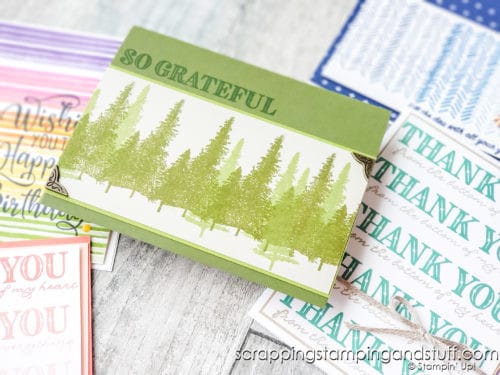
On the tree card below, can you see that the dark trees are evenly spaced? I stamped them using Step Stamping. However, it seemed a little too ‘regular’ for a forest, so I went back and stamped lighter colored trees more irregularly.
These are just a few ways to use Step Stamping on your projects. There are many other ways to use this stamping technique as well.
Are you interested in knowing other techniques you can try with your stamp positioner?
Stamparatus Techniques
Below are two more techniques you can achieve by using the Stamparatus. Take a look.
Ombre Effect
An Ombre effect is a pattern of colors that fade into one another. You can see the ombre effect on my card below as the light tones gradually turn to dark.
Circle Stamping
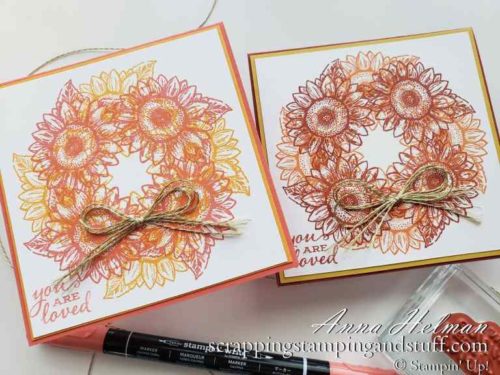
The Circle Stamping technique is also achieved using the Stamparatus, and this one is a favorite of mine! It allows you to create a circular wreath-type pattern with your stamps.
Thanks so much for visiting today to learn about the Step Stamping technique! I hope you’ll try this soon in your crafting endeavors!
Don’t Miss Out!
Please make me your Stampin’ Up! demonstrator! Earn rewards points towards free stamps PLUS a gift when you order. Use host code: Z23U72JU PLUS, with your first order, you’ll receive free catalogs in your thank you package!


Thank you, Anna, for showing and explaining the step stamping variations. I love your cards. I especially enjoy watching and listening to you explain techniques.