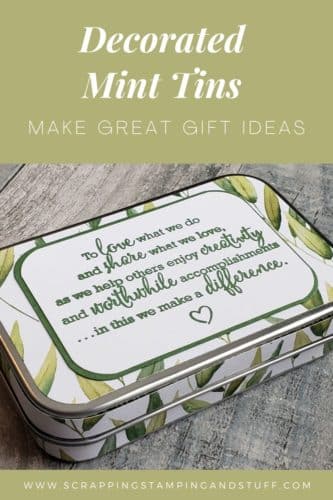
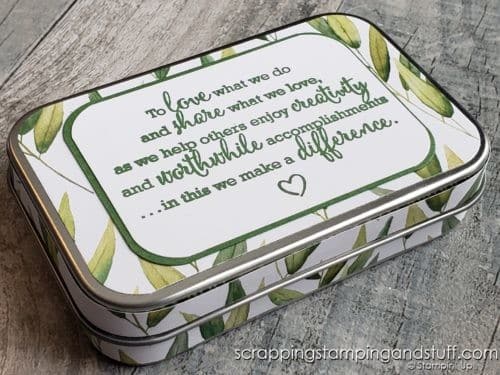
Hi friends! I hope everybody is doing well. Today I have a fast and fun gift idea — that won’t break the bank! I love creating projects and gifts from things I already have. It’s like giving new life and purpose to something that might have otherwise been thrown out. Now technically, I used some mint tins that Stampin Up had sold during our last catalog period to make the projects I’ll share today, which I used as Christmas gifts for all of my team members. But…you could use leftover mint tins for the same project and not have any expense in them. Today, I’ll share how I decorated these mint tins which I filled with goodies. Let’s take a look!

How To Assemble Decorated Mint Tins
You can use any mint tin available to you, or they can be bought unused online. Below are the paper measurements I used to prep and assemble my decorated mint tins.
Paper Sizes:
- 3 strips of Forever Greenery DSP measuring slightly over 1/4″ wide by 12″ long
- 3 3/4″ x 2 3/8″ Forever Greenery DSP
- 2 1/8″ x 3″ Garden Green
- 2″ x 2 7/8″ White
Begin by gluing and wrapping the tin with 2 long strips of DSP. These will not quite be long enough, so finish what you need with the last strip of paper.
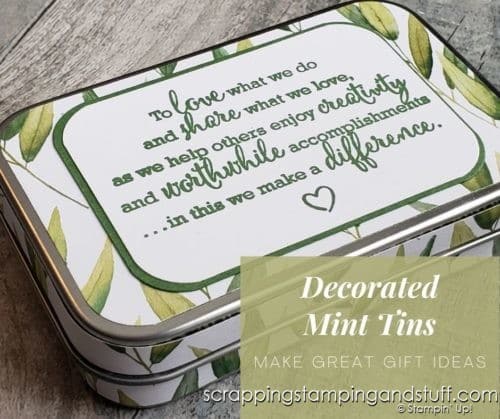
Use a corner punch to punch the corners of each rectange. On top of the tin, glue each piece of paper in the appropriate order starting with the largest first. Stamp or decorate the top piece as you like. I used a Stampin’ Up Statement of the Heart stamp, since I was giving these to my team members. Check out this beautiful tin!

If you’d like to see how I assembled the decorated mint tins, watch my video below.
Decorated Mint Tins Video
Click on the link to watch the video.
What To Put Inside Decorated Mint Tins
There are numerous things you can supply your tins with. You can create a theme for your tins and fill them accordingly – even use designer paper to go with your theme!
- school/office supplies
- candy
- bubble gum
- money
- rings
- magnets
- scrapbooking supplies
- toys
- tea bags
- sewing kits
- tissues
- sanitizer
The list could go on and on! I hope you’ve enjoyed this little inexpensive gift idea. Feel free to share your ideas in the comments!

Don’t Miss Out!
Please make me your Stampin’ Up! demonstrator! Earn rewards points towards free stamps PLUS a gift when you order. Use host code: JGJR9MZD PLUS, with your first order, you’ll receive free catalogs in your thank you package!

Order the products I used and make this project yourself!


Leave a Reply