We are half way into January and I think it’s time for a little change, so… where are all my scrapbookers? Raise those hands up high because I have some great ideas for you in the coming days. This entire week I’ll be sharing scrapbooking ideas for you to use as you create. Today I’ll be showing off projects using Stampin Up’s large selection of 6″x6″ paper for scrapbooking. The reason I want to share these with you is because during the months of January and February, if you sign up with Stampin Up, you’ll receive a free gift of five complete packs of 6″x6″ paper. This gift is in addition to the normal starter kit offer of $125 worth of products of your choice for just $99. Keep reading and I’ll share with you more about this offer as well as 6 ways to use the 6″x6″ paper for scrapbooking.
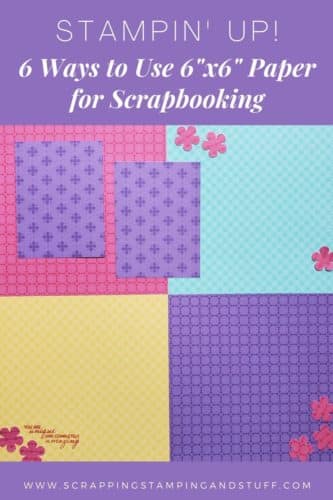
Using 6″x6″ Paper For Scrapbooking Can Be A Challenge
Let’s talk about why 6″x6″ paper packs are great for scrapbooking and how to embrace, rather than be challenged by, the smaller size.
A normal scrapbooking page is 12″x12″, so it can take a bit of thinking and creativity to use 6″x6″ sheets for scrapbooking — while still keeping an aesthetic appeal. But, I have some great ideas to share that I think you’re really going to like.
Special Offer for Free 6″x6″ Paper
First let me ask, would you like to receive 200 sheets of 6″x6″ designer paper for free? Like I said earlier, during the months of January and February, if you sign up with Stampin Up, you’ll receive a special gift of five 6″x6″ paper packs for free, totaling 200 sheets. This gift is in addition to the normal starter kit offer of $125 worth of products of your choice for just $99. How great is that?! If you’ve played around with idea of becoming a demonstrator, now’s a great to time to sign up. Keep in mind you do NOT have to offer classes, sell products, or ‘be a demonstrator.’ Most demos sign up just to order their own products at a discount 🙂
Now you may be dreaming of all that paper you could receive for free. Let’s take a look at 6 different ways you can use 6″x6″ paper for scrapbooking.
6 Ways To Use 6″x6″ Paper For Scrapbooking
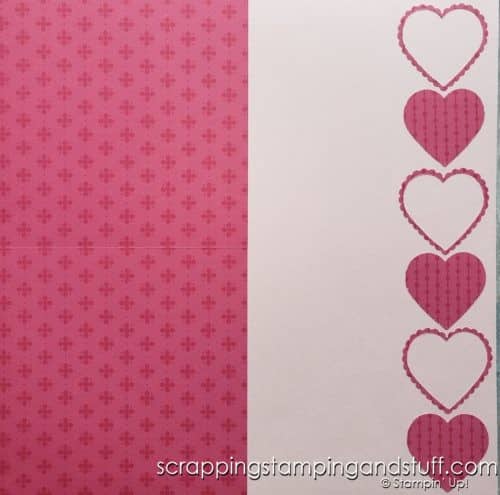
1. Line Up Side By Side
Start with a 12″x12″ sheet of cardstock. Line two of the 6″x6″ sheets vertically or horizontally on top of the 12″x12″ paper.
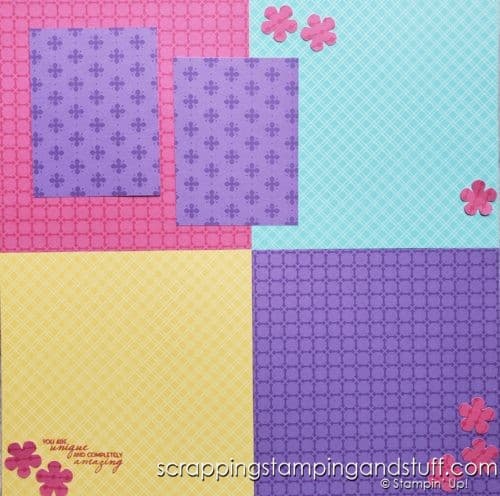
2. Lay Diagonally
Start with a colored piece of cardstock and add two 6″x6″ designer prints laid diagonally from each other. This creates a nice background for photos.
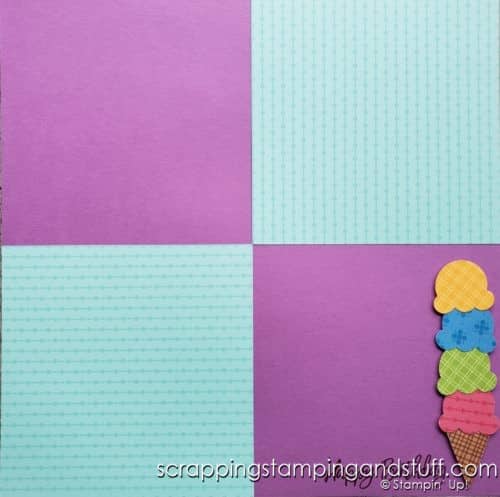
3. Alternate 4 Colors
Beginning with 12″x12″ cardstock, lay four different prints in each corner of the page.
4. Two Small Photo Mats
Create photo mats by cutting down a single sheet from 6″x6″ to 4″x6″. Next, cut in half to create two 3″x4″ mats.

5. One Large Photo Mat
Trim down the 6″x6″ paper to 4″x6″. This creates a nice mat for a full-size photo.
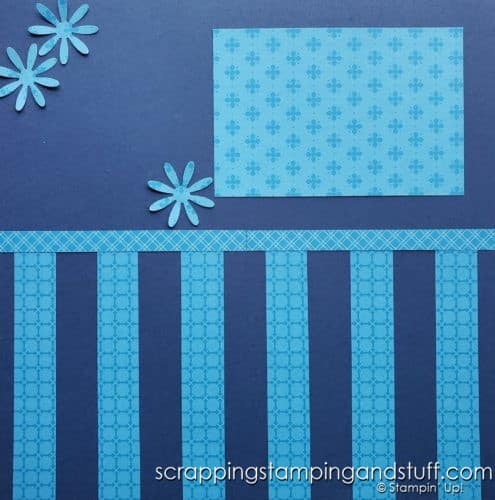
6. Create A Pattern
Cut 6″x6″ paper down to 1″ strips. Create a pattern by attaching them to the page with 1″ of space in between each strip. Cap the top with 1/2″ side strips to finish it off.

Although I’ve showed you six great ideas, there are countless more ways to use these smaller sheets in your scrapbooking endeavors. Below is a video of me introducing the special Sale-a-bration sign-up offer as well as the six ways to use the 6″ sheets on your scrapbook pages. Check it out!
6″x6″ Paper for Scrapbooking Video
Click the video below to watch how I created all of these scrapbook page ideas.
Don’t Miss Out!
Please make me your Stampin’ Up! demonstrator! Earn rewards points towards free stamps PLUS a gift when you order. Use host code: JGJR9MZD PLUS, with your first order, you’ll receive free catalogs in your thank you package!
Order the products I used and make this project yourself!
Get these designer print papers for FREE by signing up on my Sassy Stampers team!
[…] Post navigation ← How To Use 6″x6″ Paper For Scrapbooking […]