Sometimes I get ideas and inspiration when I least expect it, and that’s the case for today’s project. My walk through the woods the other day inspired me to pick up some leaves which I used to create a series of beautiful fall cards for today’s projects. This leaf stamping technique is a must-try for card makers!
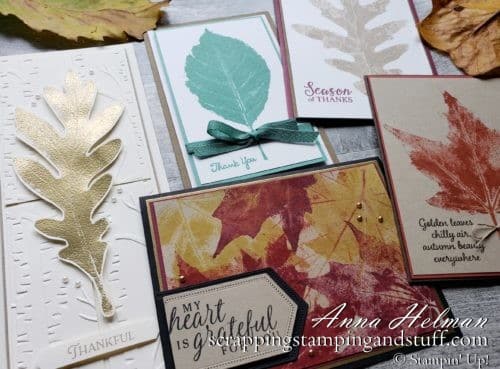
What is Leaf Stamping?
Leaf stamping is a fun way to bring a little bit of nature to your cards. It involves using a real leaf, applying ink to one side of it, then applying pressure to achieve a stamped image of the leaf onto paper. It’s such a unique way to combine creativity and nature – especially during this wonderful season we know as fall! Plus, your results will always be one of a kind!
Continue reading to see some of the projects I made using this amazing leaf stamping technique.
Sample Projects Using The Leaf Stamping Technique
Let’s look at some neat card samples, and then we’ll discuss how to do leaf stamping!
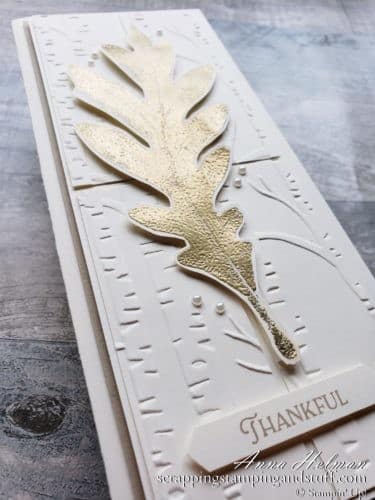
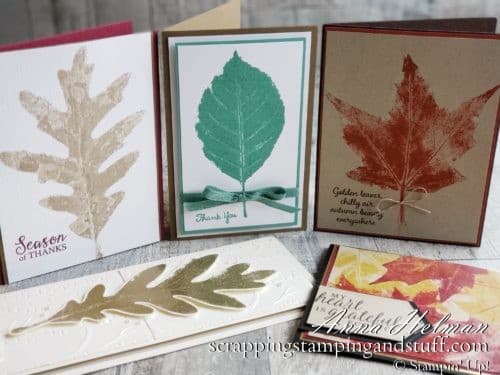
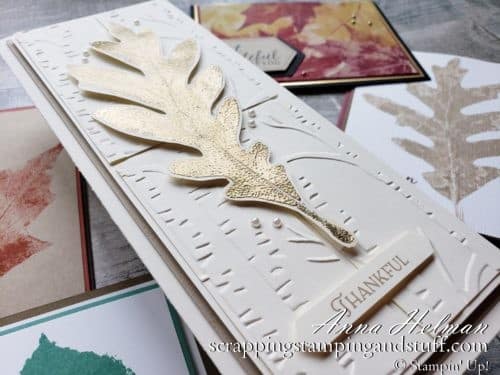
How beautiful is this slimline card?! Its natural simplicity is just amazing! I inked the leaf with Versamark ink, then heat embossed it with gold embossing powder. I used the Woodland embossing folder to create that beautiful background.
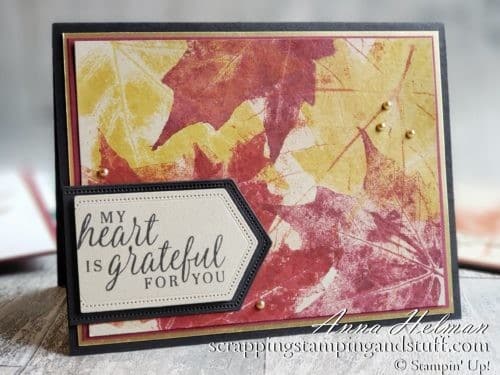
This is my favorite! I love all the fall colors! I used Bumblebee, Cajun Craze, Merry Merlot, and Cherry Cobbler inks on this card.
There are so many different ways you can use this technique, and it’s not just for fall. I created the center card below using Just Jade ink, and it could be used year-round.
Let’s talk about the materials you’ll need to try leaf stamping!
Materials
- Collection of leaves (flat if possible!)
- Card base measuring 8 1/2″ x 5 1/2″
- Ink (I used Crumb Cake for the sample below)
- Stampin Cut & Emboss Machine
- 4 pieces of cardboard (from Stampin Up designer paper packs) measuring 6″ x 6″
Keep reading to see how I accomplished this technique!
How To Do Leaf Stamping
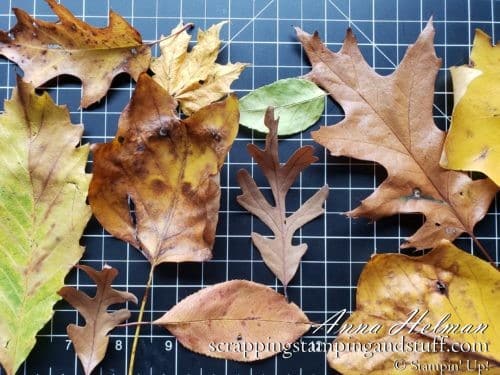
First, find a collection of leaves. The flatter the better! Make sure they are not ripped, curled, or have any holes in them.
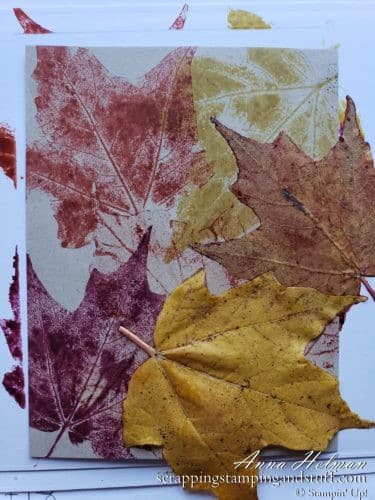
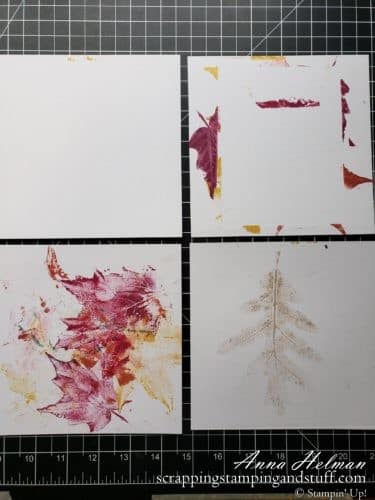
Prepare cardboard pieces, which will act as an embossing folder in the Cut and Emboss machine. Use one of the backing pieces in a Stampin Up designer paper pack. This is the thinnest white cardboard that comes in any of our DSP packs. I cut one 12″x12″ piece into four 6″x6″ pieces. The pieces below have already been used as you can see.
Prepare platforms 1, 2 and 3 from the Cut and Emboss machine. Then lay 2 pieces of cardboard on top, along with the paper you plan to stamp with your leaf.
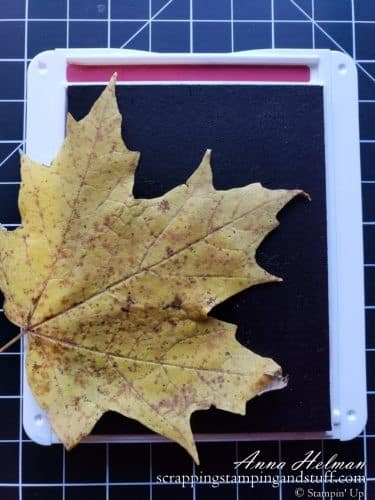
Take a leaf of your choosing. Apply ink to the back side of it. There are many ways you can achieve this, such as using sponges or a brayer, but I chose to lay the leaf on a ink pad and press down with my fingers.
When the leaf is fully inked, lay it on the prepared paper. Place the other two pieces of cardboard on top, along with another platform 3. Crank this through your machine. If it resists going in, stop, and remove some of cardboard, until it feeds through properly.
Remove plate 3 and the cardboard pieces, then carefully lift off the leaf — try to not smudge the ink.
Viola! You now have a beautifully stamped leaf, ready to be used for a card or other papercraft project!
I hope you enjoyed this project as much as I did! Here’s a video tutorial of how I used this must-try leaf stamping technique.
Video Tutorial
Don’t Miss Out!
Please make me your Stampin’ Up! demonstrator! Earn rewards points towards free stamps PLUS a gift when you order using October host code: FZR7RJZY. PLUS, with your first order, you’ll receive free catalogs in your thank you package!

Sign Up For My Upcoming Virtual Card Classes!
You May Also Like:
2 Simple Autumn Card Ideas With The Harvest Hellos Stamp Set
[…] This Leaf Stamping Technique Is A Must-Try For Fall Cards […]