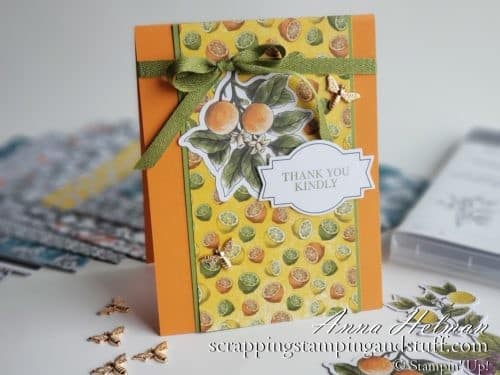
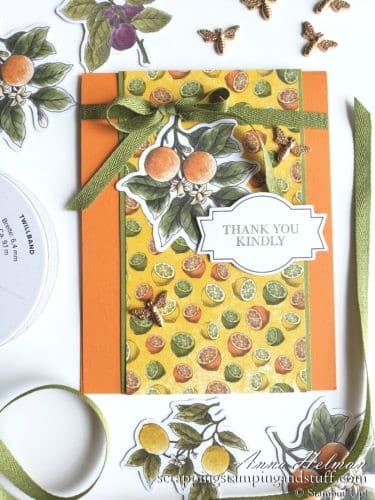
Happy Tuesday! I hope you had a great weekend and a great start to your week. Today I’m excited to announce a new Class In The Mail that I have available featuring the Stampin Up Botanical Prints Product Medley. I’ll share a project that I made using these products, as well as all the info for you to join in and order the class yourself! Here is a sample project for your viewing pleasure.
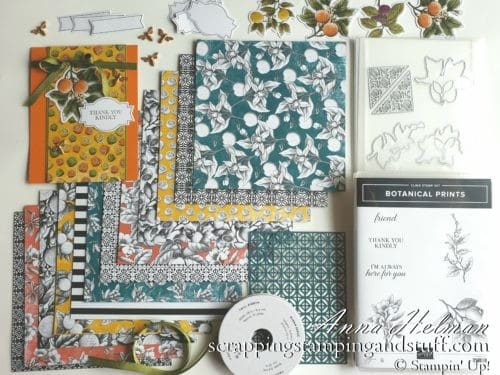
Botanical Prints is such a unique product collection. It includes, as the name describes, lovely botanical prints such as oranges, pomegranates, lemons, daffodils, and magnolias along with some beautiful foliage. This collection of products comes as one item, meaning you cannot pick and choose individual items from the set. It includes stamps, dies, designer paper, die cuts, ribbon, laser-cut overlays, and beautiful bee embellishments! Take a look at all that is included.
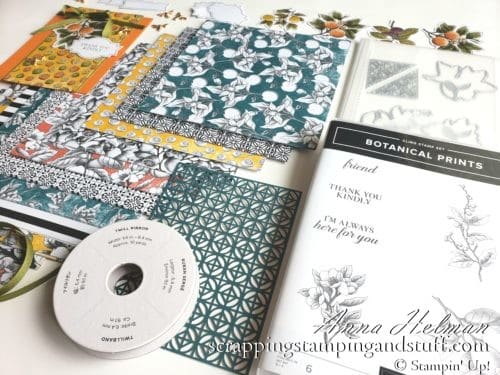
Here is a little bit closer picture of the stamps and designer paper. I just love these products! The designs are so serene.
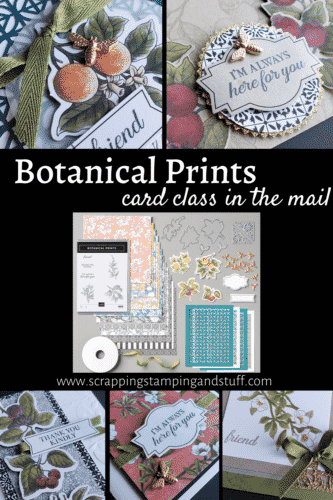
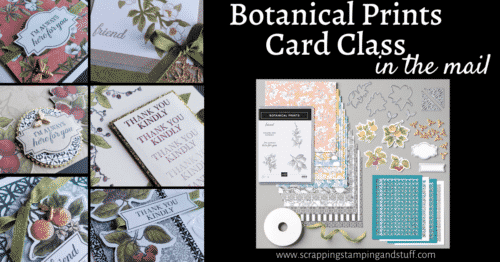
If you like these products and would like to try them out with some pre-designed projects, then my Class In The Mail is perfect for you. It includes the products shown along with a tutorial and materials to make 6 beautiful cards! You can see previews of the cards on this photo below.
Learn more about this class and sign up soon here!
Now, back to today’s card made with these products, I want to show you how I added color to the designer paper to create the multi-colored citrus designer paper in the background.
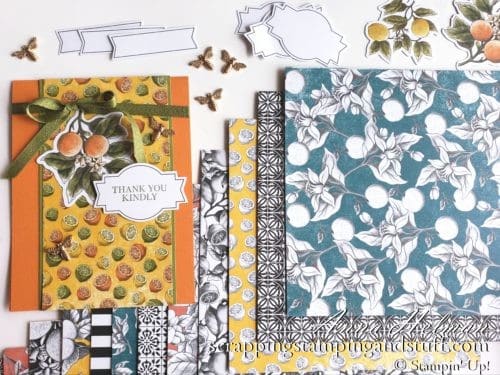
As you can see in the photo above, the designer prints come black and white on one side, and black and white plus another color on the other side. The paper in the photo below came printed with black, white, and yellow. I decided I wanted to make the fruit look like lemons, limes, and oranges, so I used my Stampin Blends markers to add color. I used Daffodil Delight, Pumpkin Pie, and Old Olive colors. I used the darker marker in the set to color the outside/peel of the fruit, and the lighter color on the inside where the fruit is sliced open.
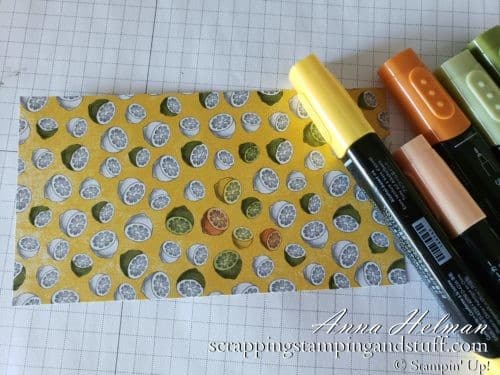
I really like how it turned out after I was done adding color. I finished the card off with a couple of die cuts, a piece of the ribbon, and two buzzing bee embellishments!
Don’t forget to sign up for this Class In The Mail ASAP using the links above or below!
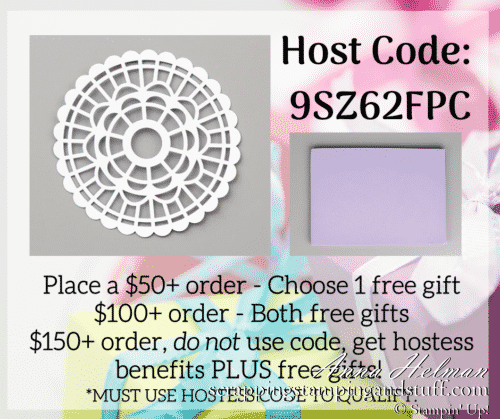
Please make me your Stampin’ Up! demonstrator and order from me using the product links at the bottom! Earn the free gifts shown below when you order using the current host code: 9SZ62FPC. PLUS, with your first order, you’ll receive free catalogs in your thank you package!
Shopping during Sale–a–bration comes with many benefits!
- For every $50 that you order, choose a free gift from the Sale–a–bration brochure. Order $100 and choose two items (or one of the special items only available with a $100 order)! Order $150 and choose three free items plus regular hostess benefits!
- Host a party with over $300 in sales and you will get the exclusive Little Ladybug stamp set for free!
- Sign up with Stampin’ Up! and choose $125 of products for just $99! In addition, you will receive free shipping, a new mini paper cutter (!!!), ANY stamp set of your choice, AND a 6”x 6” paper sampler! What an amazing offer! I signed up during Sale–a–bration six years ago. Best decision ever!
- Learn about my current Class In The Mail here!
Order the products I used and make this project yourself!


Leave a Reply